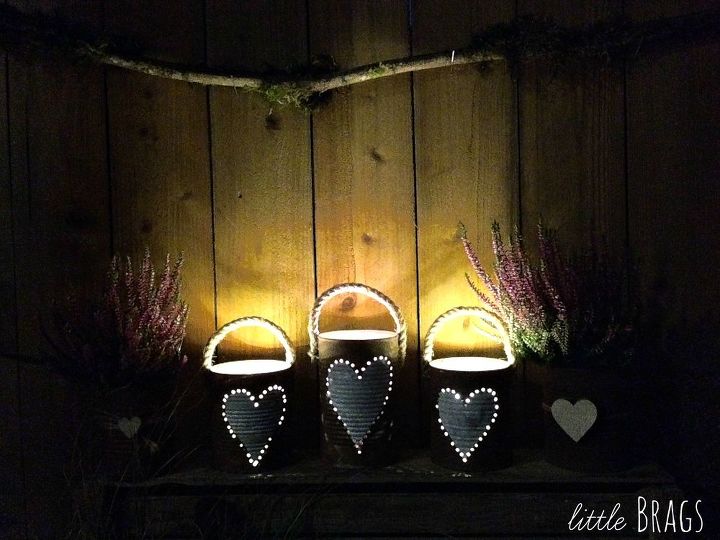
 Here they are in the dark…LUV EM
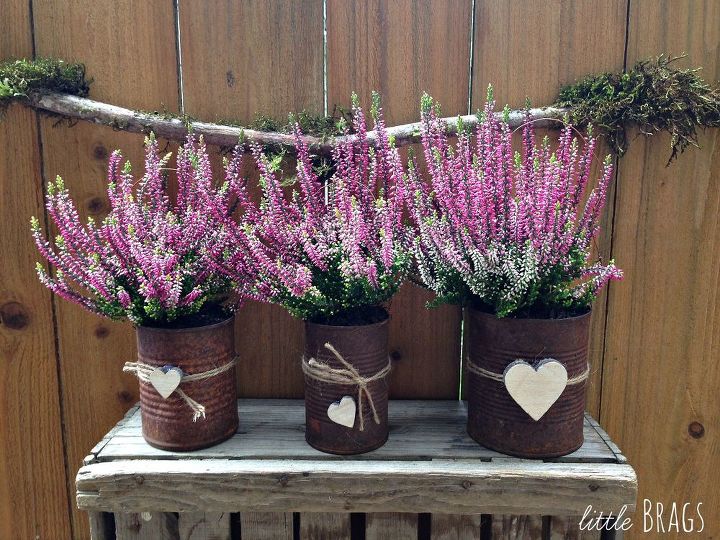
 I already had these rusty cans in the garage from years ago,
but I dug them up for this post and decorated them
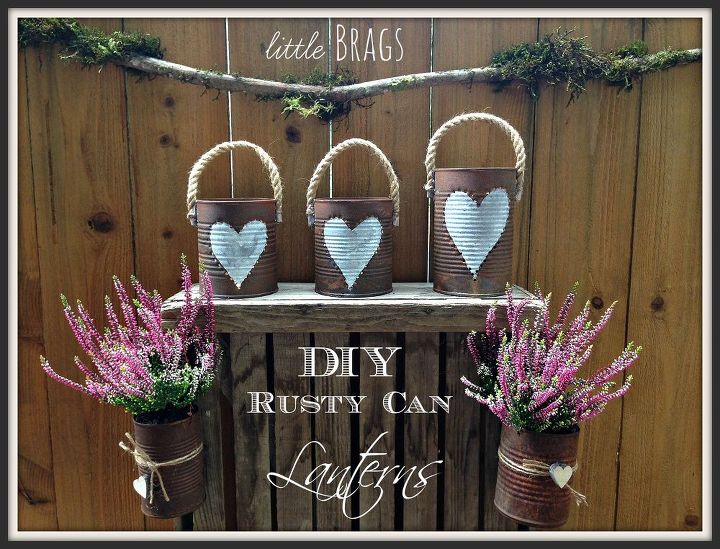
with a bit of twine & little hearts
 OK so here is a quick “HOW TO” on the
“RUSTY TIN CAN LANTERNS”
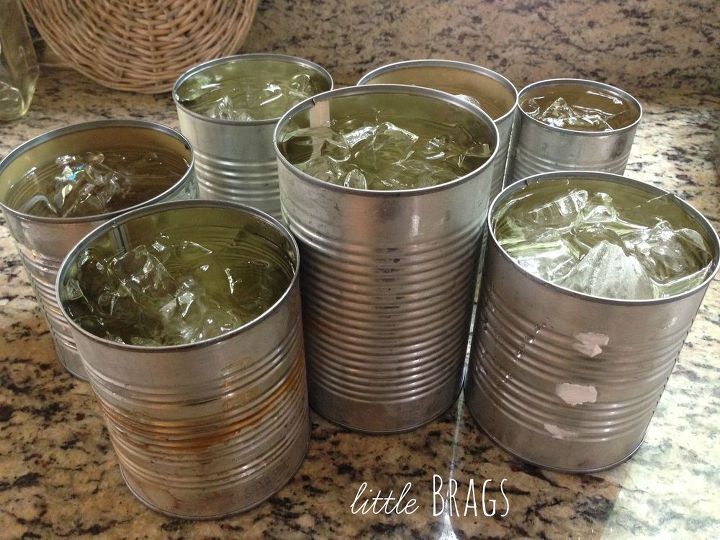
Fill cans with water and put them in the freezer
(I added ice cubes so they would freeze faster)
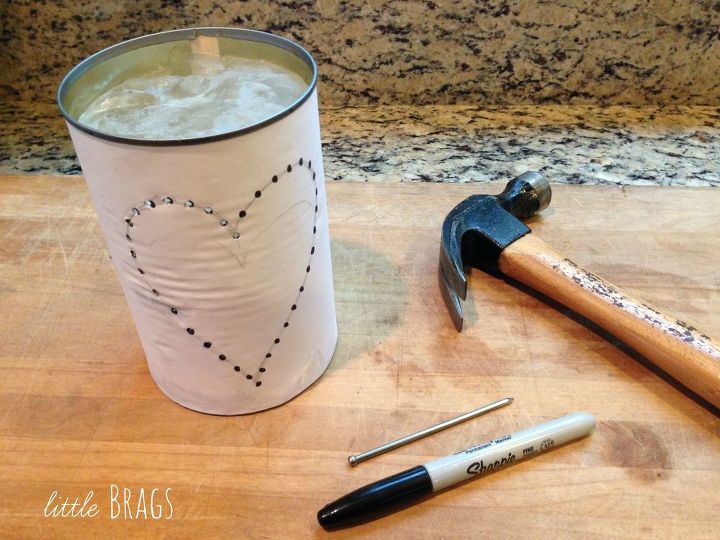
Draw a design of our choice on the paper, then use a sharpie and mark little dots on
the outlines to use as a marking for the holes you will be hammering. Wrap the paper
around the can, securing with either tape in the back or use a rubber band.
Use a large nail and hammer into the marked dots, the ice will prevent the can from getting swooshed while you hammer away! Don’t forget to poke holes along the
sides of the can if you want to add handles.
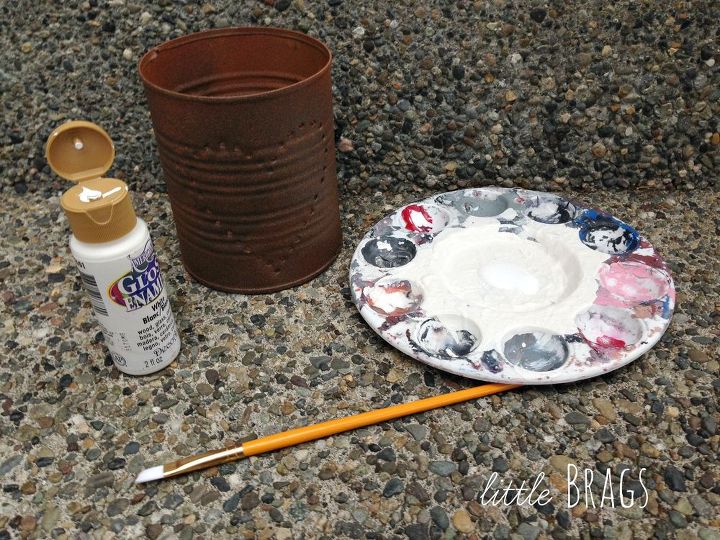
 For a great RUSTY effect, I used 2 spray paints.
RUST-OLEUM MULTI-COLOR & TERRA COTTA CLAY from ACE
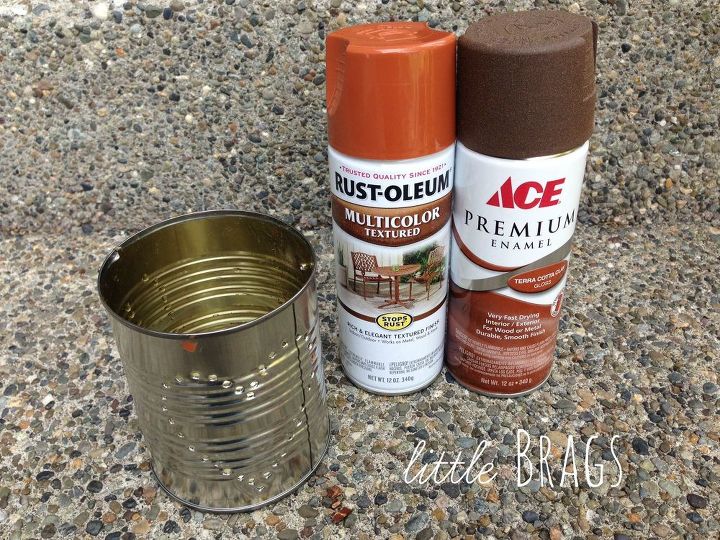
mine is an ACE Hardware brand, but any brand will do
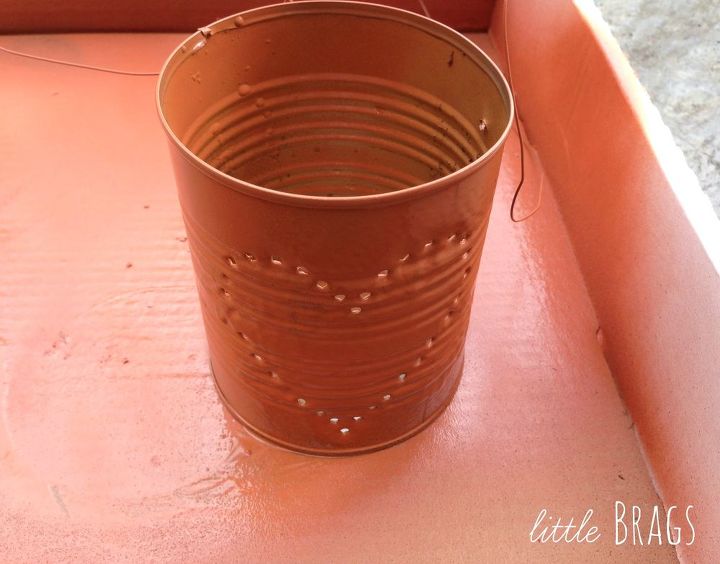 After the first coat dries, spray lightly with RUST-OLEUM MULTI-COLOR,
you want the first color to look through a bit for the rusty effect
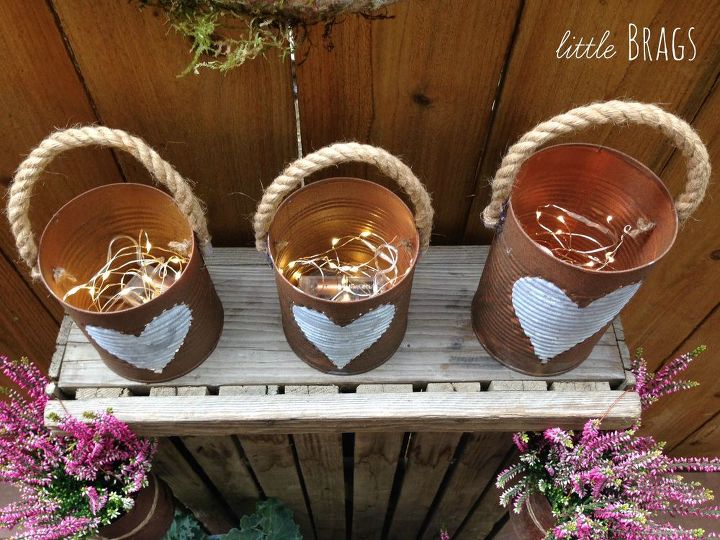
I painted my hearts “white” to make them stand out more
 To add the rope handles I pulled some twine through the holes on
the sides and tied the thicker rope handles onto them.
I also used a dab of hot glue, so they stay up.
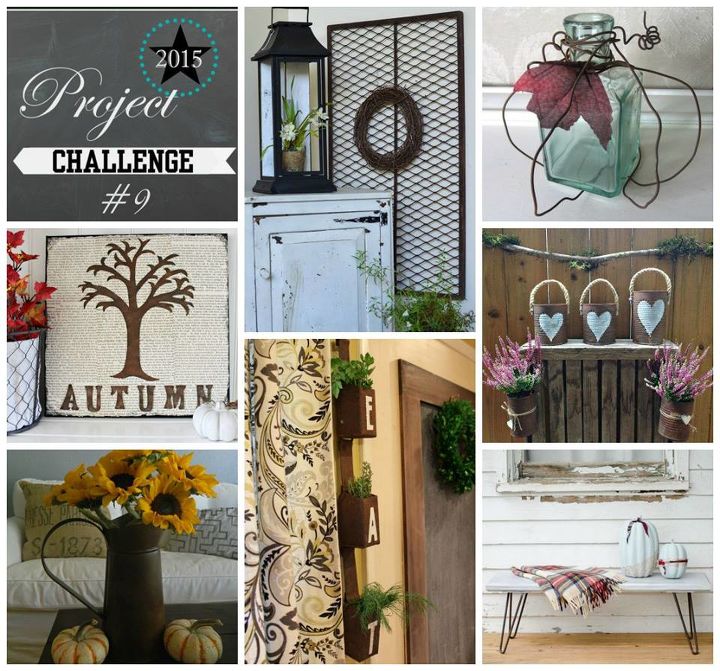 Please click trough my blog post with the link provided here so you can check out all the other awesome RUSTY projects!!!
Want more details about this and other DIY projects? Check out my blog post! GO