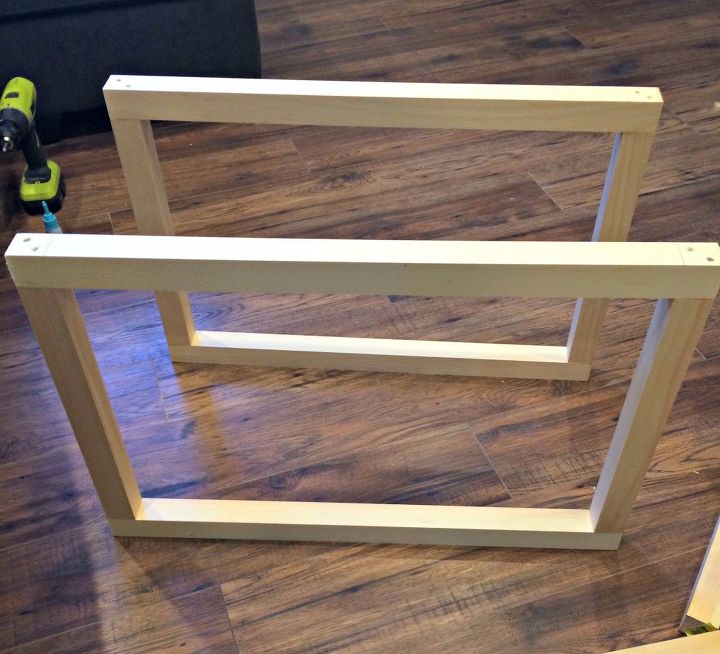
 We began by cutting the 2×2 pieces to size using a Miter Saw. Please make sure then ends are square or your table will be wobbly and you’ll forever be cleaning up spilled coffee!!
I created 2 sides. Kind of like a picture frame. Once you have this you can attach the other 2 sides to create a cube.
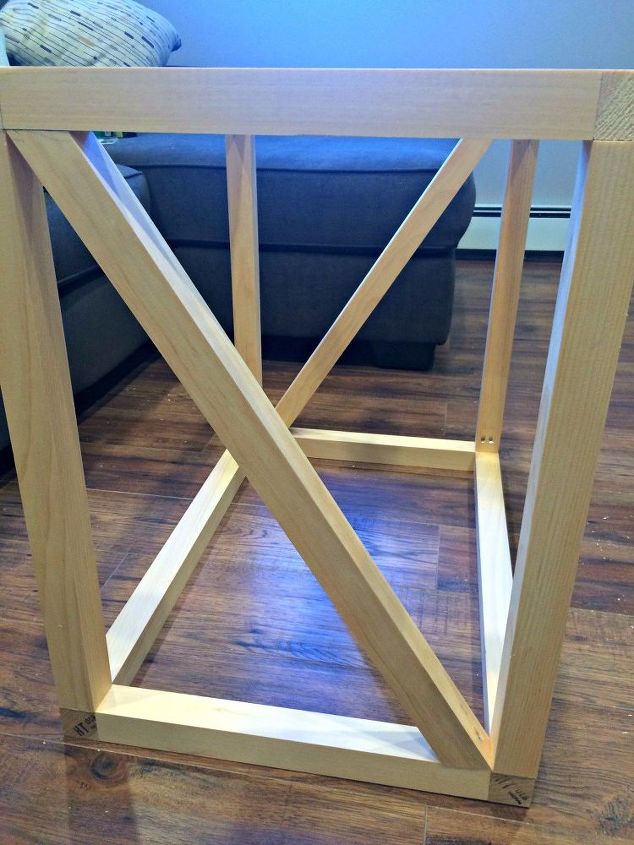
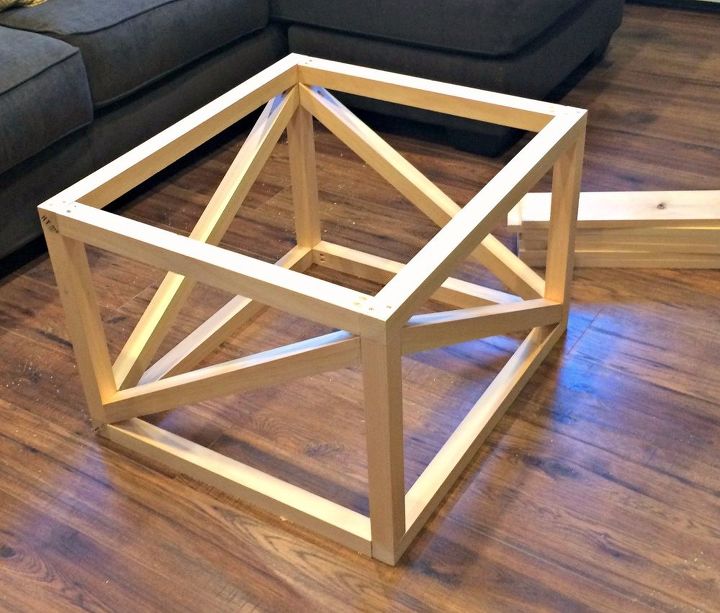
Now that you have the basic cube you can begin the hardest part of this build. I say the hardest purely because you will need to cut at an angle.
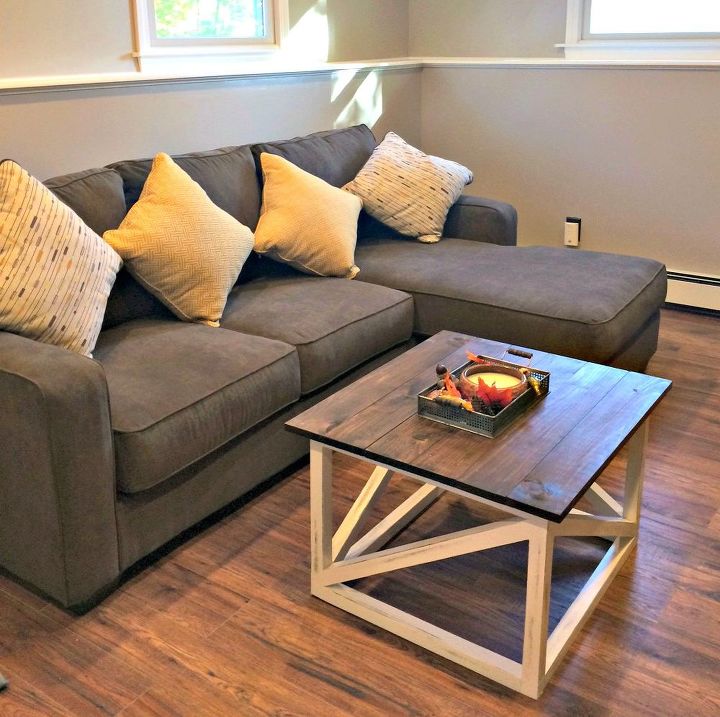
Complete the same for all 4 sides and then congratulate yourself because you have just created the base to your brand new coffee table! All that is left now is to build the top and the fun part of finishing it to your liking, which is simple!
Remember you can find the full and detailed step by step plans over on my website here.
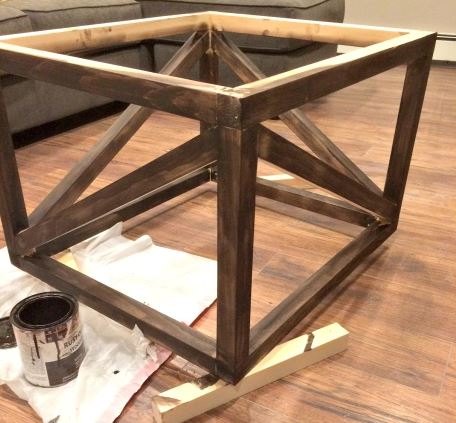
Bear with me here because I can already hear you asking “Why would you stain and THEN paint the bottom?” I wanted to slightly distress the bottom so I had to apply a stain first so the darker color would show through. Once the stain had dried I applied 2 coats of paint to the bottom
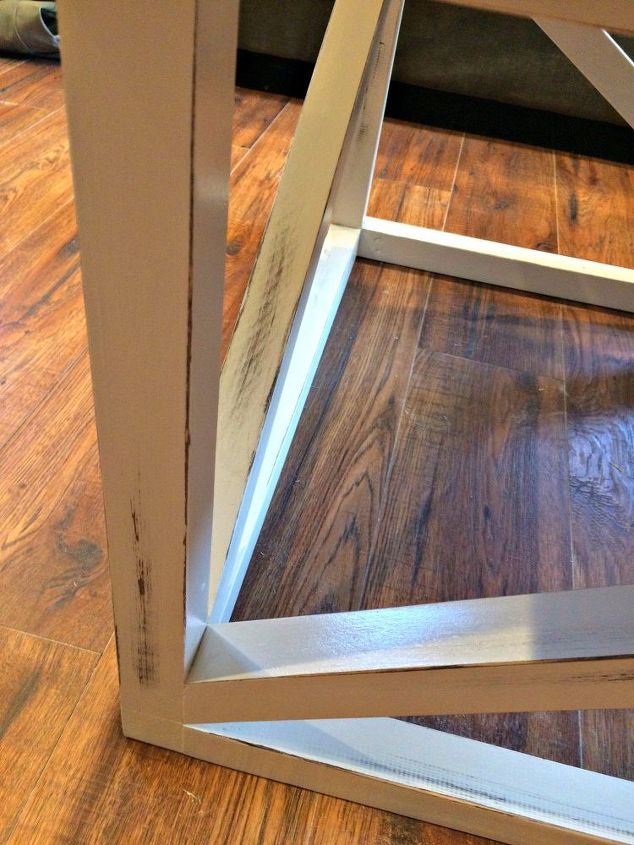
Once the table bottom had dried over night I began to distress the bottom by hand with some sand paper. There is no rule of thumb to follow for this, just sand as you feel would look authentic. I love how that dark stain I applied earlier is showing through.
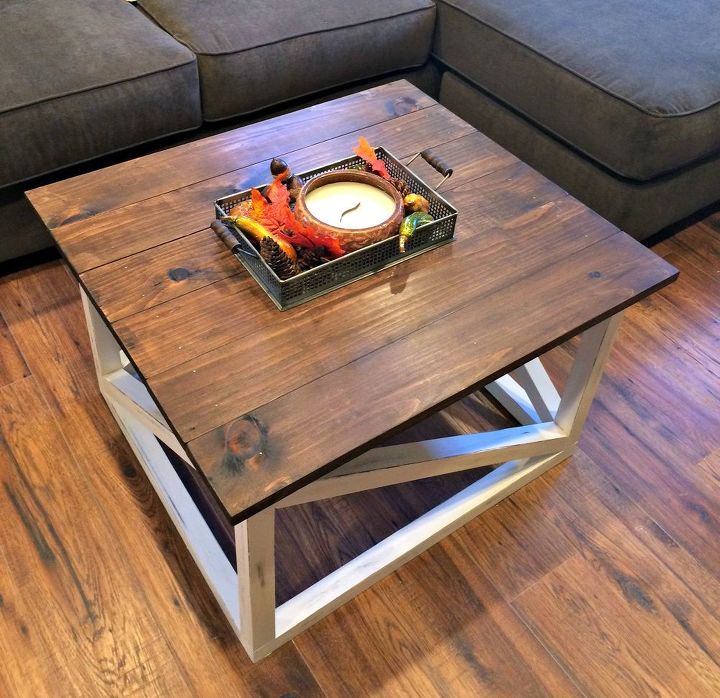
For the top I used 1×5 pieces of wood with an inch and half overhang. I used the same stain on the top pieces and attached them to the bottom using finishing nails.
It would not be right for me to write a blog without telling all my secrets: I originally planned to counter sink the nails, fill and stain over them but I surprisingly like the look of the nail heads showing. I guess it makes the table look more rustic? I just made sure they were all in a straight line and flush!
I love the simplicity of this table’s design, yet I feel it adds a lot of character to the space.
If you have been inspired to take on this DIY table, please share your results with me. I would love to see them!!
Thank you for joining me on another one of my DIY projects. I hope you enjoyed and found it useful. The full plans can be found on my website on the link below.