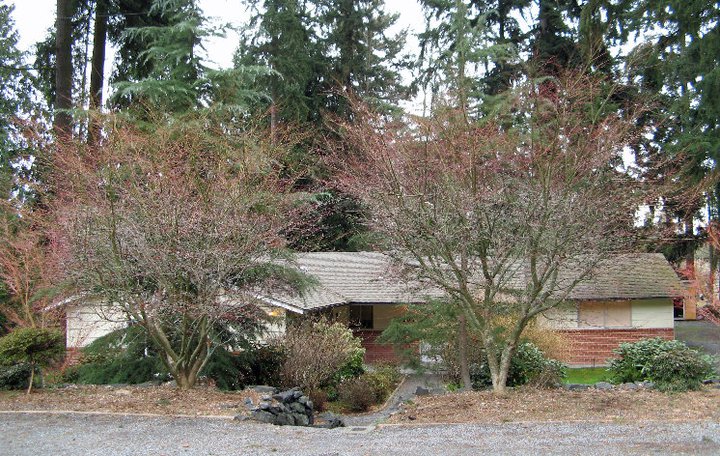
 Between the fences it was a mass of weeds. On that same side which slopes up to the parking level, someone had put mulch over sod and the mulch had decomposed. Removing that root filled dry sod was a horrendous job. The photos following the “before picture” will tell you much about the rest of the story.
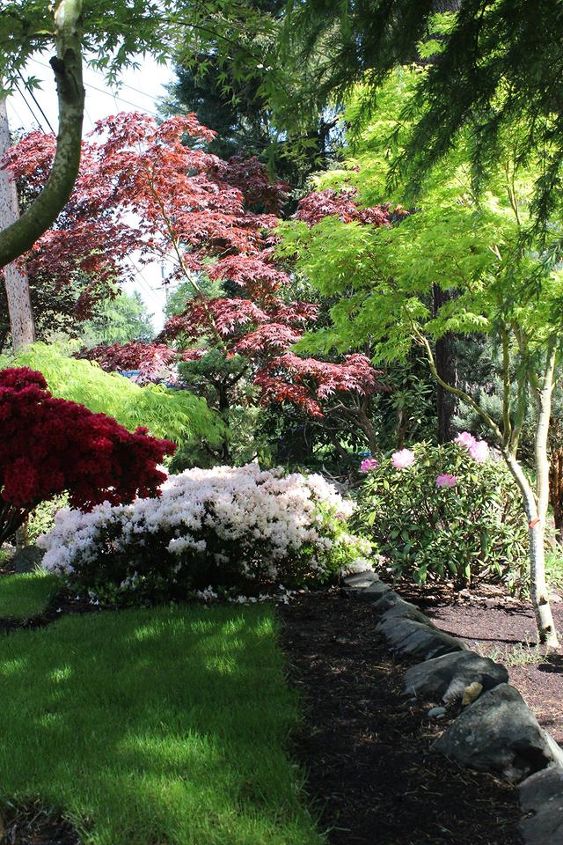
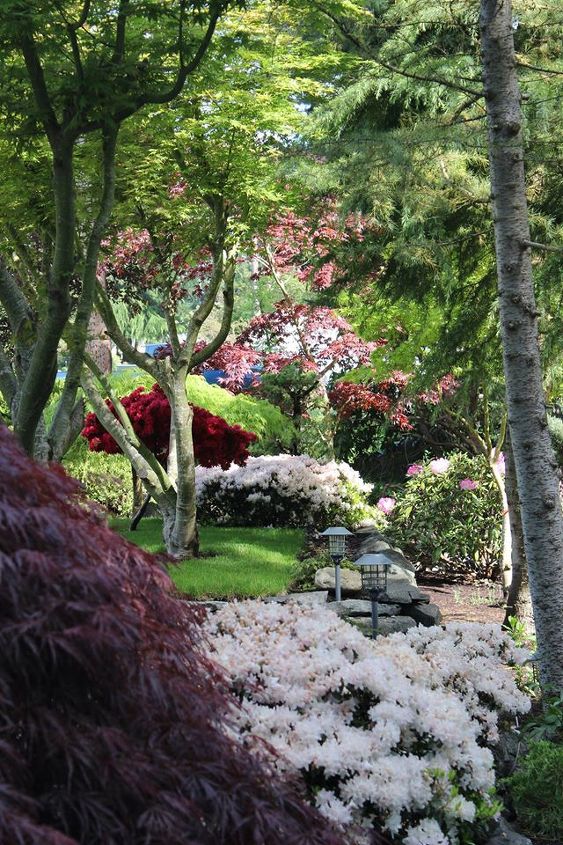
 The first order of business was to create one safe set of stairs – the ones leading from the house level to the driveway. Next came the tree pruning and the attempt to save not only the dappled willows and a very old Hebe hedge. Both of those were ultimately yanked out. Here are some spring and autumn photos of the maples and azaleas on the top level and terraces, plus a before picture of one of the two “blobs”, which are now very beautiful red and green Acer Palmatums. Hubby and I initially had a difference of opinion about whether grass should go up top, but he prevailed and I’m so happy he did! The grass frames the plantings beautifully.
 With the grass on the top level, the spring colors shine forth.
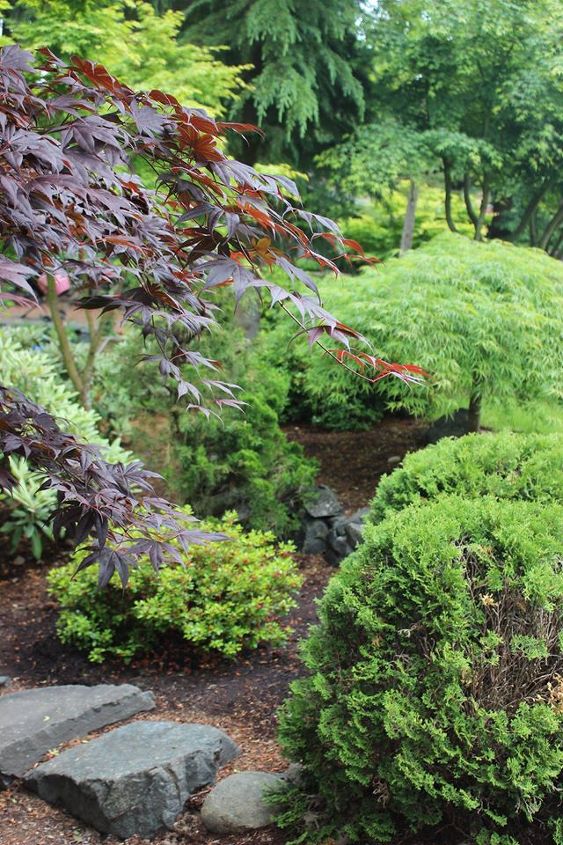
This Acer Palmatum was formerly just one big blob before I pruned it. Lots of dead wood underneath this on and its green sibling behind the bright red azalea standard in the distance.
The grey green leaves at the left of the photo belong to the Yakushimanum Rhododendrons, which I pruned way back last year just after they had bloomed. We had limited bloom this spring, but they should be right back on schedule next spring.
You can see the limited bloom on the Rhodies this year, following pruning.
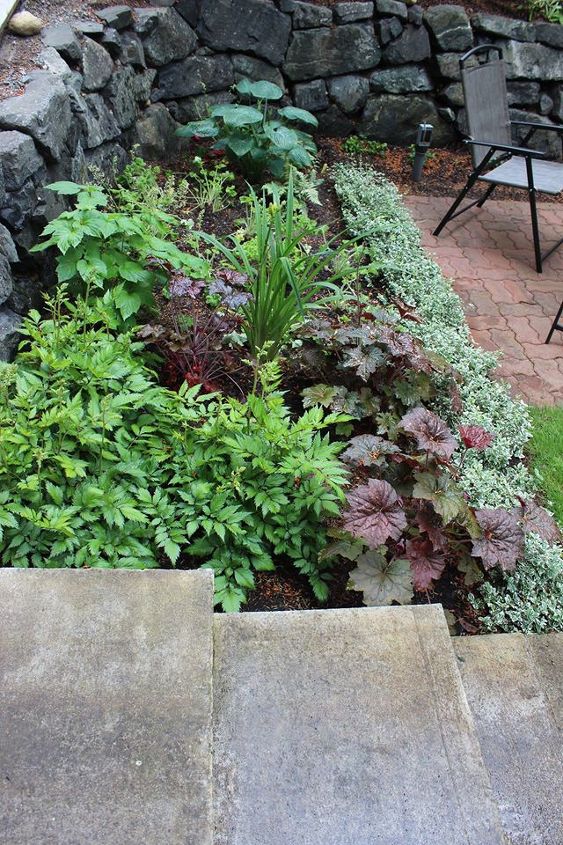
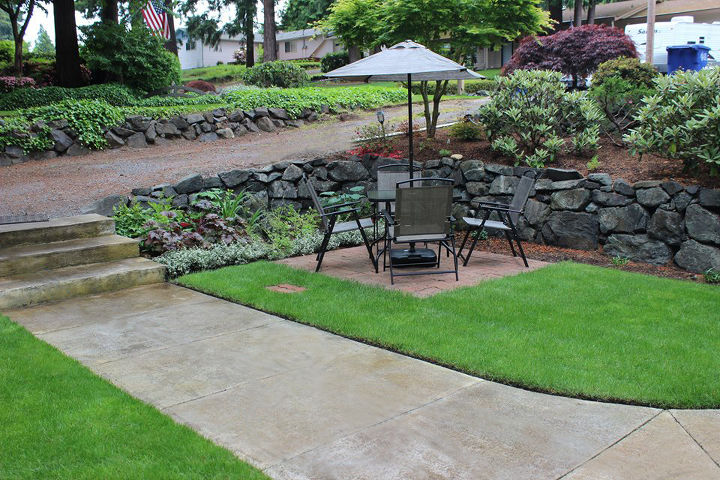
 Those astilbes on the left have very tall white blossoms. The pavers used on the shade patio were repurposed from lining the old gravel paths when concrete sidewalks went in.
The first time all of these azaleas bloomed I was surprised and unhappy that they didn’t match. It took two more tries to get it right. The existing red azaleas (Johanna) were matched and cut back so that they match the new ones in size. I am so relieved to finally have it right. It takes a lot of muscle to move azaleas over and over! The oriental lilies have been moved back closer to the wall, the fern on the right of the green, unknown shrub has been moved out and you can’t see the gorgeous hardy fuchsia, Christmas Elf (which is just out of view on the right). There is a beautiful Berberis Orange Rocket hidden behind those lily stalks. It can be seen well now.
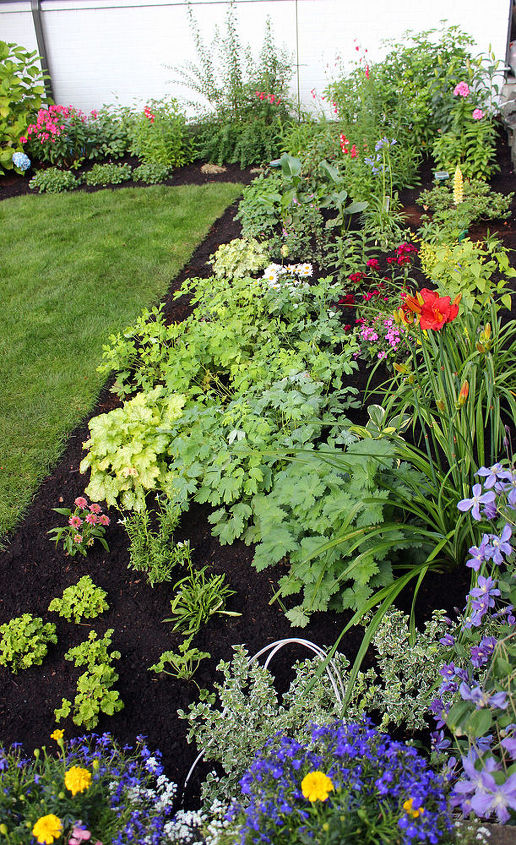
This bed is coming together beautifully. I still have a few things I want to move, but I tend to rearrange my garden like most people do their living rooms!
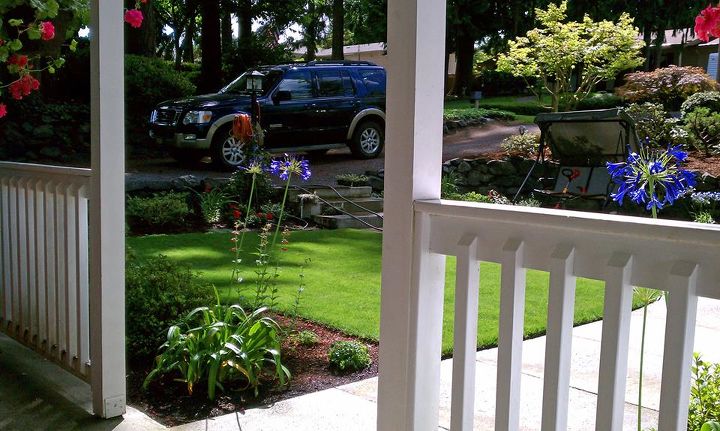
It’s a work in progress, so the cement mixer isn’t ever far. We have one more concrete curb to lay on the street level and all along the driveway. Eventually the driveway won’t be gravel.
 Are you impressed by how I photoshopped the hose off of the sidewalk? LOL!
The putting green, bunker and chipping area went in almost immediately. There was a strange rock bordered island bed where the green is now. This was the beginning of this growing season. Now all of that wind fall has been cut up and stacked and all of those weeds in the back have been removed. Hubby has been digging trenches and installing the irrigation system in back. The small tree inside the ring is a Cercis “Forest Pansy” which we bought for our anniversary last year. In the distance is where I’ve started a new bed just this summer. A close-up is below.
 You can see where that chain link fence bends back toward the wood fence. We have so many rocks to dispose of we have chained off that area – about 6’X15′ to deposit all of the rocks. Clematis is going in either this fall or next spring to camouflage the fence and hide all of the discarded rocks.
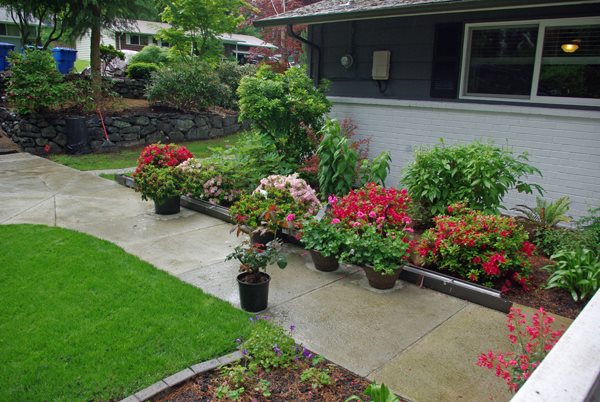
I had no idea what to put as the cost, because this hasn’t been a simple case of landscaping. There’s also the concrete, some fencing, materials for a carport, sod, etc. I wish I had been allowed more pictures because this shows only a small fraction of what we have accomplished. It is, however, still a work in progress.
Want more details about this and other DIY projects? Check out my blog post! GO