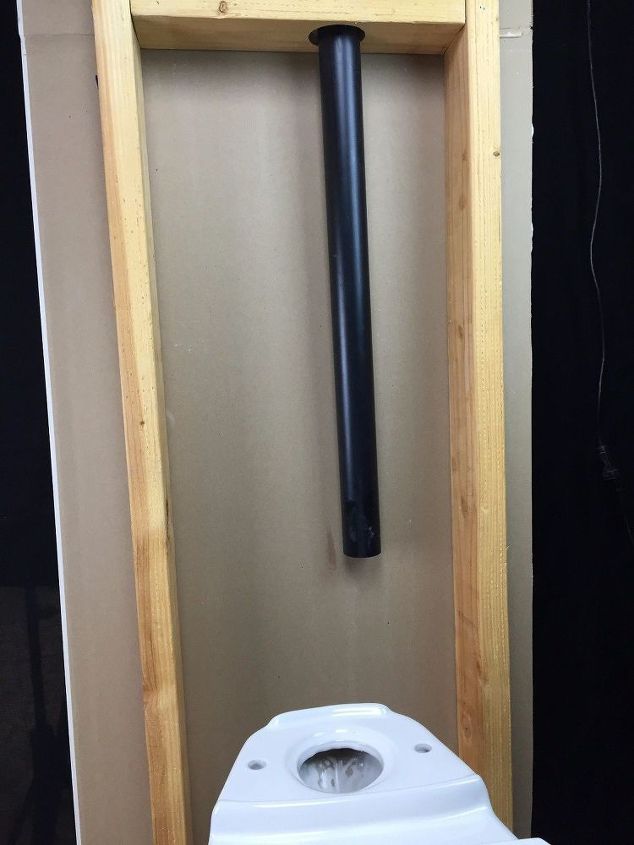
 At the top the 1.5″ ABS pipe in the wall behind the toilet you will connect the provided sweeping 90 degree elbow. Then connect the elbow to the provided flare so you can connect 4″ flex ducting (not provided with system) to the inline fan unit. Inline fan unit is usually screwed to a roof truss.
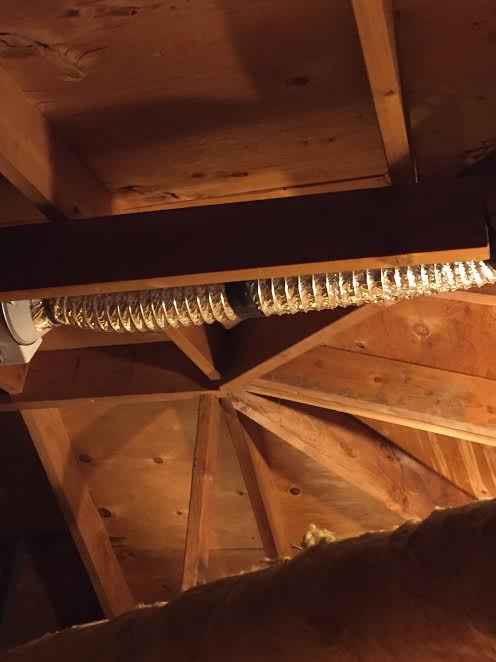 Once you’ve decided where to mount your inline fan unit and have connected all ducting, it should look something like the above photo. Strapping the flex ducting up to the trusses will make it easier to move around the attic in the future if needed. Important! Never fasten anything to the roof underlayment itself, doing so could cause a leak! The inline fan unit receives power from the main light switch in the bathroom, this way it will come on when the main light is activated. Note: Most people go #2 with the light on.
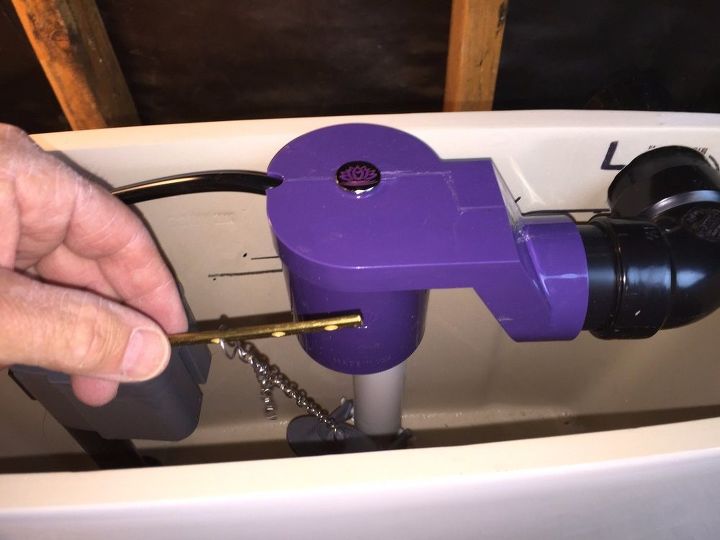
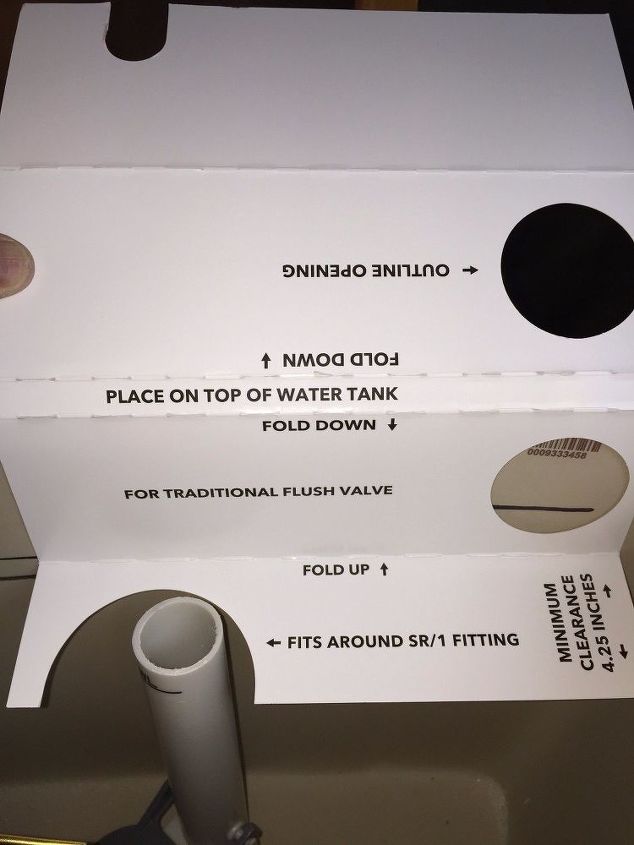 OK, you’re done up in the attic now you’re ready to mount the SR/1 fitting in the toilets water tank. Place the provide template as you see in the above photo and following the installation instructions, mark the opening on the back of the toilets water tank through the template. You may need to loosen the large nut on the flush valve (flapper unit) and rotate flush valve so its within the large opening where the SR/1 fitting with go once installed. Make sure to re-tighten the large flush valve nut once done.
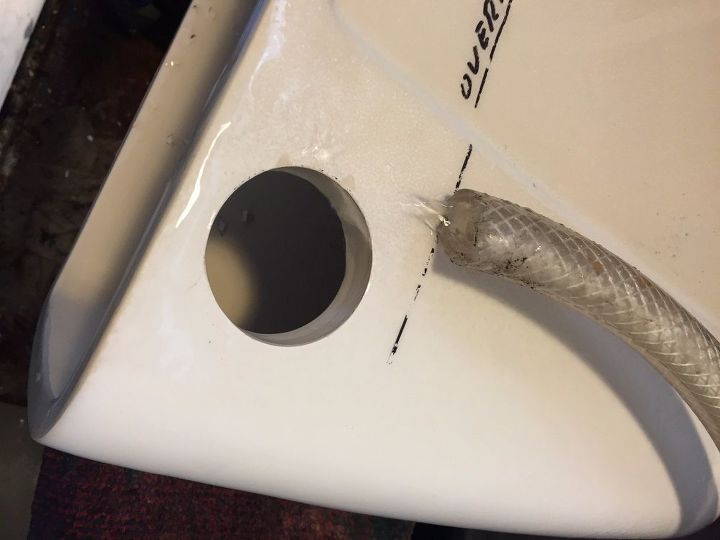
 In about 5 minutes or less it will look like this! Just take your time and let the drill and drill bit do the work. No need to press hard on to the tank. Now you are ready to install the SR/1 fitting.
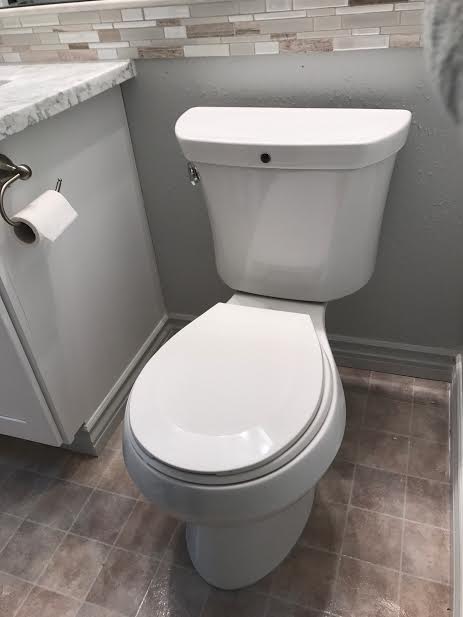
Making sure to follow the installation instructions your toilet will be “MG” equipped in no time. Make sure the nothing rubs or catches on anything, remount the water tank to the bowl, connect the water supply hose and check for leaks.
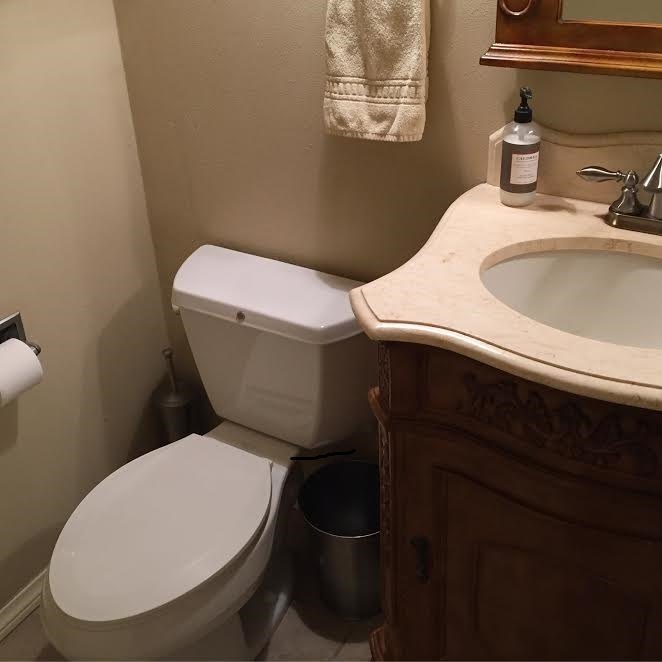
And here it is in action!
Want more details about this and other DIY projects? Check out my blog post! GO