 STEP 1: Remove the laminate countertop.
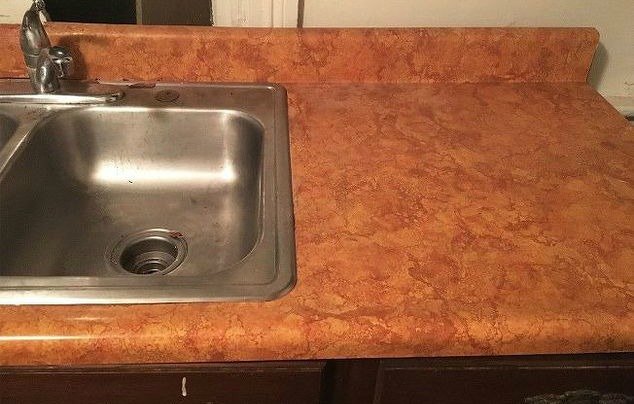
This part is much more simple than you might think. I used my scraper to get under the laminate and then found it helpful to use a heat gun and crowbar. If you hover over the laminate with a heat gun it melts the adhesive and helps it to peel away from the wood. The crowbar can be shoved under the laminate and has a bit more power than the scraper, however the scraper is needed to initially get under the laminate since it is nice and thin.
Sometimes the top would come off in chunks and chips, but it really didn’t take that long. If you don’t have a heat gun or crowbar don’t worry. I first started with just the scraper and that was working just fine. It just helped to speed things up.
 STEP 2: Make stone-like chunks.
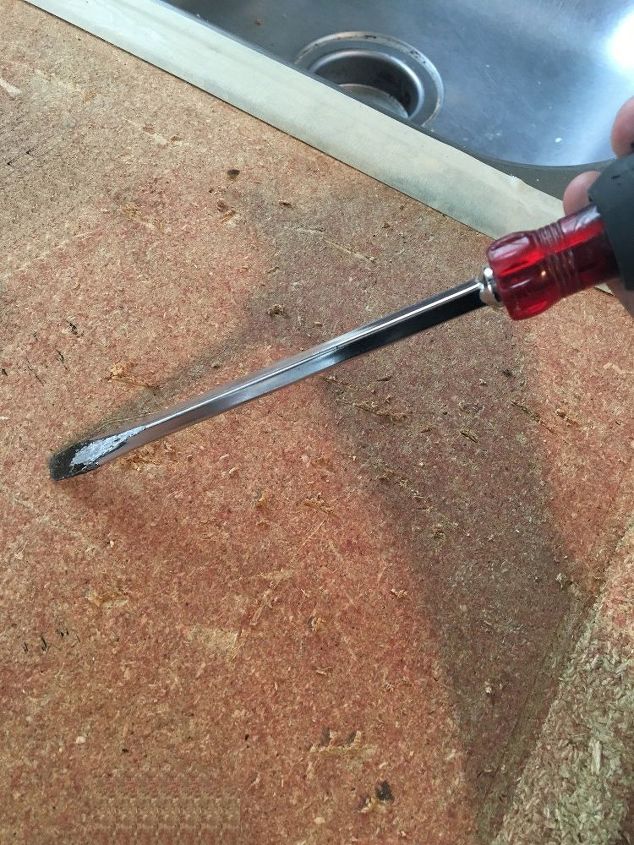
Some countertops have chunks out of the wood already and have grooves. This one didn’t, so I wanted to make some so that once I painted it, it would look more like stone. Stone is not perfectly smooth and has some imperfections, so I decided to add some by taking a screwdriver (or your crowbar) and chunking out random sections of the wood. *You don’t have to do this, but I really thought it helped the outcome look more like real stone. If the countertop you are working on already has this effect you can skip over this step.
 STEP 3: Sand down the surface.
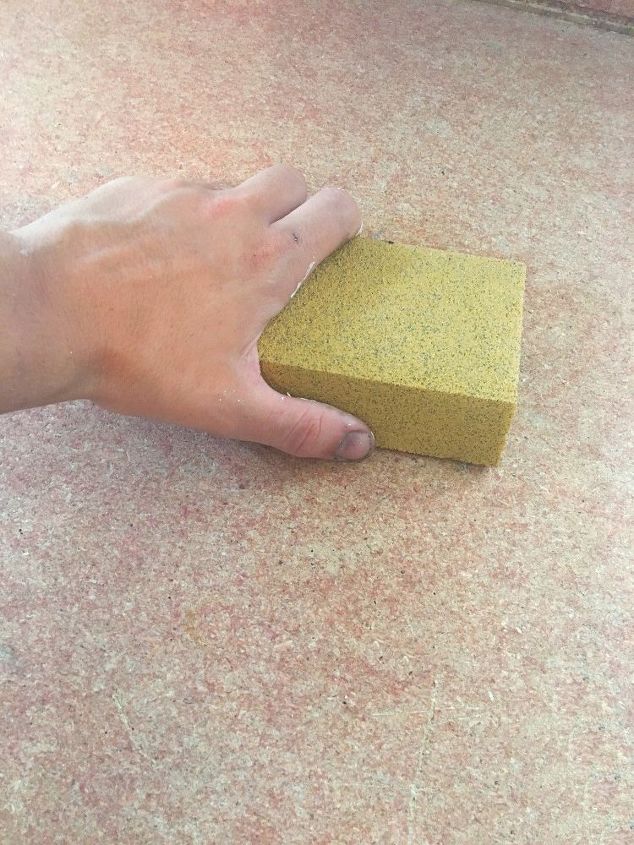
You don’t have to make the surface completely smooth, but you need to make sure there aren’t any wood splinters sticking up. Just a quick sanding over the surface will do.
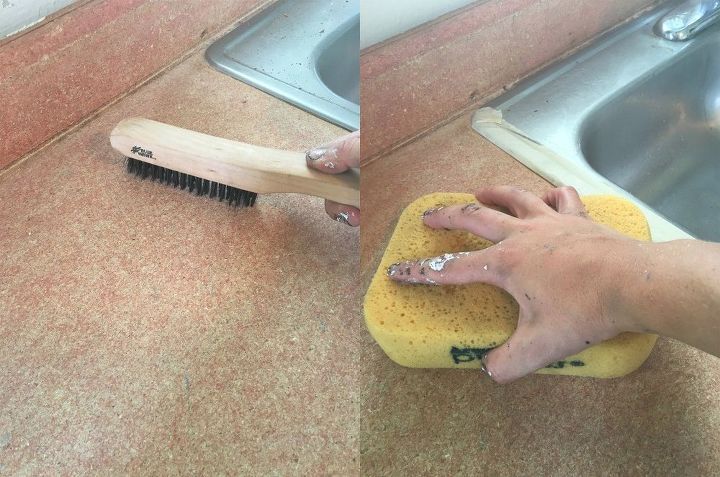
I used a brush to dust off any big chunks left behind and then ran over the counter with a wet sponge to make sure any dust particles were removed.
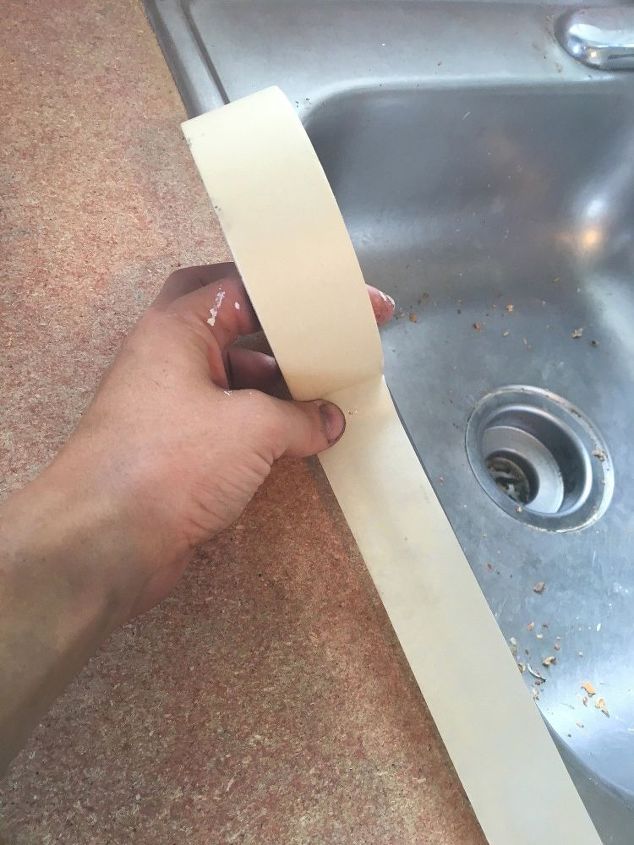
 STEP 5: If you left your sink in (you can remove it for this project), you will need to tape off the edges so that you don’t paint or seal the sink edge in.
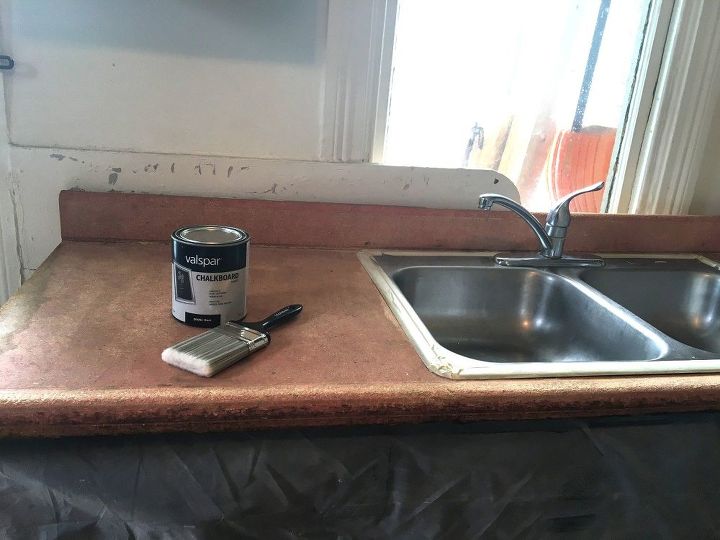
STEP 6: Let your sink dry from step 4 before you start painting.
STEP 7: It’s time to paint.
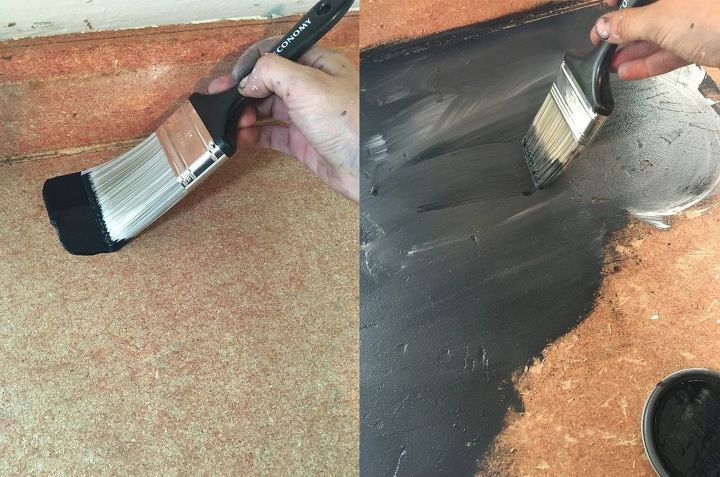
In the first picture you can see how black the chalkboard paint was before I added white. It looked like I was just painting a countertop black vs. making it look like stone. If you are using a paint that you find too dark you can simply add white too. You can find the right mix to get a nice slate color. The chalkboard paint does help to give the slate effect though. it has some gray tones in it and has a dusty look.
To create the right shade of gray I just put a dab of black a dab of white and then another dab of black and mixed it straight on top of the counter. It worked great.
Like I said in the supplies section I first thought I was going to use polycrylic. The one I bought was a gloss because it was all that they had. They may carry a satin and in that case it might be the way to go, however, the gloss is definitely not. Stone countertops are not shiny so when I added the polycrylic the finish was far too glossy. I went back out and grabbed a paste finishing wax instead and decided to finish the job with this.
For the wax you will rub on two coats and then buff it out. I used an old rag to apply and buff the wax.
STEP 9: Step back and marvel at the transformation!
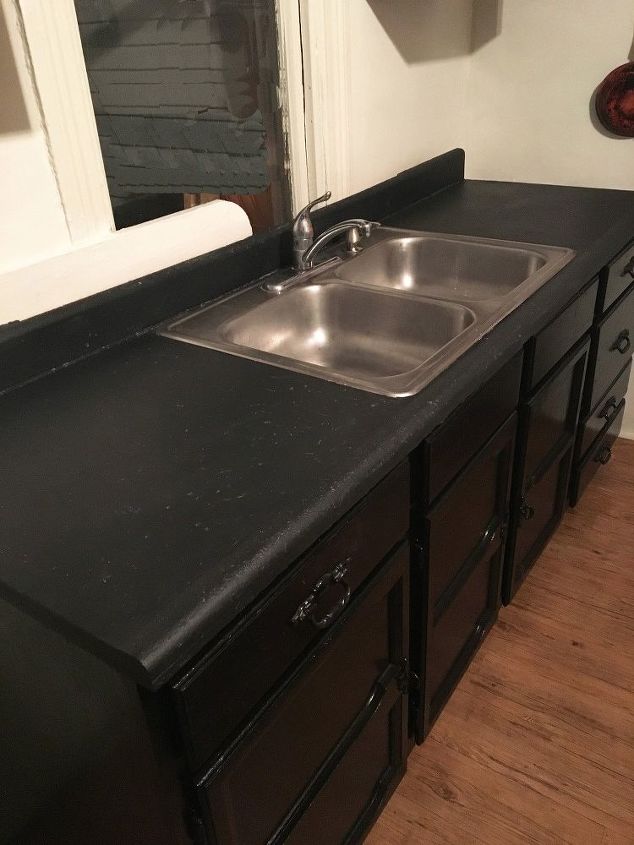 Obviously, real stone would be nice, but this is a super cheap and easy fix for a shoestring budget! This looks much darker than it is in person. The cabinets are a nice brown-black and the top is much more gray than this picture indicates. You can also do a lighter gray color on top to keep the stone look, but lighten it up if you too have dark cabinets.
The set up in their kitchen made it hard to get a good angle of this thing, but let me tell you it turned out even better than the pictures describe.
I finished this project up at night, but took another picture in the daylight. It looked great any time of day!
Want more details about this and other DIY projects? Check out my blog post! GO