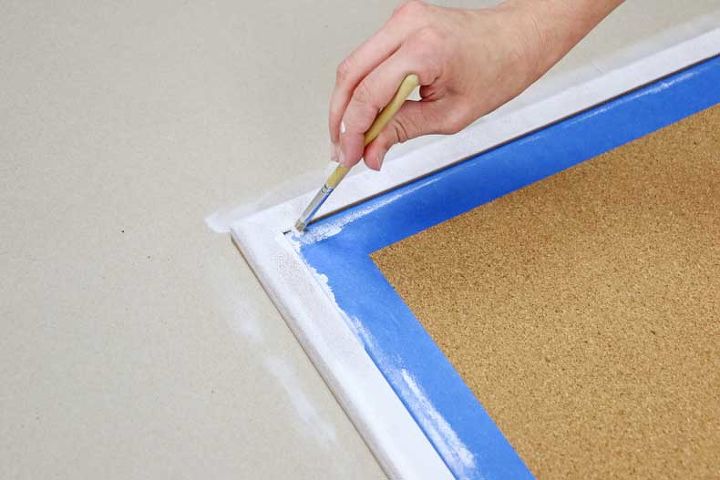
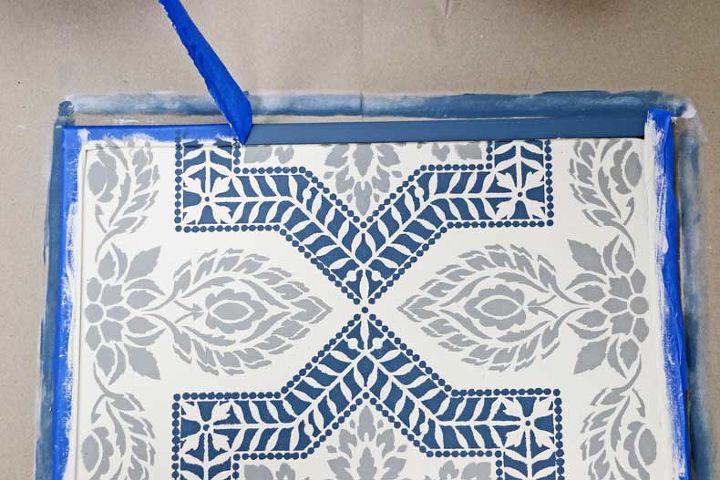
 For the inner portion of the border, use a 1/4” professional stencil brush. This makes priming small spaces a lot easier.
Wait for the primer to dry and repeat the same process with your paint color!
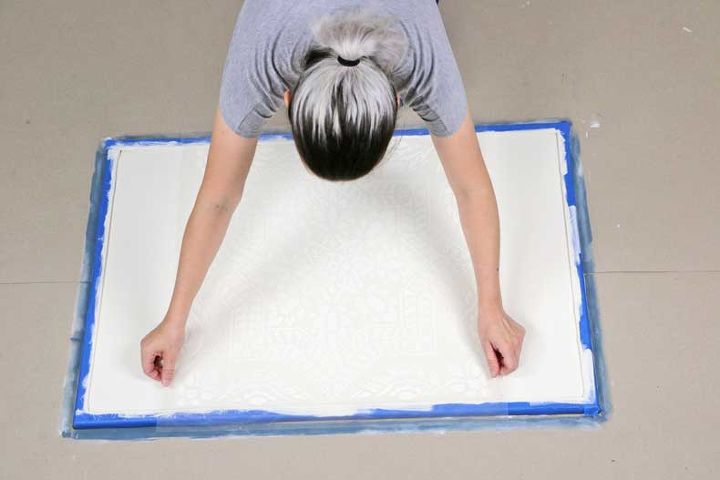
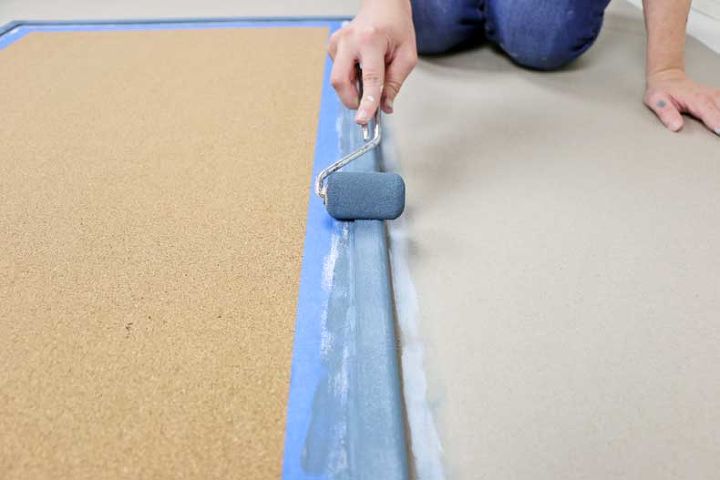 Once the paint has dried completely (overnight is best), tape off the painted frame including the inside edges. With a 4” dense foam stencil roller, apply two coats of Navajo White paint to the cork portion of the cork board.
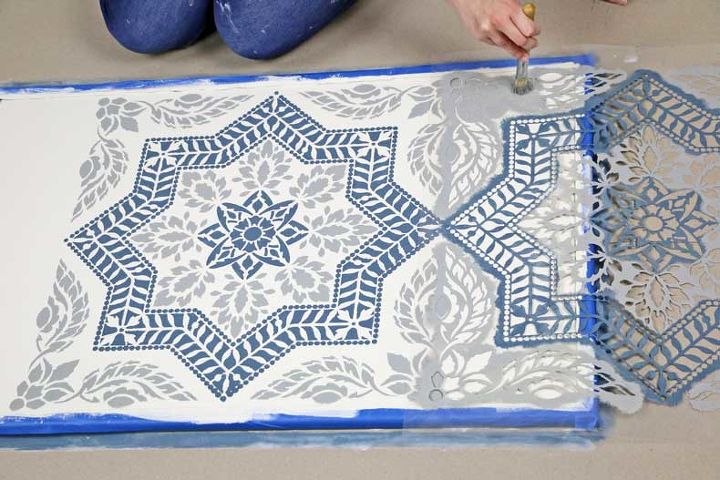
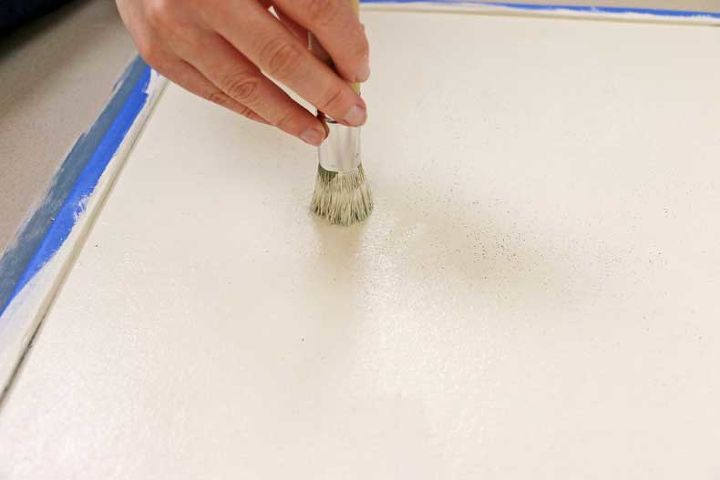 Because cork has a porous texture, it tends to absorb paint much like a sponge would. However, the solution is easy! Just take a 1” professional stencil brush and dab paint onto any areas that look sparse.
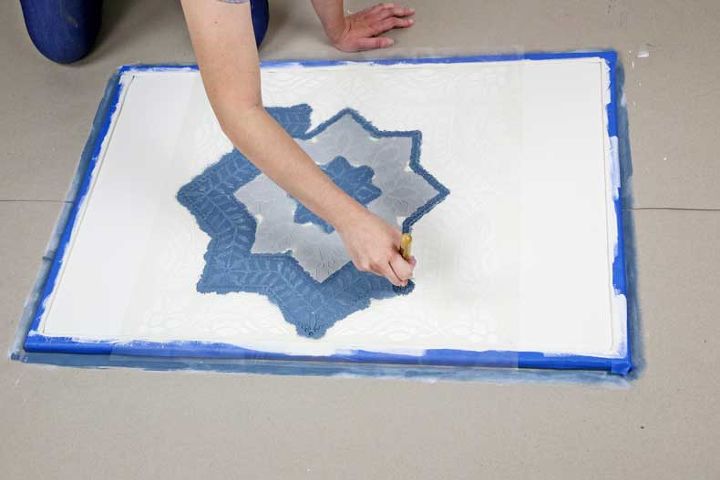 Use professional stencil brushes for each different color of the stencil so your colors don’t mix. Use dabbing motions instead of swiping motions so the paint gets into the texture to the cork board!
 Finally, slowly peel the tape to reveal your beautiful stenciled masterpiece!
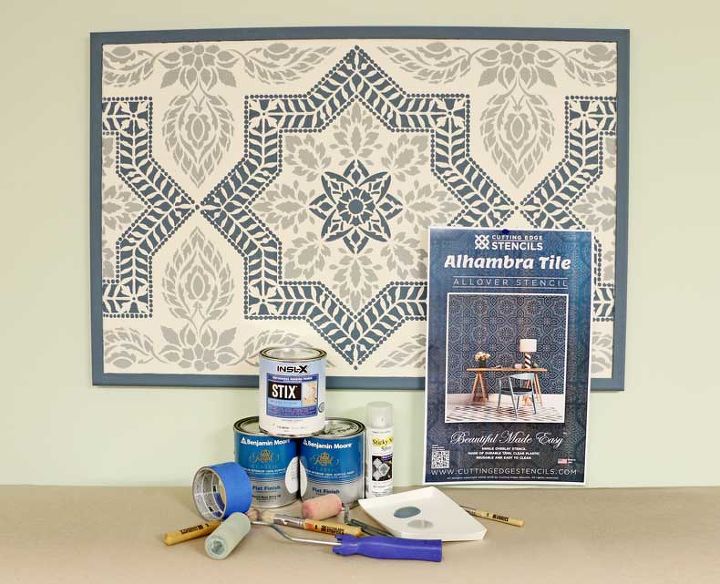
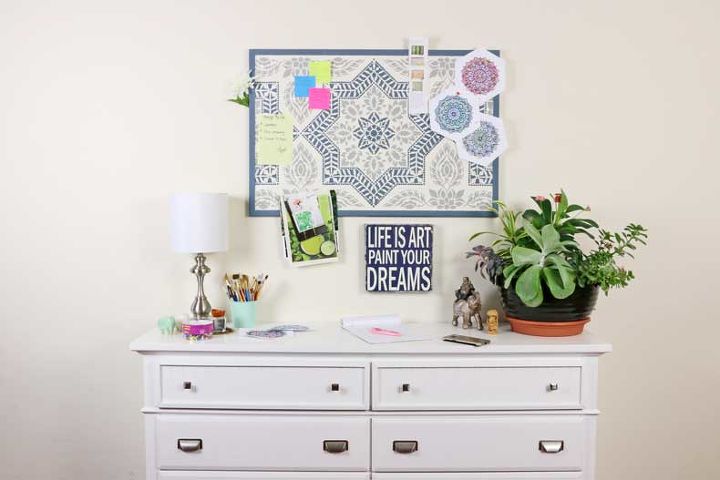
Now you have an elegant stenciled cork board that’s both useful and decorative. And it took no time at all! Hang it in your dorm room or office: the possibilities are endless!
 Check out the video to see the steps in action!
Want more details about this and other DIY projects? Check out my blog post! GO