 Add your moulding/trim – Next, we topped off our beadboard with a piece of moulding. I searched the whole store for a piece that would be wide enough for my hooks and not splinter when screwed into. So make sure your piece of moulding can handle your needs, or it will ruin your final outcome! Then using your miter box and saw, cut your moulding so that each piece fits together seamlessly. Apply liquid nails and top off your beadboard! We secured it with just a few finishing nails into studs. If your wall isn’t closed in, you will want to add a piece of trim or moulding to give it a finished polished look. We used just liquid nails to apply our trim.
Fill, sand, caulk – This is where you really see your project come together. I was feeling a bit worried at this point that our seams were going to show. Well, that was silly! Fill every nail and sand. Next, caulk all your seams. Caulking is the star in this show! Once it was caulked we both were amazed at how easy and fast it all came together! For the top of the moulding, I use the blue painters tape trick. Place a piece of painters tape where the moulding meets the wall, and apply your caulk. Then remove the painters tape almost immediately, and you will have a perfect caulk line without getting it on your wall.
 Paint – Using a paint brush, I applied two coats of my white paint, and it was done!
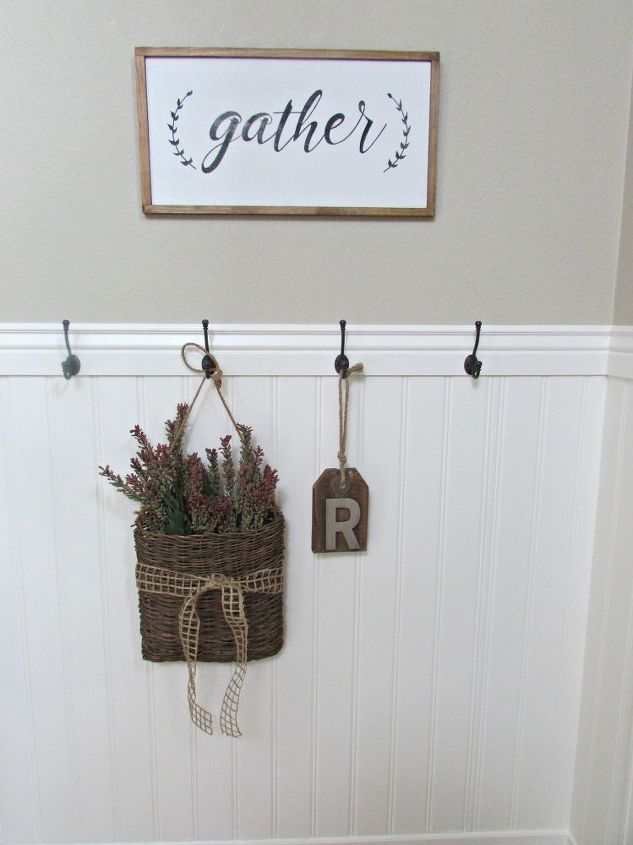
Add your hooks – If you’re using hooks, once the paint dries screw them into your moulding. And that is it! Stand back and awe at your beautiful new wall for under $30 (if you have everything besides the beadboard on hand like we did!).
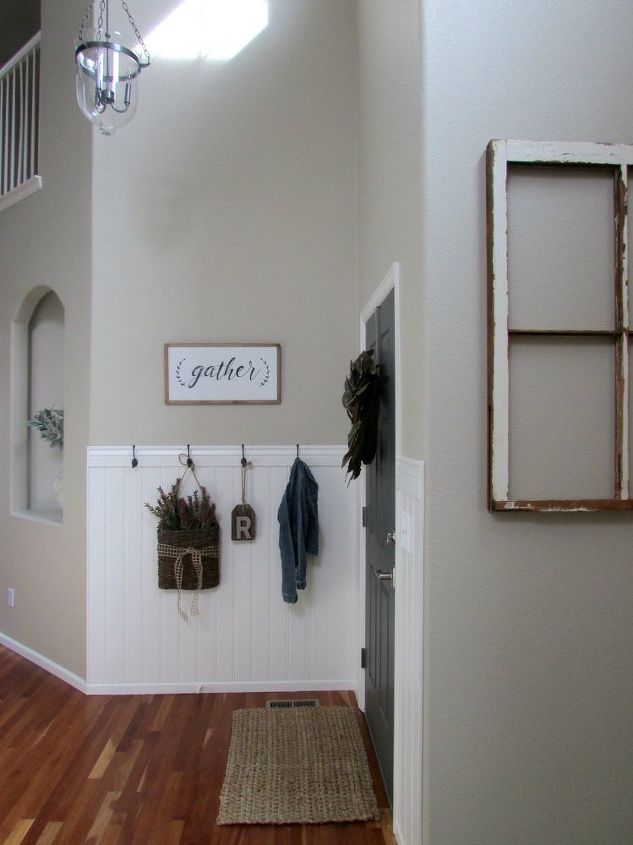
 We really couldn’t be happier with the outcome. It was easy, cheap, and made such a huge impact. You can see from the before and after pictures below that we also painted the walls Sherwin Williams Sandbar. Between the new paint in the entry, beadboard, and coat hooks, the entry finally feels updated, welcoming, and rustic!
For all the details visit me at http://www.raisingrustic.com/diy-beadboard-entry/.
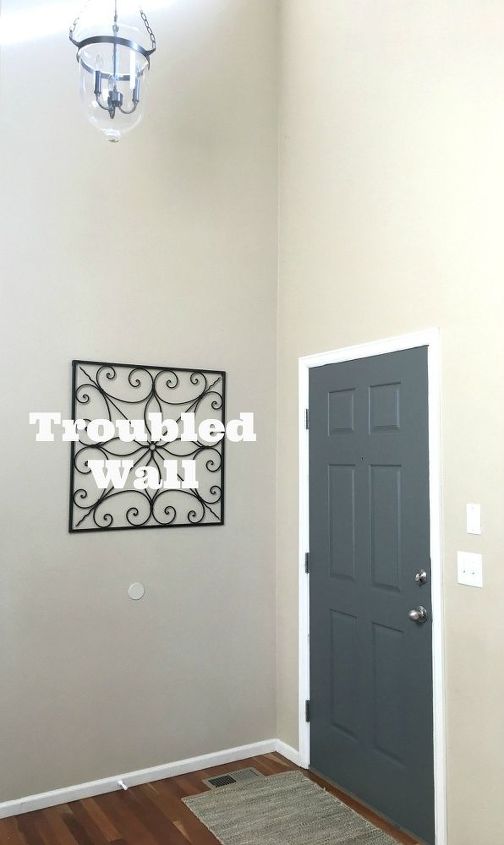
Before: Space we were working with
Before: Added new door hardware and accessories. But still didn’t feel complete!
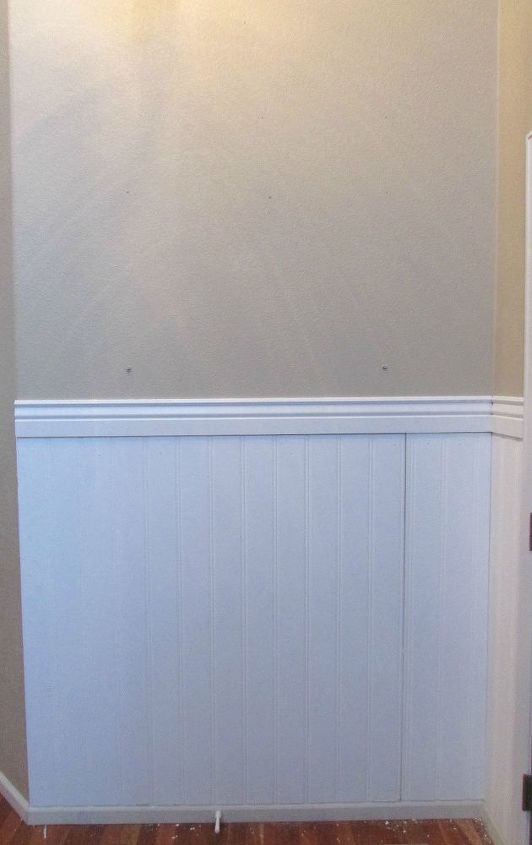
 Beadboard hung. Ready for nails to be filled, sanded, and caulked.
Ready to be painted!
Finished product! You can also see we painted all the walls. The new paint color (Sherwin Williams Sandbar), really makes the beadboard pop.
Want more details about this and other DIY projects? Check out my blog post! GO