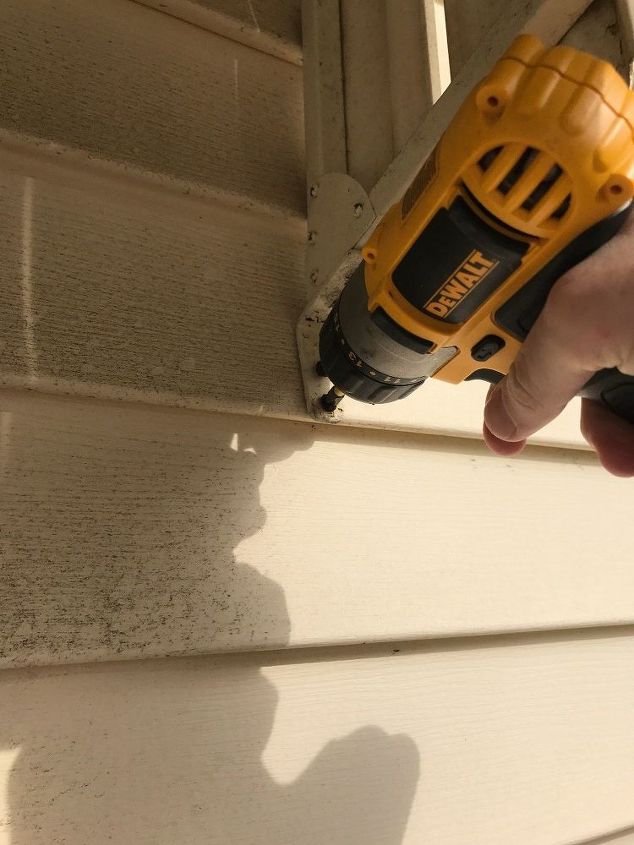
 Our awning was attached with screws on the sides and then was slid onto a track across the top, so—depending on how big your door area is (i.e.: porch, stoop, whatever it is your awning is hanging over)—you may need someone’s help removing the awning safely. I unscrewed the sides but had Rob slide the awning off and take it down.
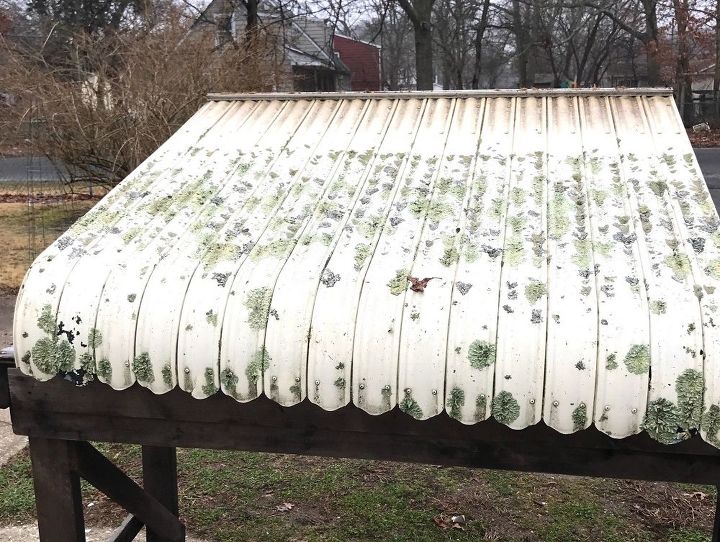 Here’s a shot a of the awning once it was down. I’m embarrassed to even share this photo but obviously I didn’t realize the extent of the nastiness on the top until we removed it and I could see the entire awning. AGAIN…GROSS!
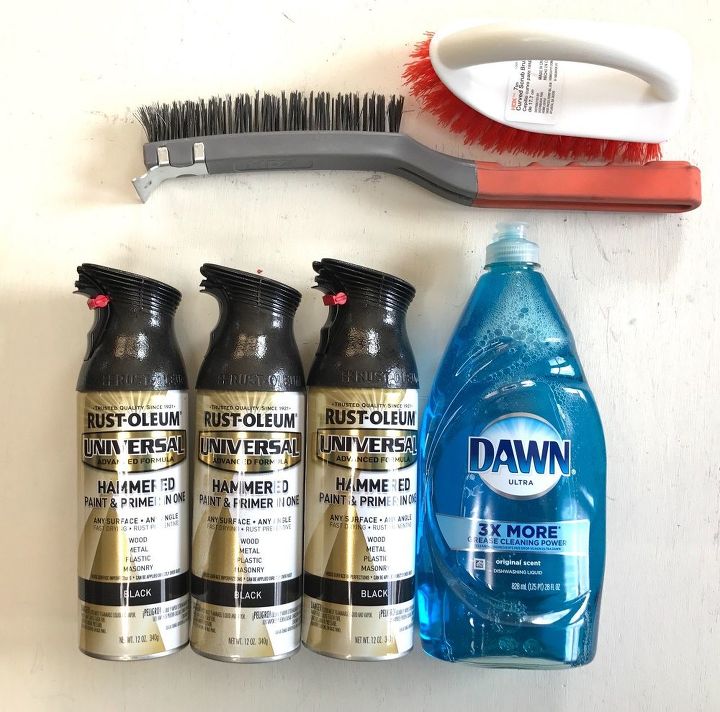
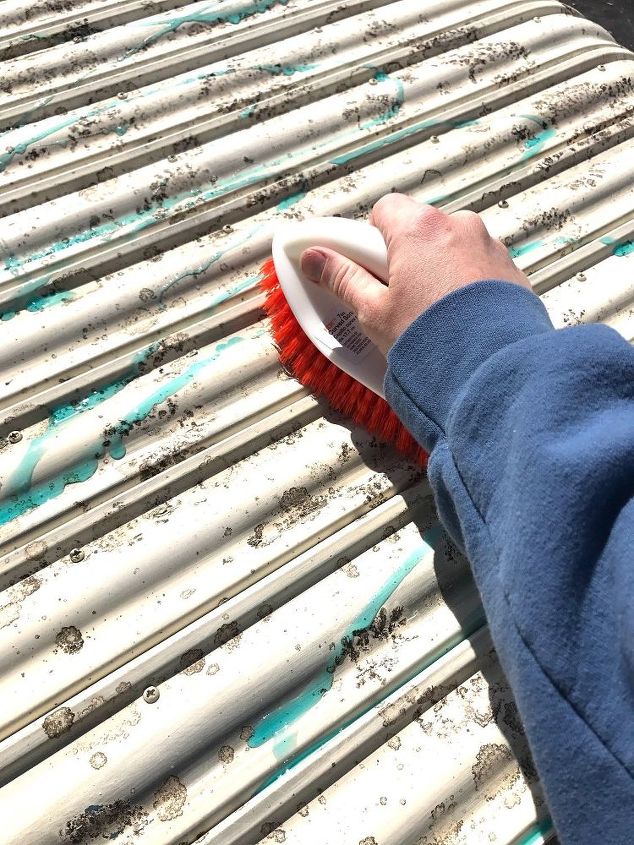
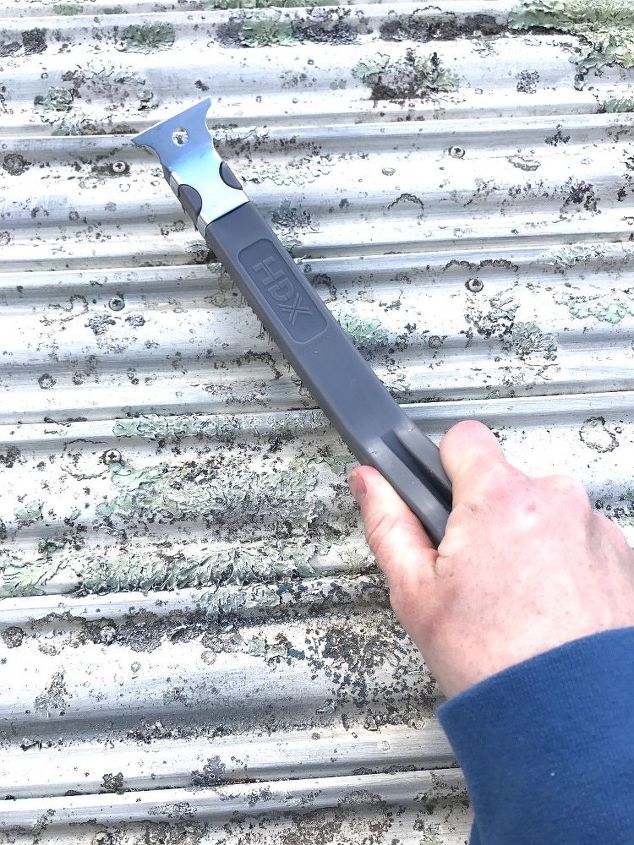 First, I took a big wire brush and scrubbed the living day lights out of both sides of the awning. I underestimated the elbow grease this awning needed when it was hanging up—it was only after Rob took it down that I discovered all of the lichens on the top. It wasn’t just chipped paint that needed to be removed! I made sure to get in all the crevices of the awning to get the clumps of dirt and lichens out as well. If you have a pressure washer, I’m sure that would be even better, but we don’t have one and I really didn’t want to bust out the crazy chemicals (paint strippers, etc.), so the wire brush worked nicely. Keep in mind that my awning is plastic! Rob and I never knew that either until he took it down.
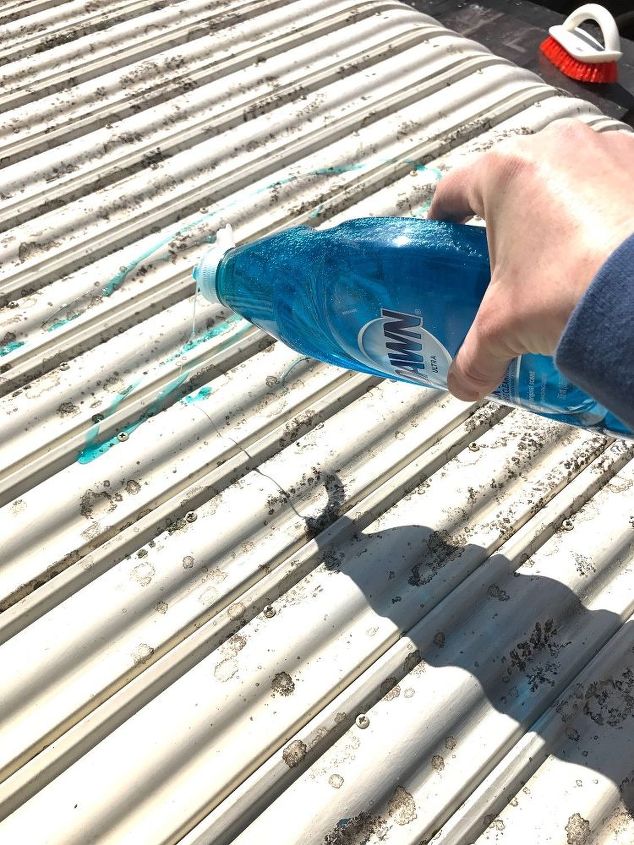 It took me at least an hour to clean the awning because I would add the Dawn soap, scrub, then rinse a section at time so that I could ensure it got a good cleaning.
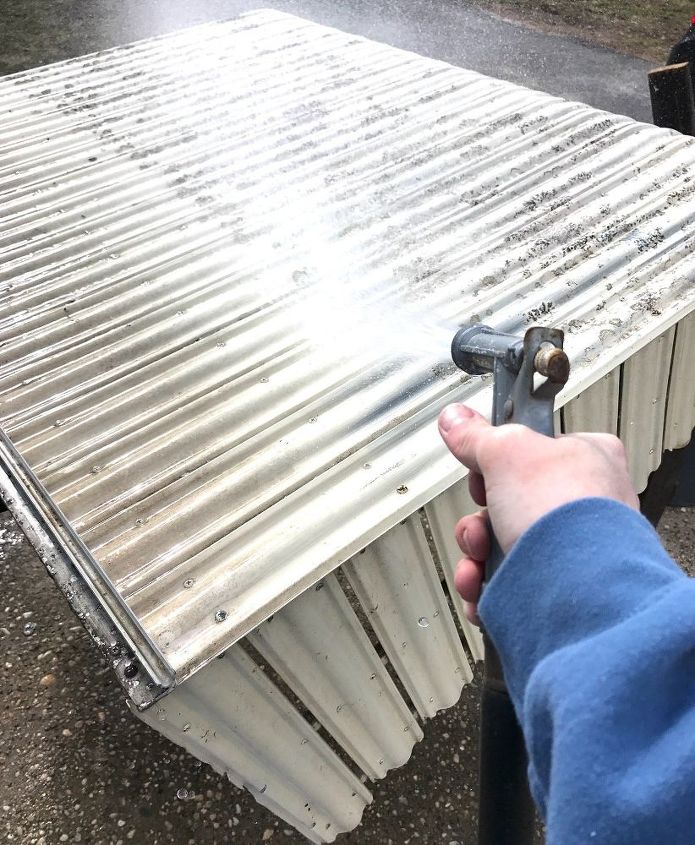
When you’re finished scrubbing, spray the awning off with your water hose and let it dry completely.
 After my awning was completely dry, I sprayed 3 light coats of spray paint on each side. I made sure that each coat was dry before applying the next coat. It took me about 5 bottles of spray paint to complete the entire awning, so I’m really happy I got them at such a good price.
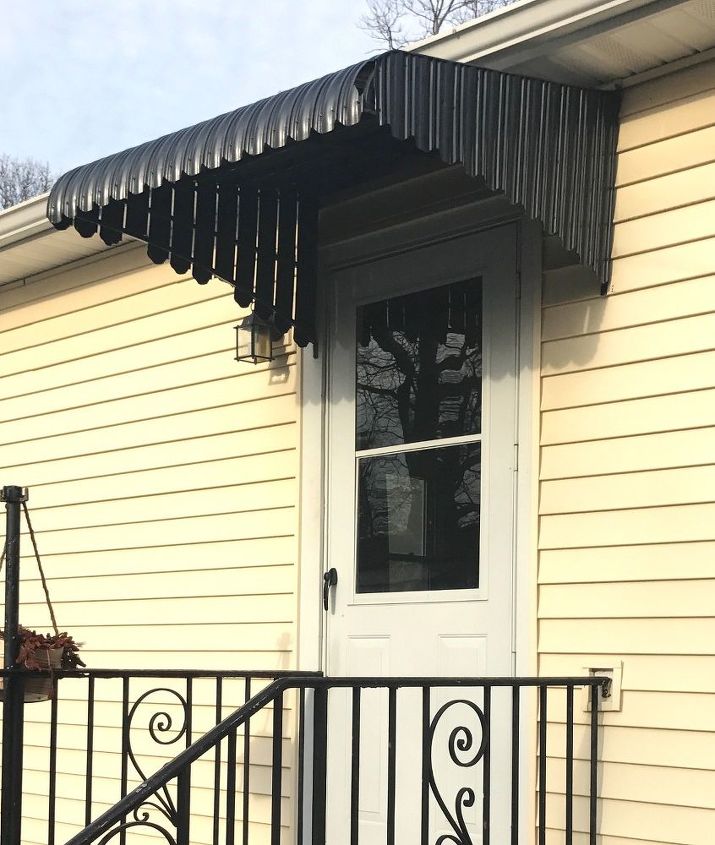 I know the awning itself isn’t perfect by any stretch of the imagination, but it’s so much better than it was! We have a laundry list of things that need to be purchased between our supplies for our kitchen/living room reno, décor, furniture and other things, so for now, I’m happy with the facelift our awning received until we can purchase a new one.
Here’s a shot from the side–again, so much better than it was!
Want more details about this and other DIY projects? Check out my blog post! GO