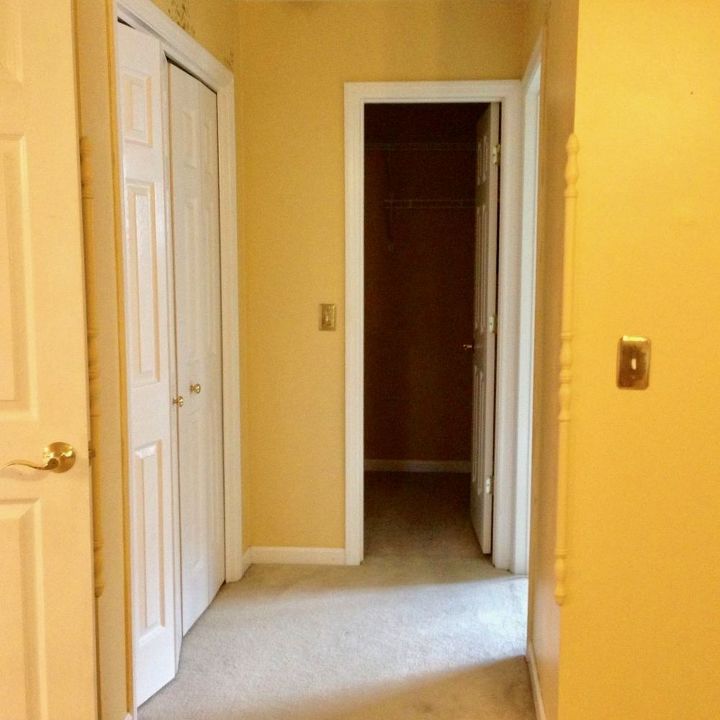
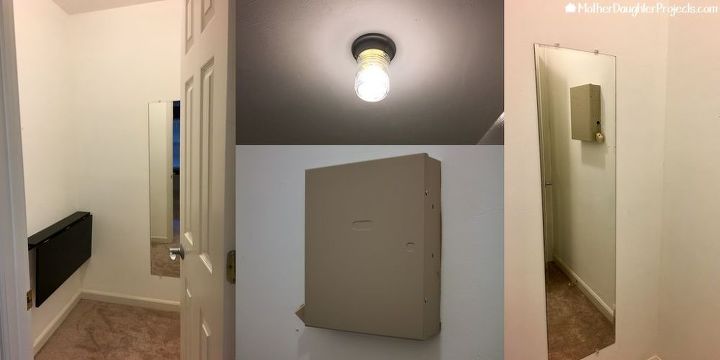
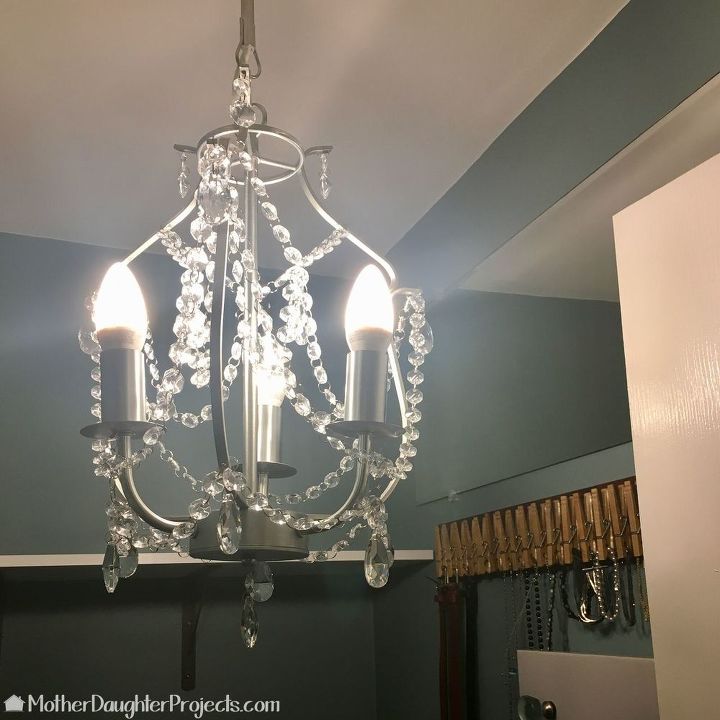
 Step 2: Paint and Plan When I moved in my house, we painted the closet white as a base. I started making it a recording booth, you can see the collapsible table I had installed. Also, the closet had this electrical box for the alarm system in the middle of one of the walls. I also wanted to replace the builders grade light with something fun! Mom painted over the white walls with the same color paint that we used in my master bathroom.
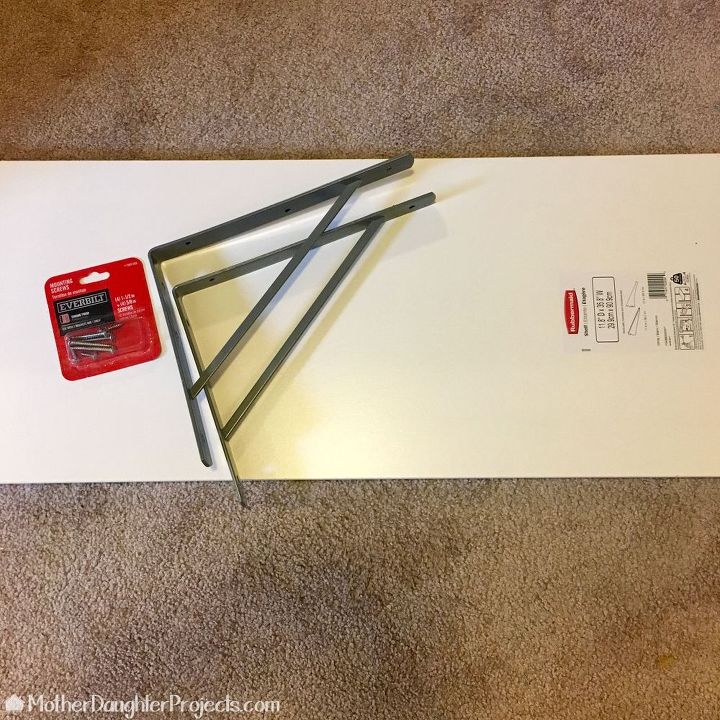
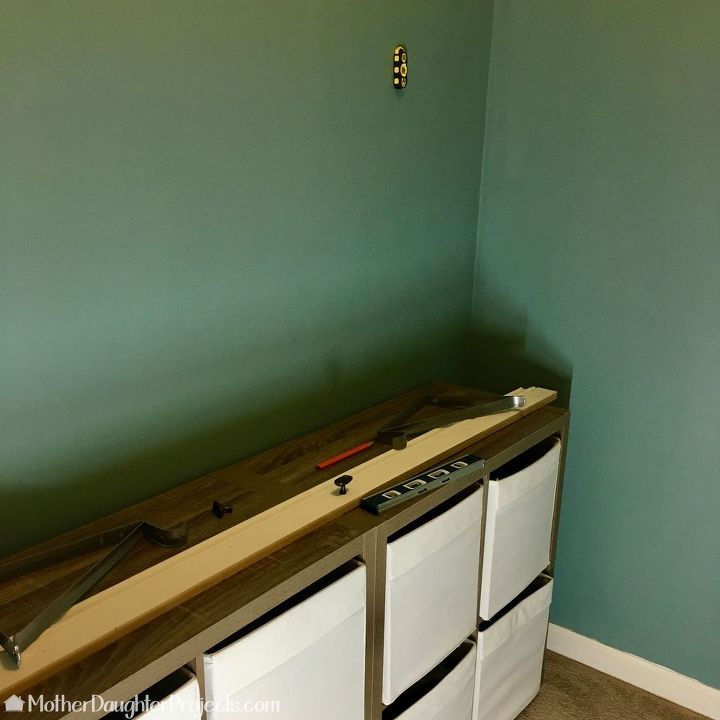 Step 3: Install Shelves After the paint dried, I installed 3 sets of brackets and shelves. The key was finding the studs in my wall so the brackets would be nice and strong. Our favorite tool, the magnetic stud finder makes finding studs a breeze!
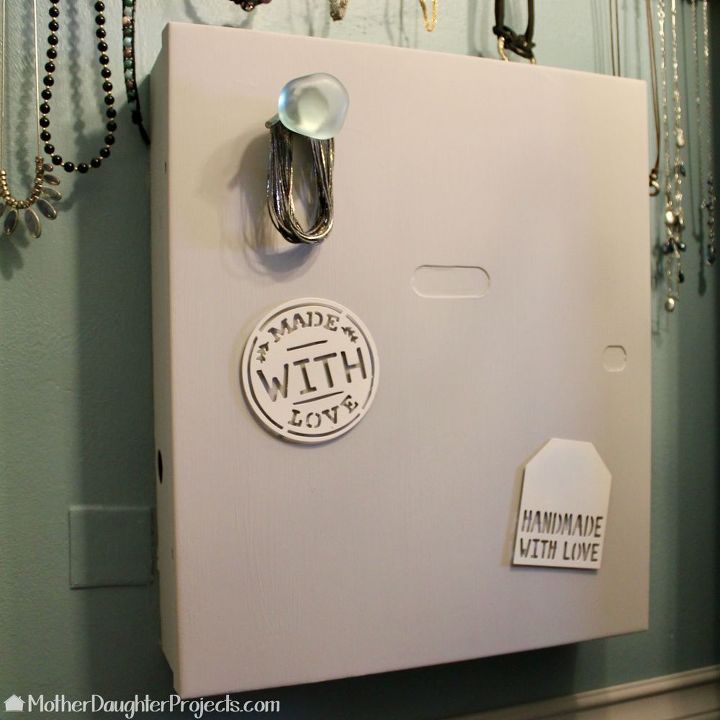
 Step 4: Install Accessory Organizers Previously, we had made a jewelry and belt organizer and recently made a scarf and hat organizer. I installed those, again attaching them to studs for a strong hold. We also painted the electrical box with chalk paint and added some magnets, so now it doesn’t look so out-of-place!
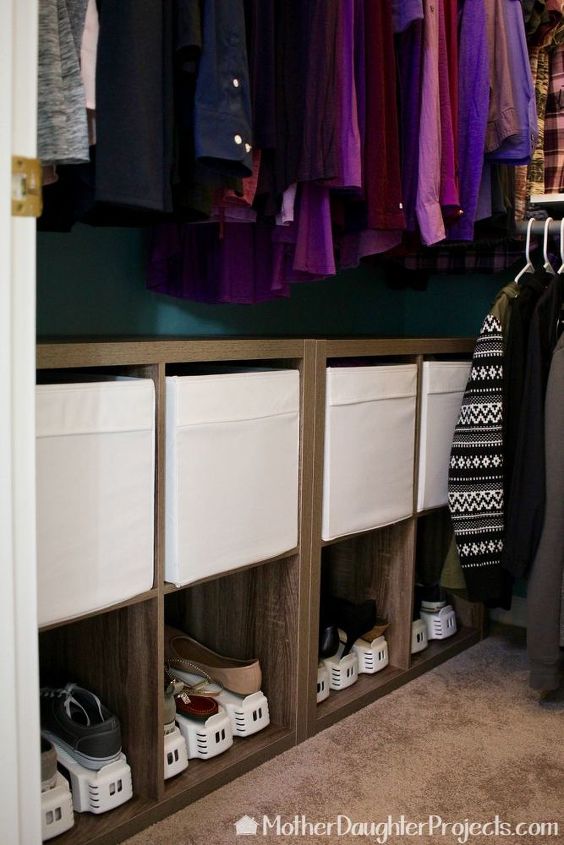
 My walk-in closet has a great feel and is very functional now. I didn’t go with a pre-designed system because I wanted to design it for my needs. I considered building shelves and built-ins, but I think it would have cost more money than buying ready-made.
What room or space have you been wanting to makeover? What’s holding you back from getting started?
Want more details about this and other DIY projects? Check out my blog post! GO