 Here you can see a dry fitting of the molding being fit into place in that notch. All the angles were simple 45 degrees. No complex compound miter cuts.
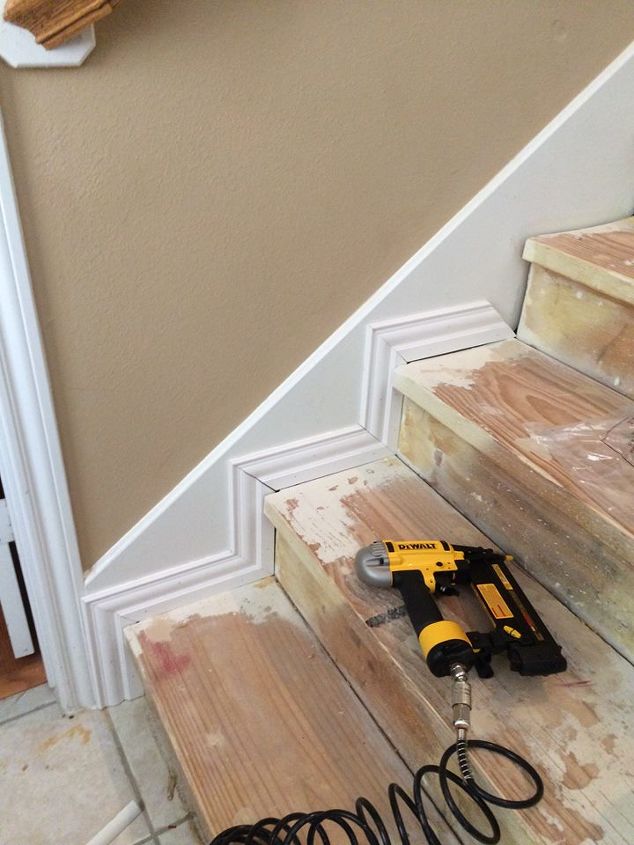
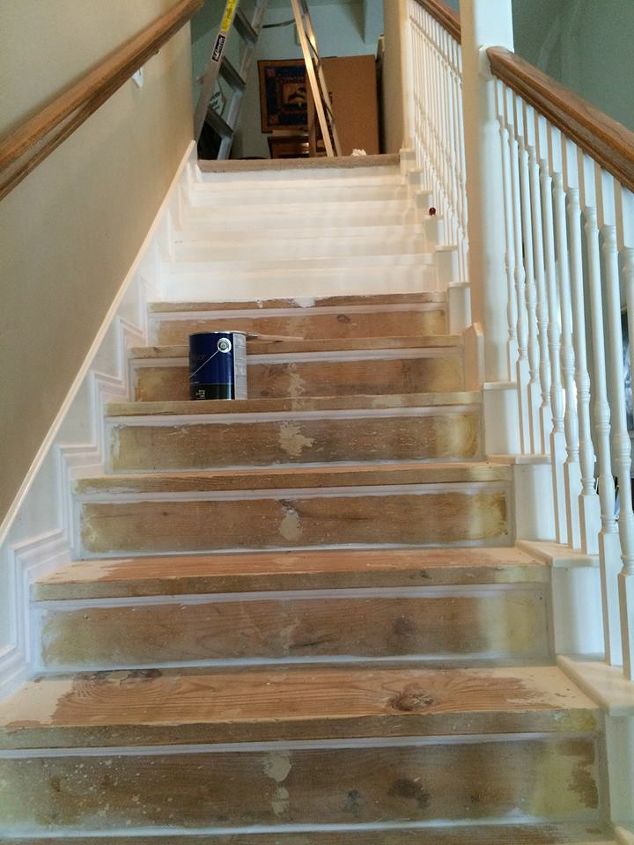
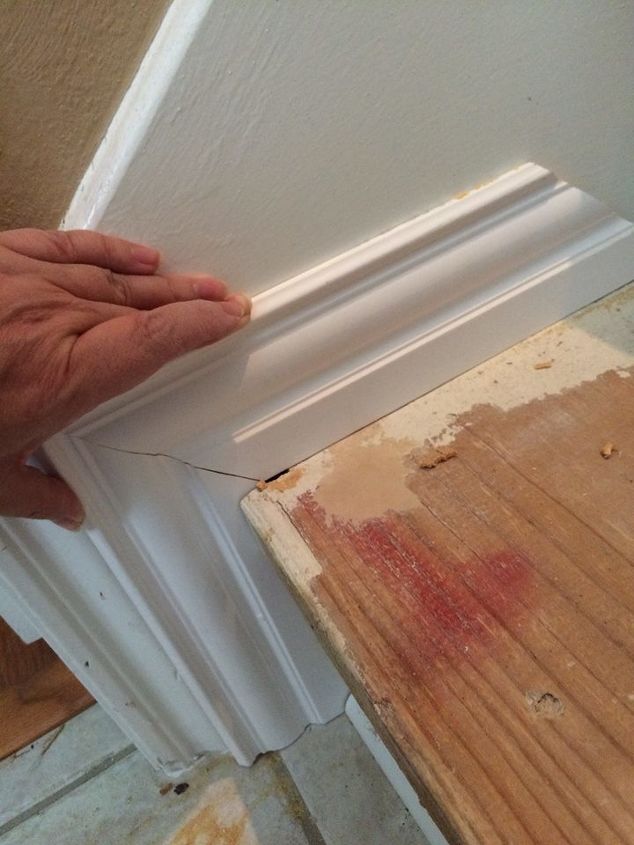 As I progressed up the stairs I would use my small nail gun to nail each piece in place before measuring and cutting the next piece. A lot of cuts were slightly different from each other because of the imperfect placement of the original builder’s grade stairs.
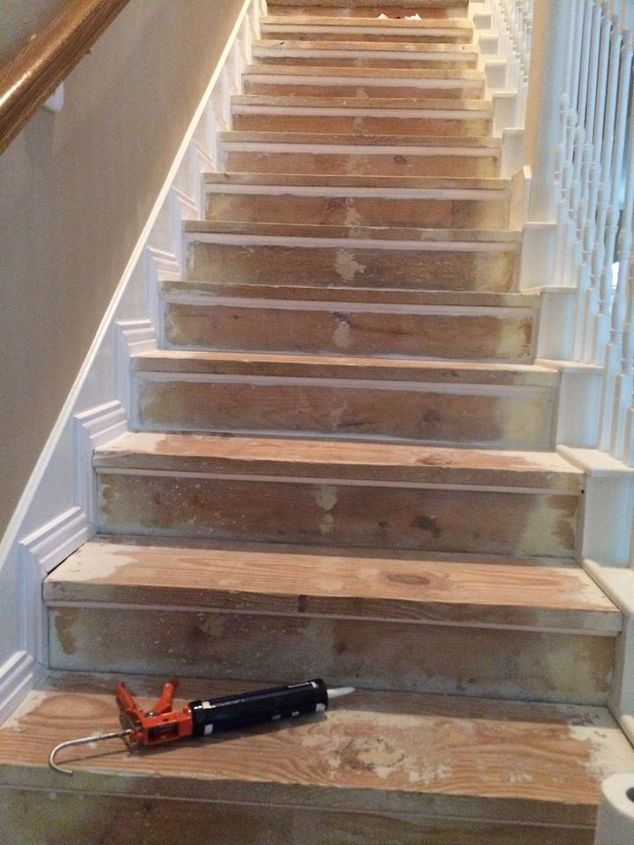
 I added an extra bit of quarter round underneath each tread edge to give it just a little more finished touch. For my staircase, I have 15 steps, It took 4 1/4 tubes of paintable caulk to seal all the edges.
I was pleasantly surprised with how low the smell was with this paint. I was expecting a lot more odor. I highly recommend it.
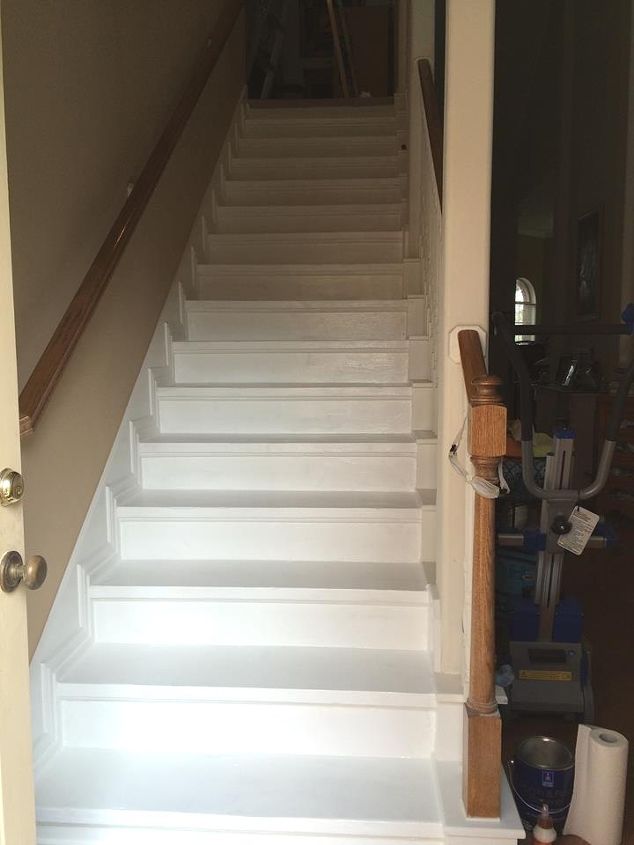
 Here is how the stairs look all painted up with the first coat. I will put a second coat on.
 This is my test layout of the tread rugs also to let them uncurl from the shipping box.
 Looking at the tread rugs from the living room.
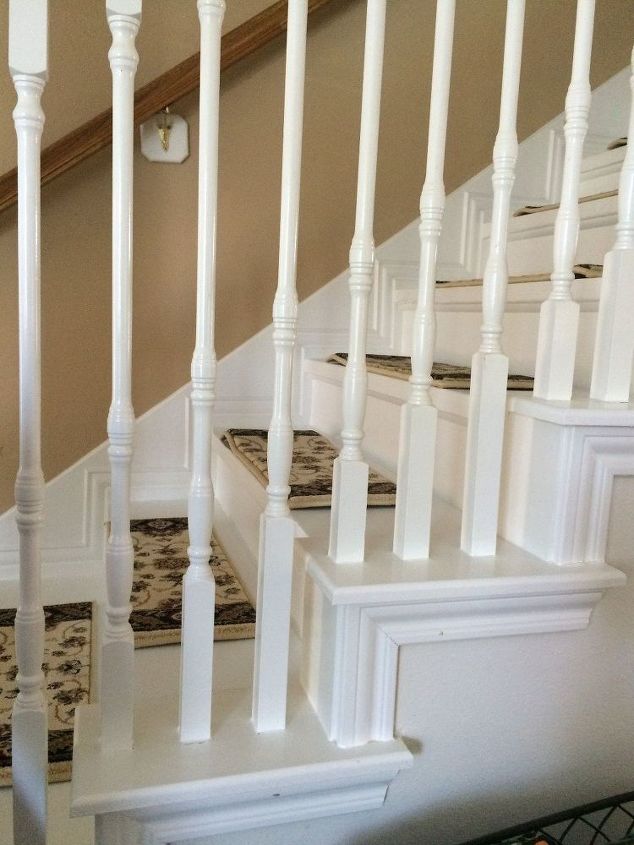 This shows the original trim on the outside of the stairs that the builders placed.
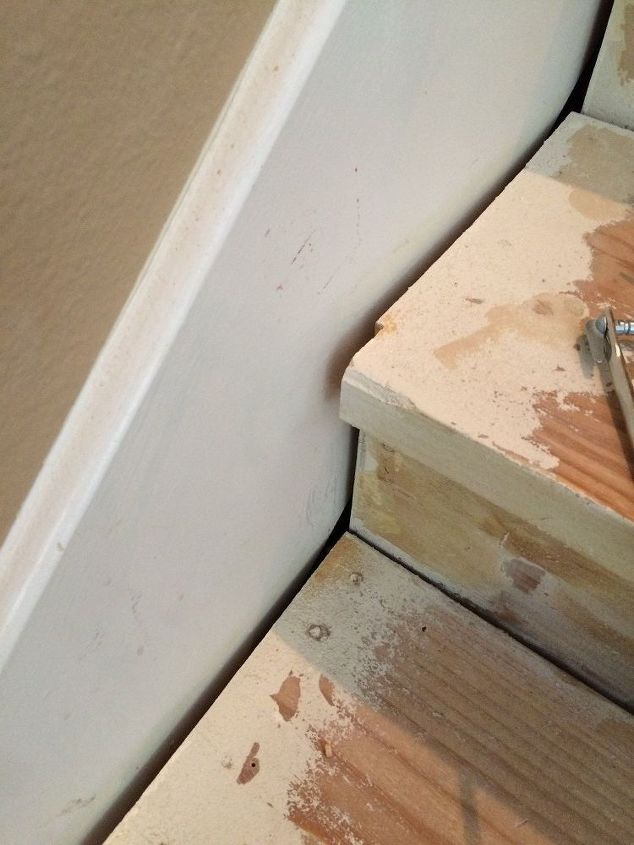
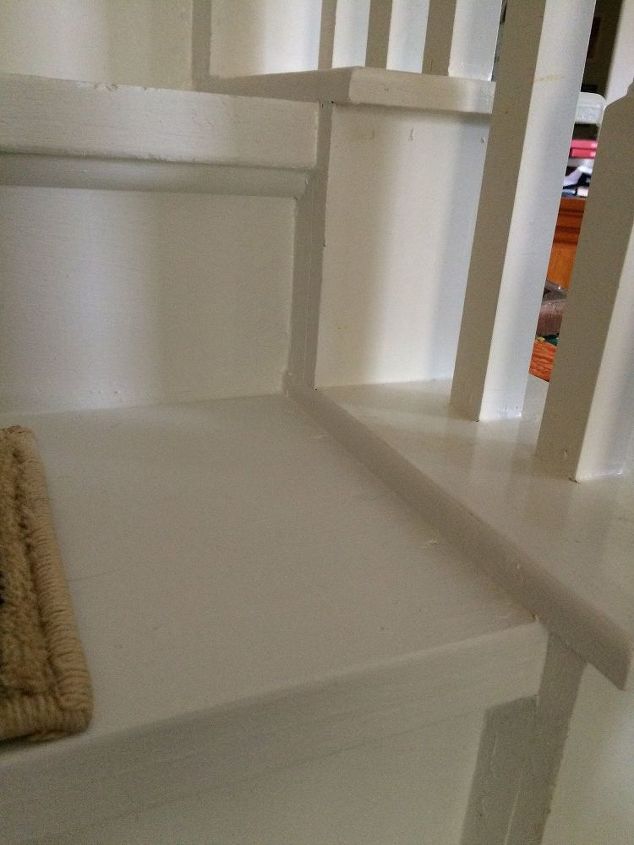 This is the inside view of the right side of the step. I only had to put a bead of caulk to address this side.
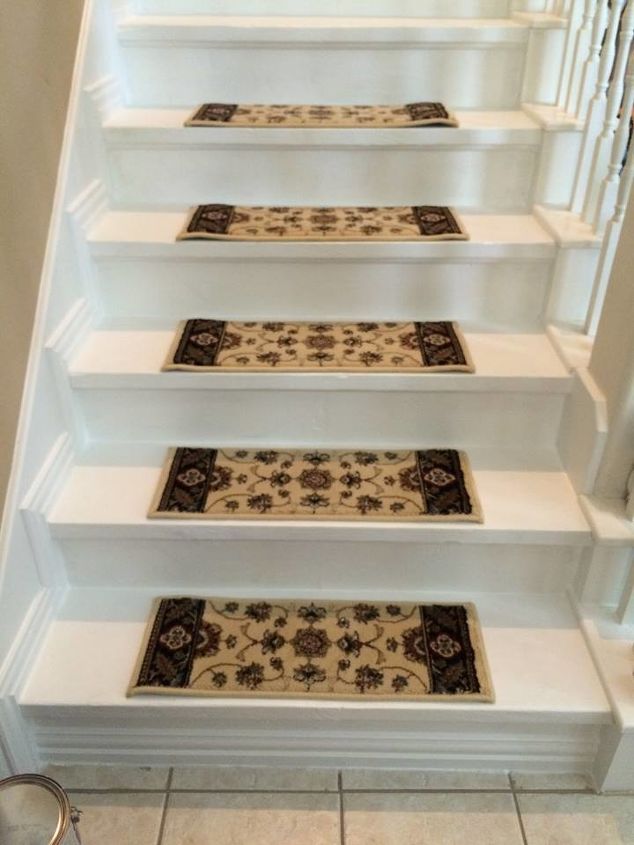
 The stairs are all finished. The tread rugs are nailed in place. I used a string line going from the top step to the bottom step to help me align the design with the center graphic.
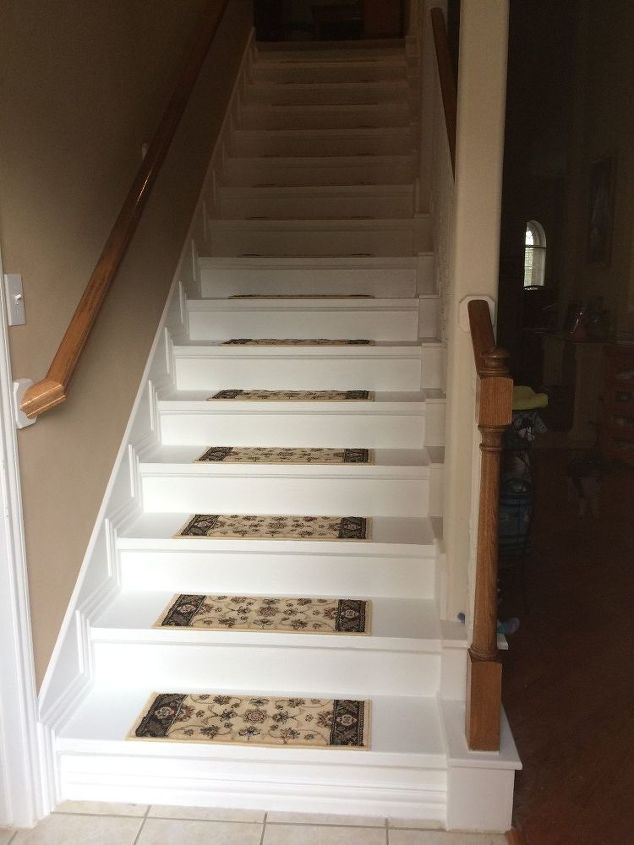 My total cost for the entire project including buying the nail gun to keep for future projects, was $327. What do you think?
Want more details about this and other DIY projects? Check out my blog post! GO