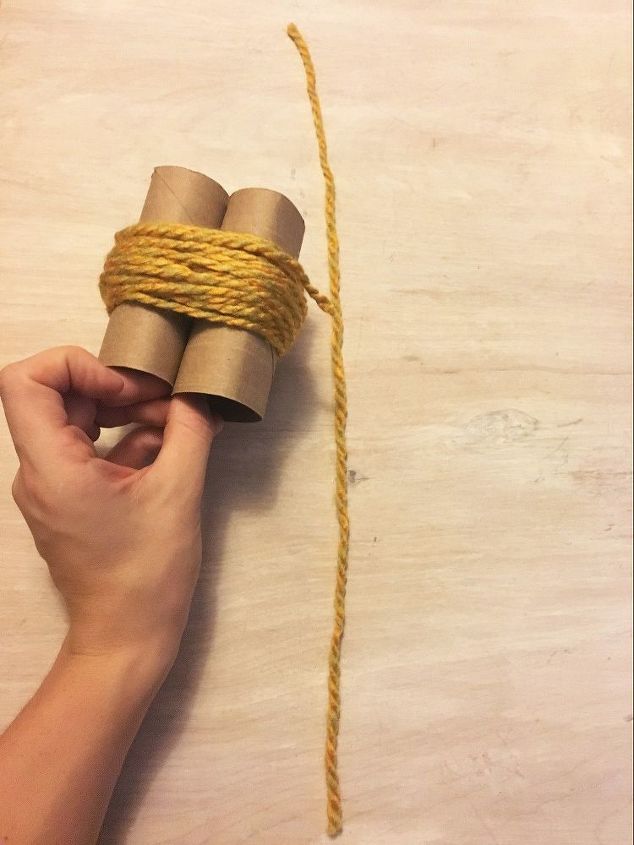
 STEP 3: Cut the string Once you have a nice mound of yarn on the rolls cut the rest of the skein or ball loose.
 STEP 4: Cut a new piece of yarn Cut a random strand of yarn separate from the roll you just wrapped. (about 7-10″ should be good)
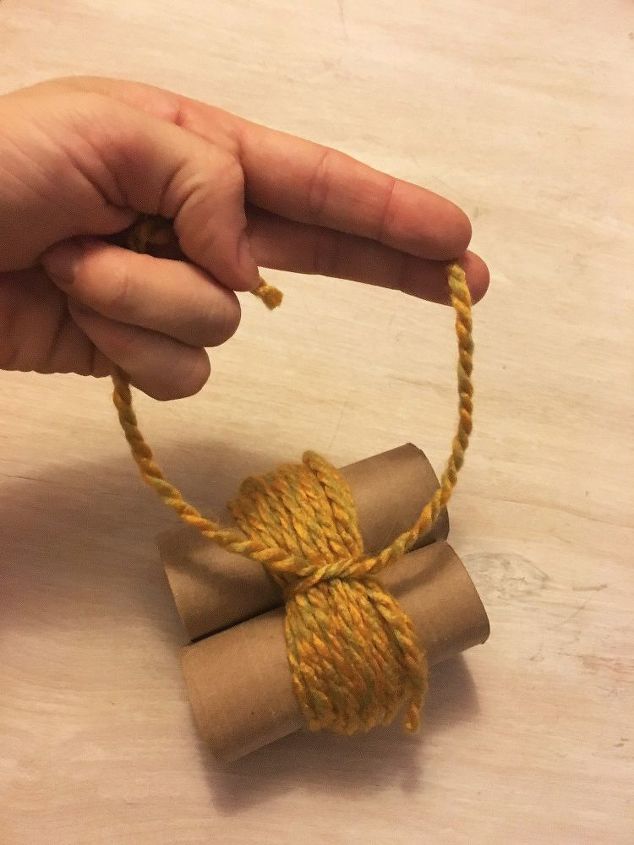
 STEP 5: Place the yarn between the rolls Take your yarn strand and feed it between the two rolls of toilet paper and wrap it around the pile of yarn.
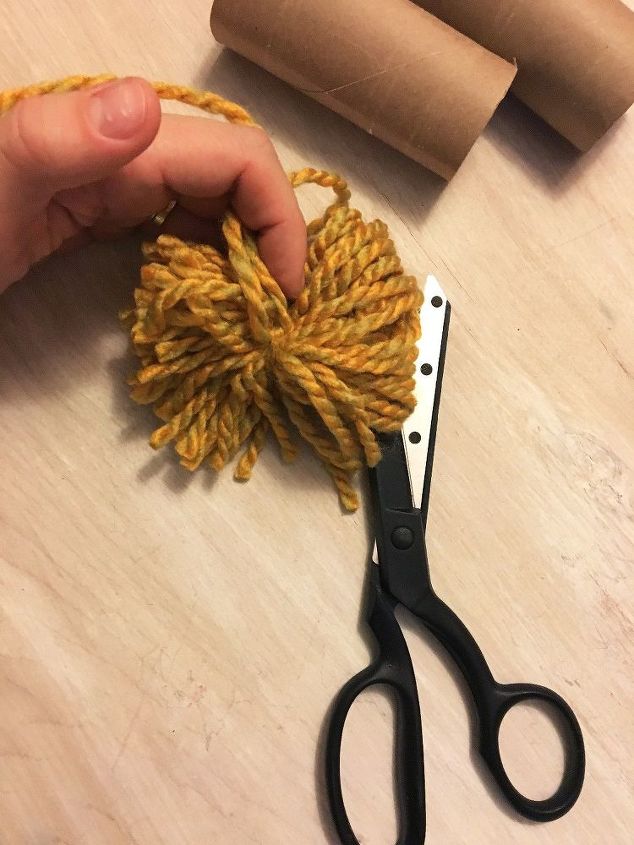
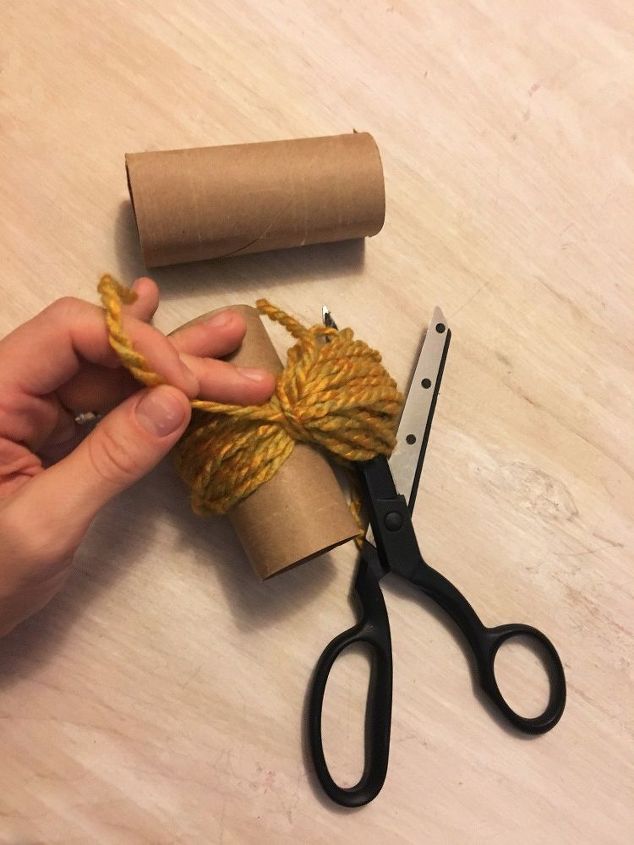
 STEP 7: Cut the loop Slide one of the toilet paper rolls out from the yarn and cut down the center of the loop that is left.
 STEP 9: Cut the other loop Now cut the looped side of the poof down the center as you did with the other side.
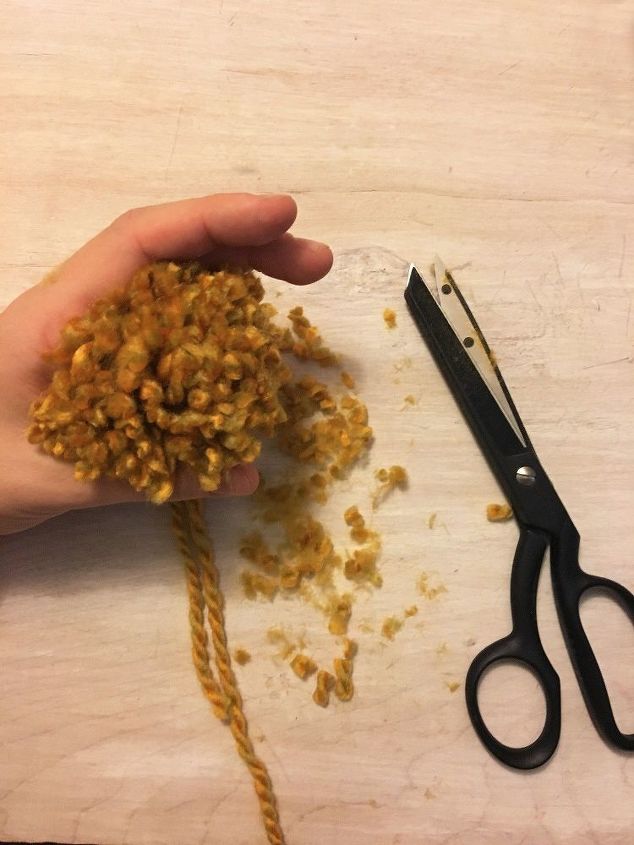
STEP 10: Trim and shape Now trim the poof so that all the strands are even and consistent with one another. Leave the tail on! Do not cut the strand wrapped around the middle as it will serve as the anchor to tie the poofs to the rug mat.
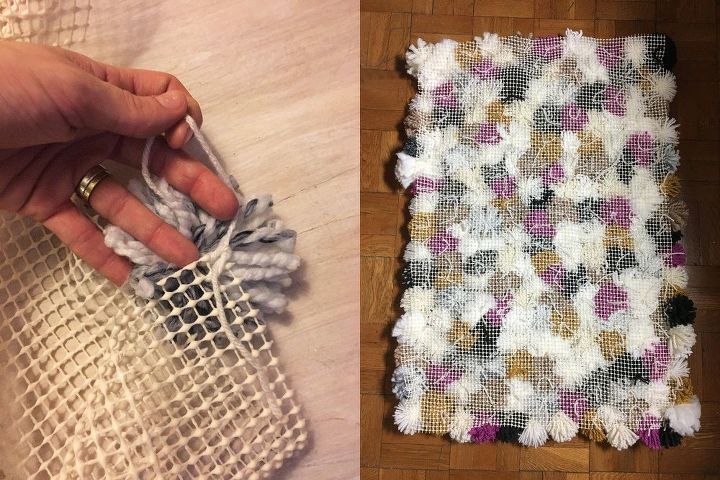
 STEP 11: Tie on your poofs Now for those of you who are only using pre-made poofs, here is where you can join in the fun! Grab your pre-cut rug mat and place your poofs to make sure you have enough to cover the mat and also that they are positioned as you would like. One by one use the tail and feed it through the grids in the rug mat and tie it in place. Be sure to tie a nice tight knot so they stay in place. Keep tying all the poofs until you are complete. The back should look like the picture on the right.
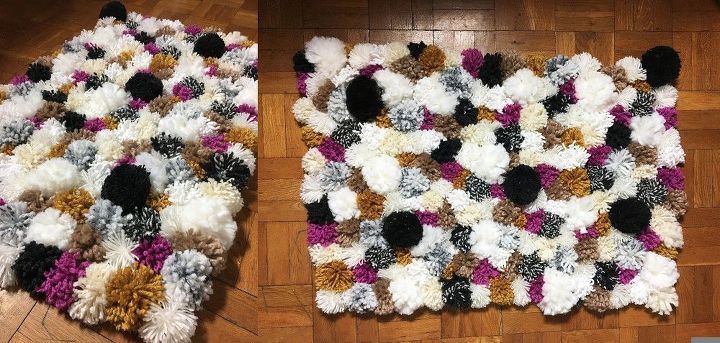
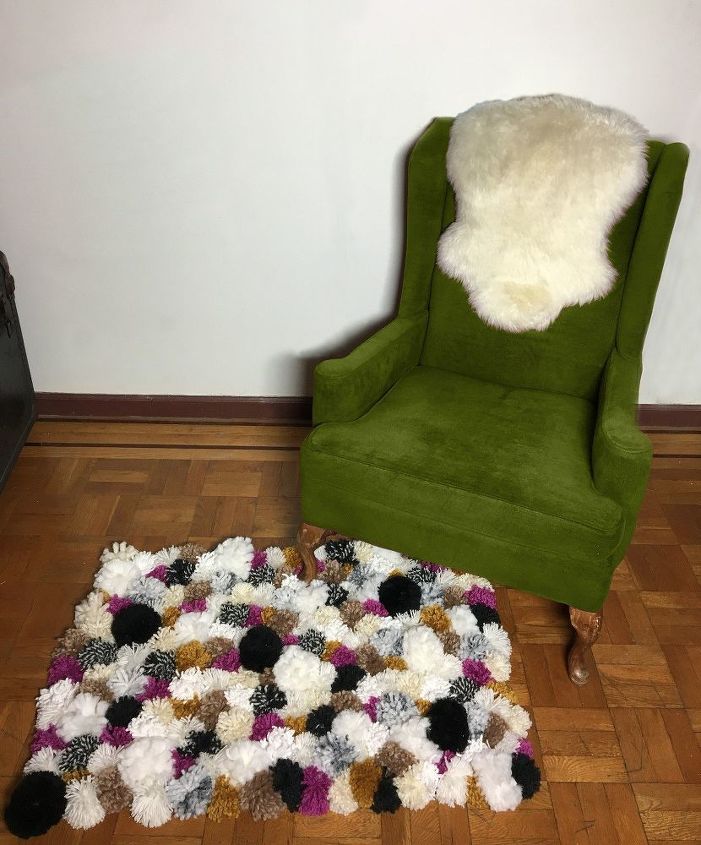
Now make sure there are no empty spaces and that they are all arranged in the way you would like!
This thing is so nice and fluffy! I have got to keep it somewhere nice and clean so it stays as cute as it is right now.
I want to make one for every room in the house! This thing is so stinkin cute!
Want more details about this and other DIY projects? Check out my blog post! GO