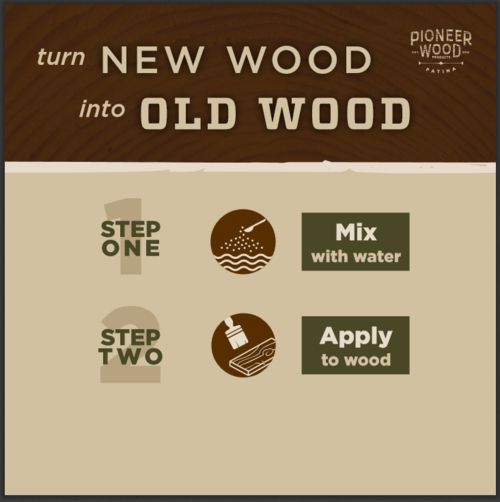
 Step 2: Get your hands on this magical powder! I love this stuff. It’s easy to use, no mess, no clean up, just easy peaze! You can buy it at: https://pixiedustpaintcompany.com/
 Step 3: Mix! This little bag makes 1 Quart of solution which was more than enough for my kitchen island!
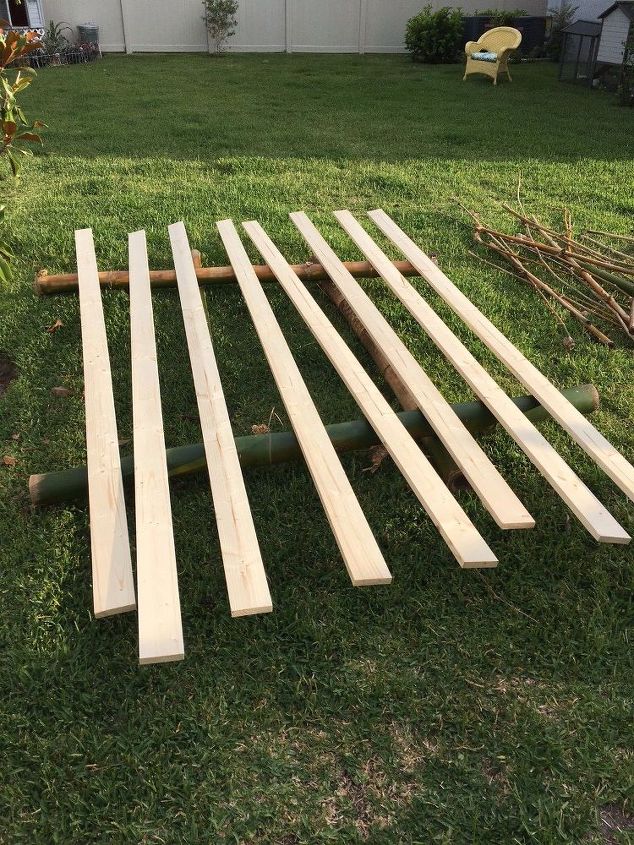
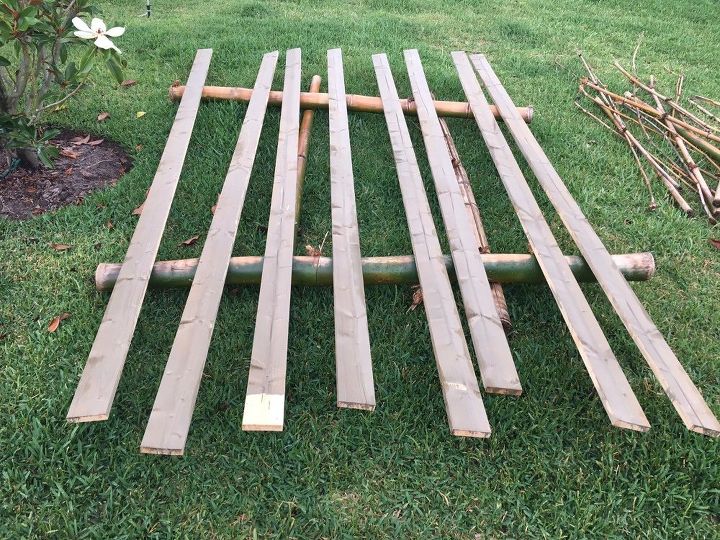
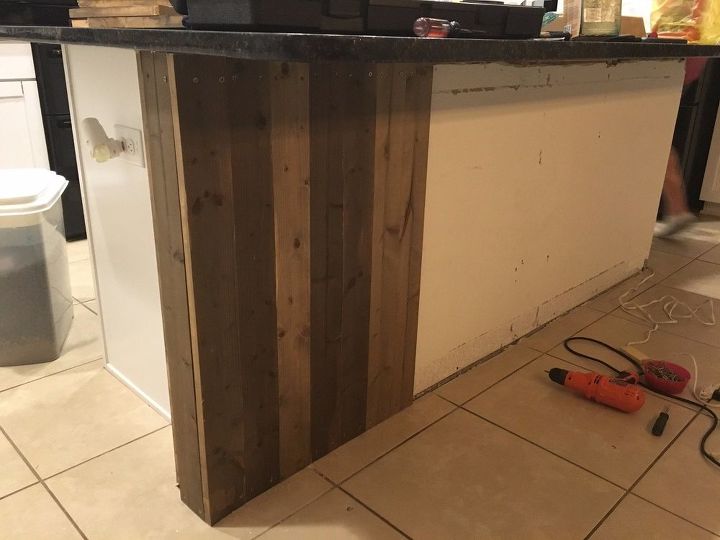
Step 4: Build an Ark! Go to your nearest home improvement store and get some boards to fit your project. We went with some 1×4’s that were 10′ in length. We had 10 boards total because the pugs peed on 3 of the boards and cause a chemical reaction with the solution and the wood. Let’s just say, keep your boards away from pets and always buy extra! We used bamboo to keep the boards off the ground.
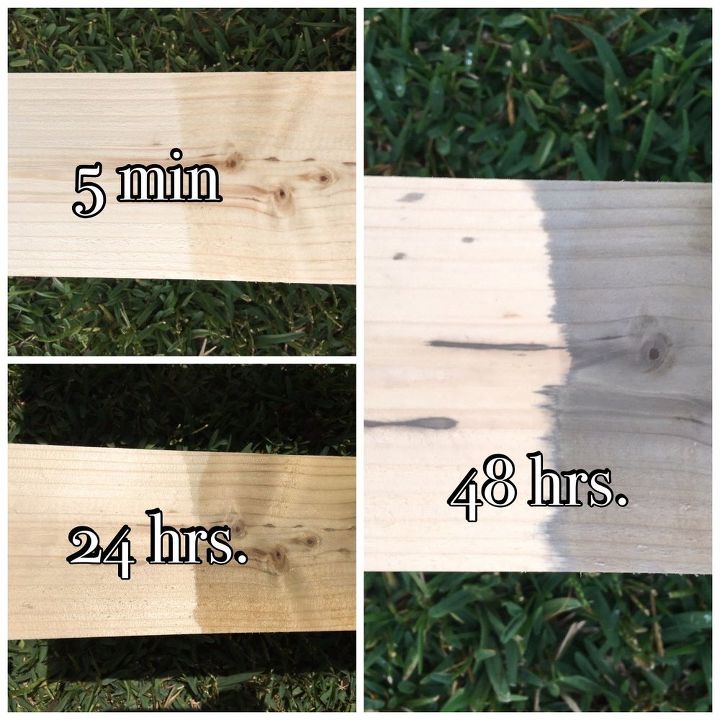 Step 5: “BAKE YOUR WOOD”. The directions state that your wood must be subjected to rain, sun, and whatever else to get an “old” look. Kind of makes sense because some of the best barn wood out there has been “weathered”. Baking times vary, we baked a batch for 3 days and for 7 days, you will see why below.
A progression of the wood baking….HOW COOL IS THAT!!!!
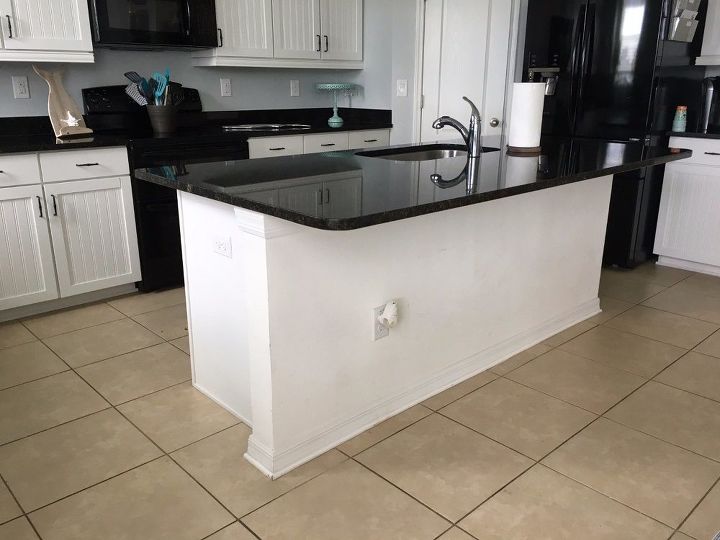
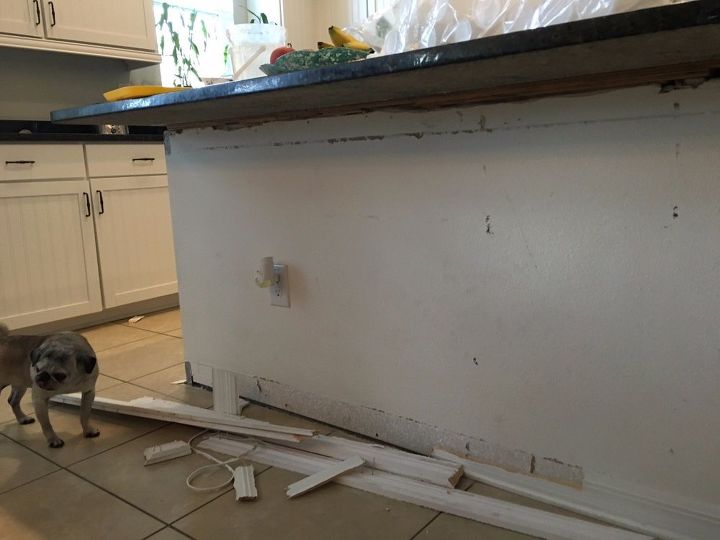
 Step 6: While your wood bakes, prep your project! Between me and 2 pugs we were able to have the island ready in about 20 minutes. Just needed to remove the molding.
Edit: electrical outlet was professionally disconnected (neighbor is a licensed electrician) as it was in an odd spot and never used unless it was a glade plug in. There are 3 additional outlets in this island, one on the left side and two on the right side. It’s a very large island however the builder was not thinking with this outlet placement.
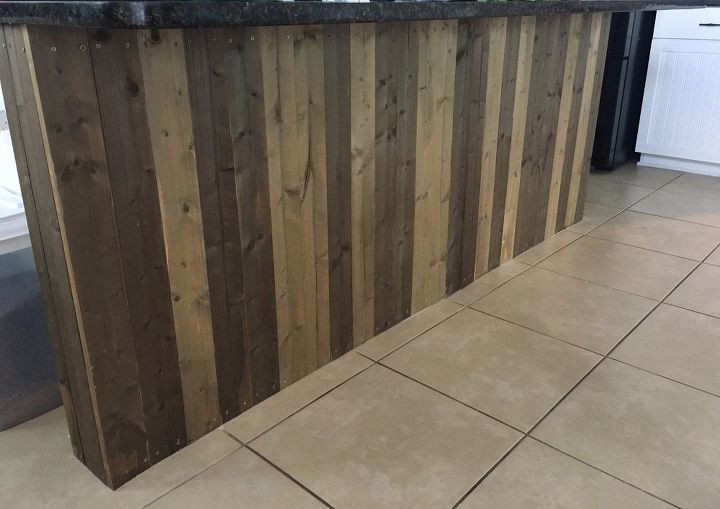
 Step 8: Stand back and admire your work! Light boards baked for 3 days and dark boards baked for 7 days. Then make a list of all the things you need to do to make the entire space come together!
 Step 9: Redo your kitchen table to match! That Pixie Dust Paint table makeover will be up soon! The table is made of a recycled gym floor that came out of Mexico! As you can see we were able to get someone to make us driftwood lighting! Thanks Stephanie for making my lighting vision reality!
Want more details about this and other DIY projects? Check out my blog post! GO