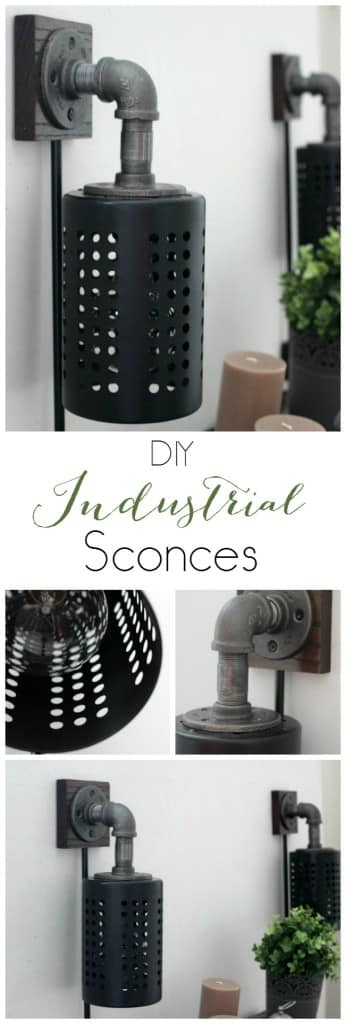
 How to Make Your Own Industrial Sconce:
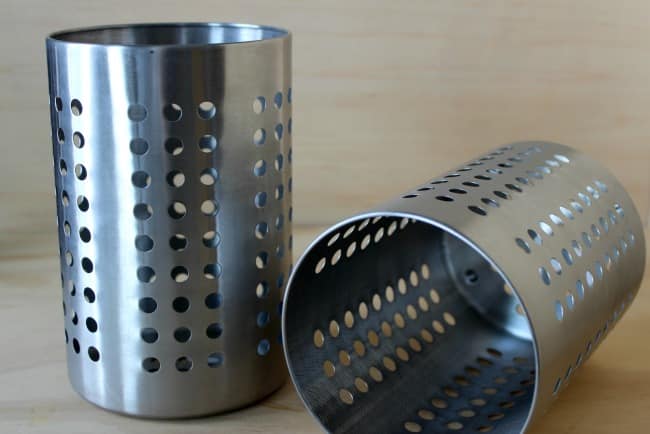
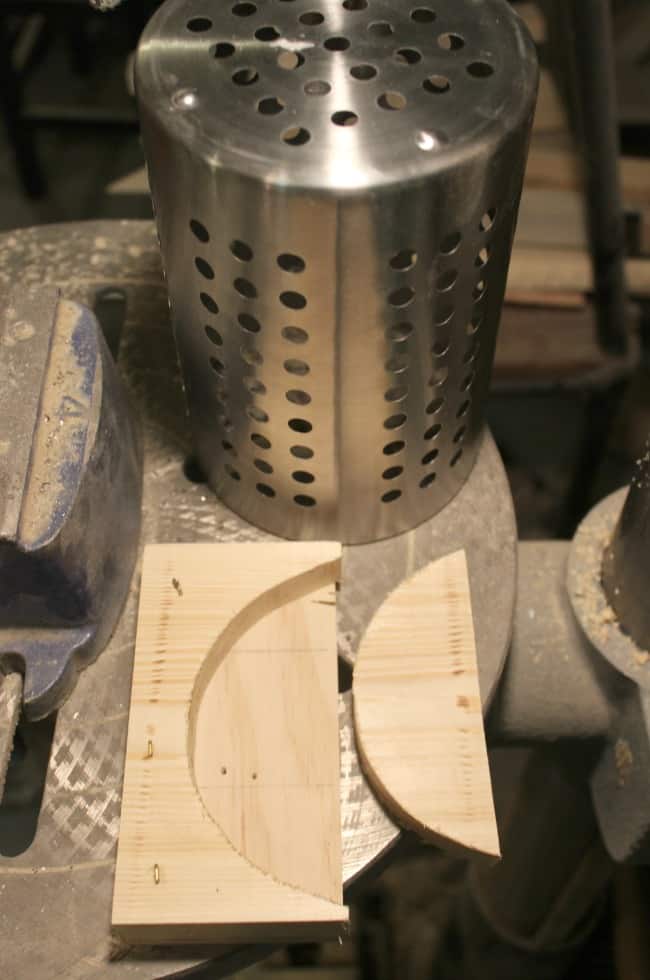
I started by making this quick holder for the canisters. I wanted to make sure that the canisters wouldn’t shift around while we were drilling in to the top of them. You could also cut a piece of wood to sit across the diameter. We made the ones shown, by tracing the inner and outer circles of the canister onto scrap wood.
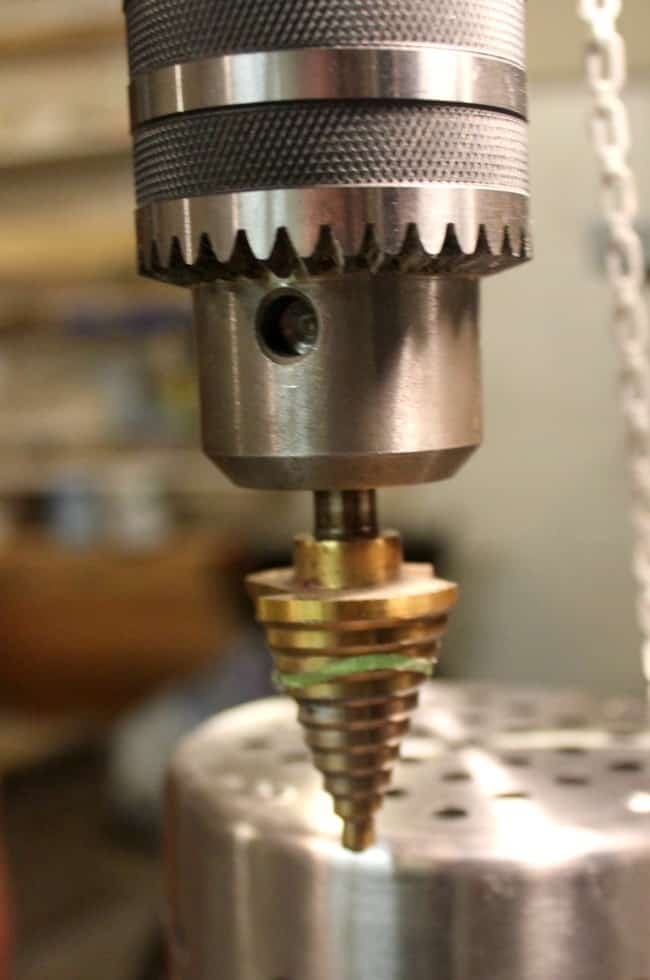
 We had to use a step bit to cut the metal utensil holders.
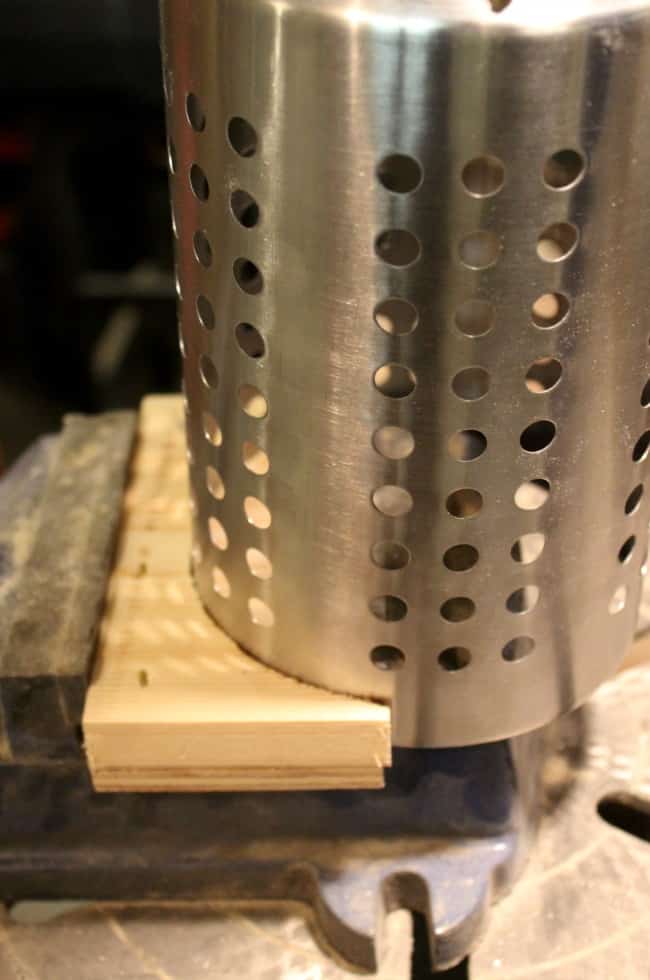 We drilled directly into the centre of the container, about 7 levels down to the same diameter of the socket- so that they socket from the lamps would fit perfectly inside. Do this step, and all the following steps twice (if you are making two sconces!).
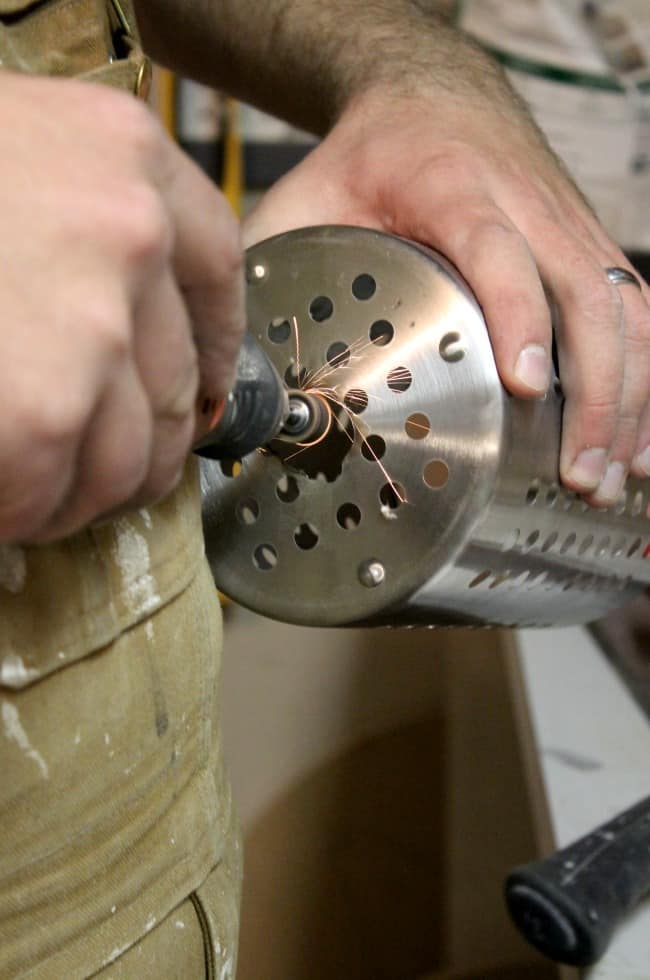
Next, we used a dremel to clean up the edges a bit. It won’t look too pretty, but it’ll be completely covered up by the black steel flange of the industrial sconce in a minute, so it won’t matter 🙂
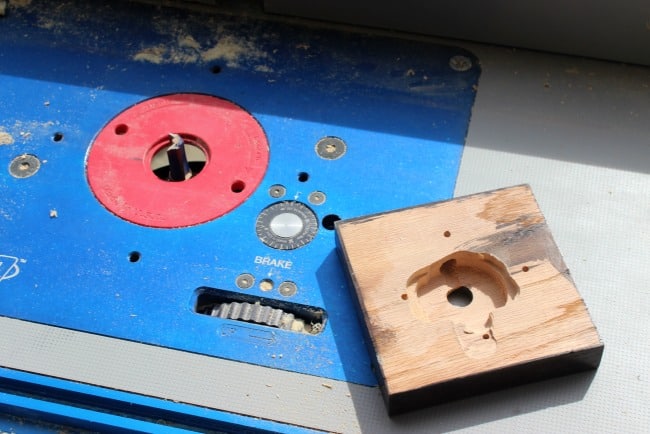
Next, grab your wood. We used oak because we had some scrap pieces cut to 4″ squares (3/4″ thick), but you can use any wood. Find your centre and drill into it. Wide enough for cords to fit through. Then, you want mark 4 spots for your screws that will hold the flange of your industrial sconce in place. I measured the distance of the screw holes from the centre of the flange, and measured out using my speed square (or measuring tape).
 Then, using your router, router out a space in the back, big enough for your electric connectors to sit in. Stain your piece any colour you desire.
You can let the cord from your lamp guts hang down the wall and it will look beautiful.
Next glue the light socket in place. Note the Ikea holder is bolted to the steel flange.
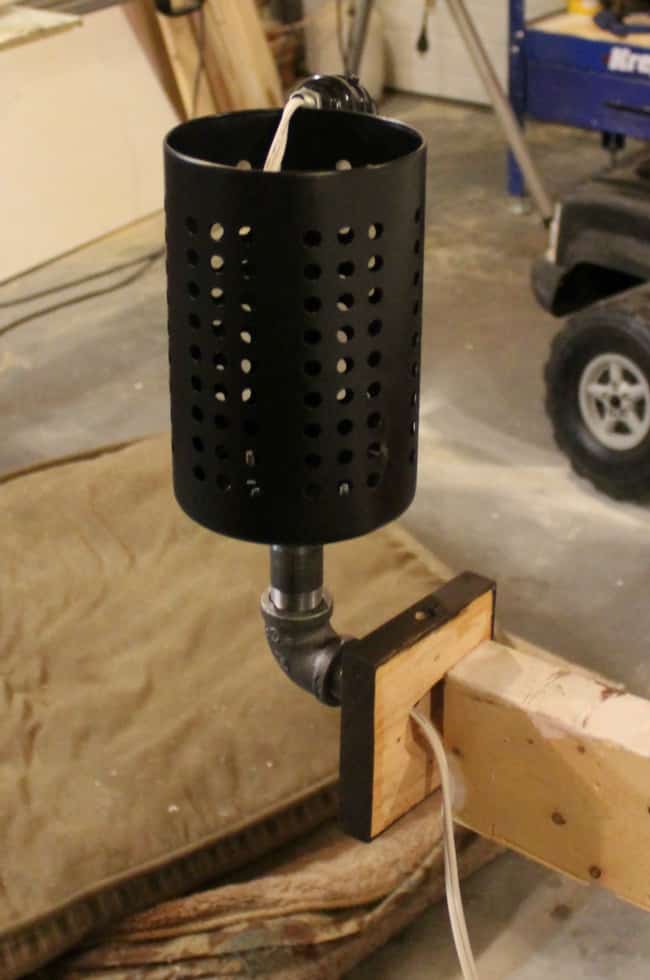 Don’t forget to spray paint your ikea holder if you want to before everything is glued in place! You can also wipe down the pipe of your industrial sconce with acetone (wearing gloves) and spray it with a clear sealer to protect it. Run your cords through and attach the ikea holder, black steel, and wood together by screwing everything in place.
This is a close-up of the switch we added (completely optional!) – e-mail me if you need more details on this!
Now you mount your industrial sconce on the wall and you’re done! What do you think?!
They look amazing in our Industrial Guest Bedroom!
I love the light it gives off at night! Such a fun pattern on the wall!
Want more details about this and other DIY projects? Check out my blog post! GO