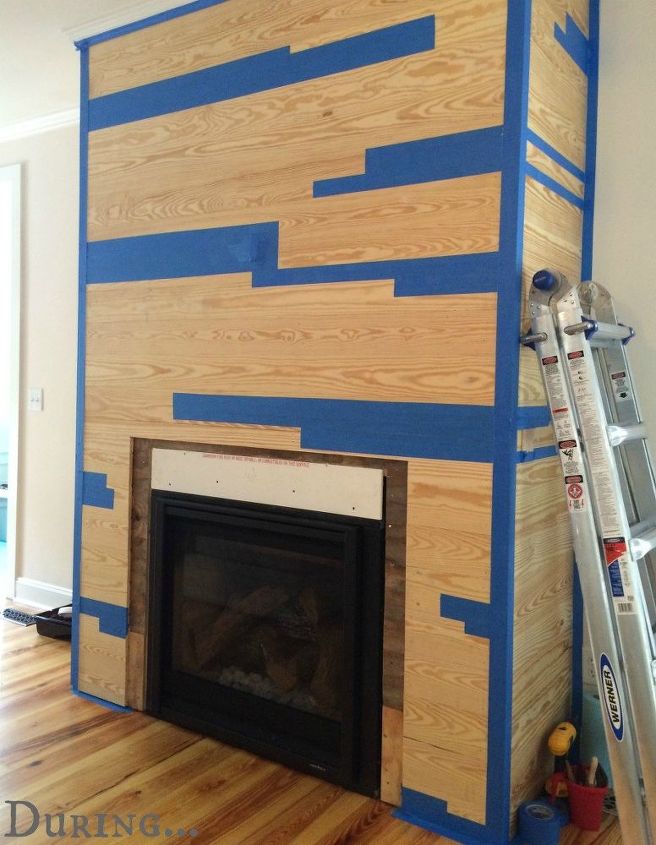
 First thing is taping off everywhere that we want to see wood tones. This really helps with planning the visual flow!
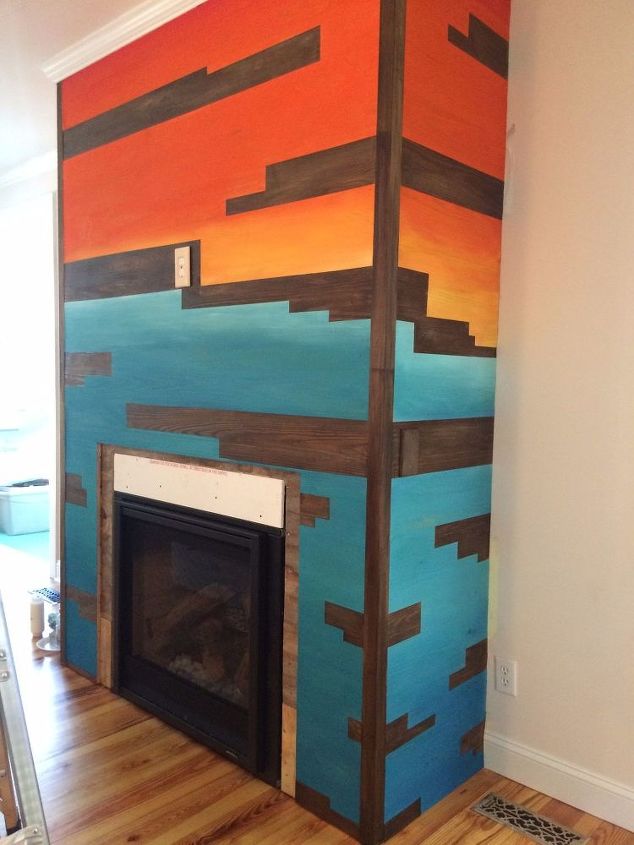
We were so excited about the outcome!! And the journey was a blast,..
Working from top to bottom I took a plate and loaded it with each color as I went! (Full strength) Once I laid the red down I began adding in orange and blending it as I went,.. if I didnt like how it was flowing I simply sprayed with water!
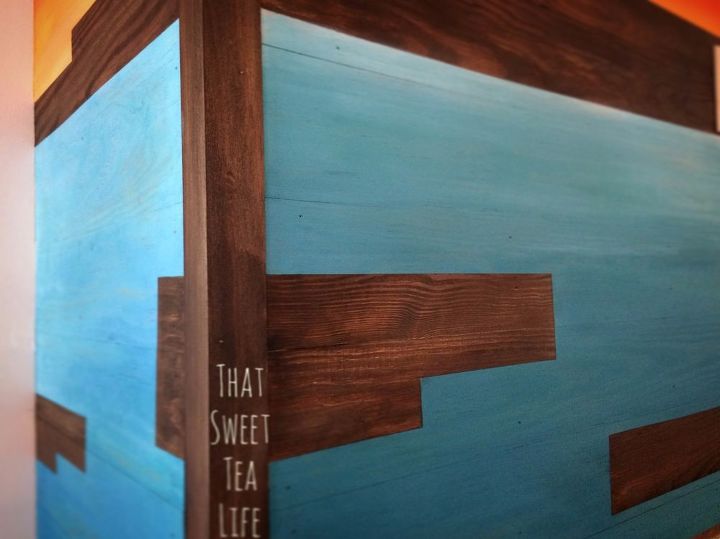
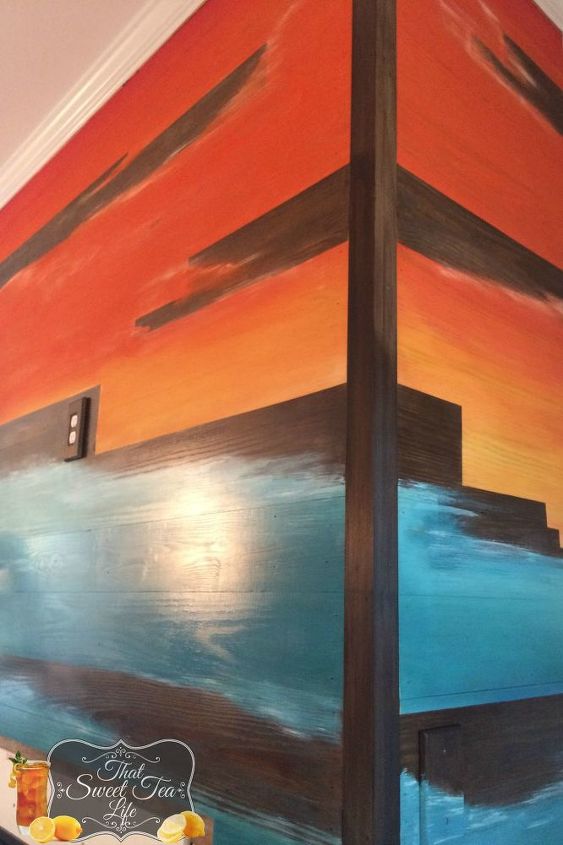
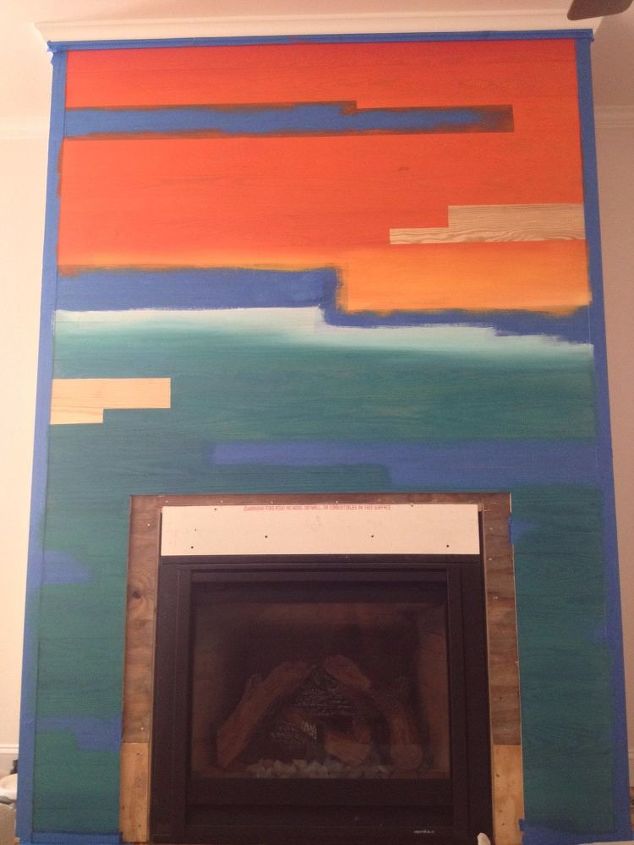 Working from top to bottom I took a plate and loaded it with each color as I went! (Full strength) Once I laid the red down I began adding in orange and blending it as I went,.. if I didnt like how it was flowing I simply sprayed with water! Once the SPiT was applied I took off a little tape to help with visualization,.. whats GREAT about spit is there are no gummy binders to pull when removing the tape! Nice CLEAN lines,..
 I added in some more blue to saturate that area more the next day but was able to begin staining in the orange area with my CeCe Stain + Finish mixture! (I only worked a couple hours each day while the kids were in school)
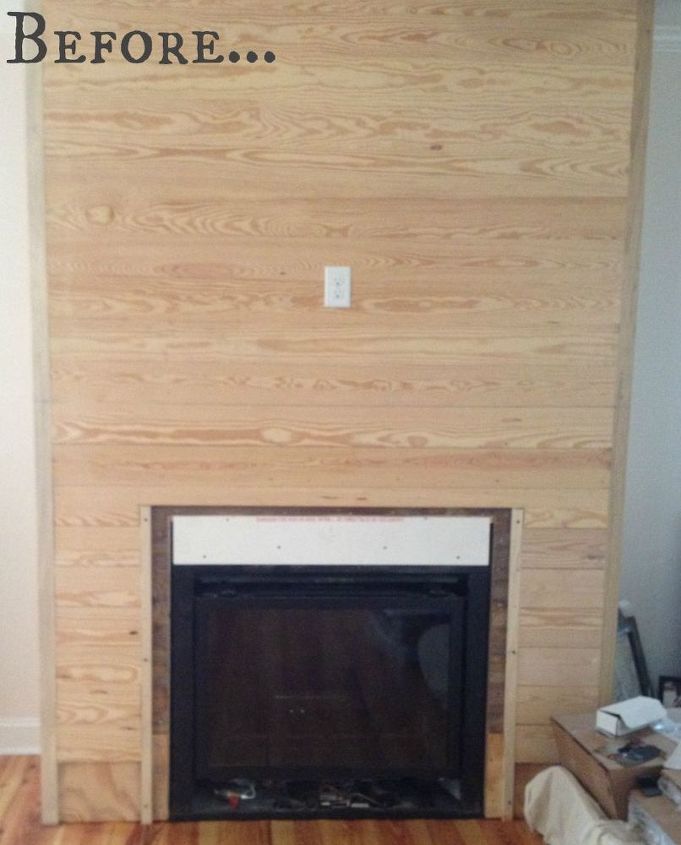
 So we went from this,…
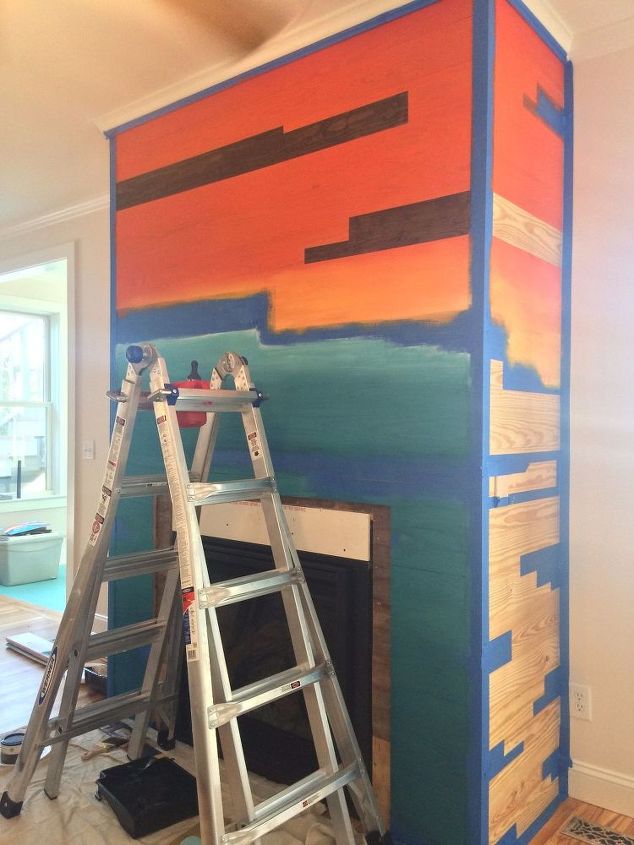
to this! Unicorn SPiT reconstitutes so nicely! I was able to go back over it and blend away!
So nice right!?
Want more details about this and other DIY projects? Check out my blog post! GO