 STEP 2: Spray words
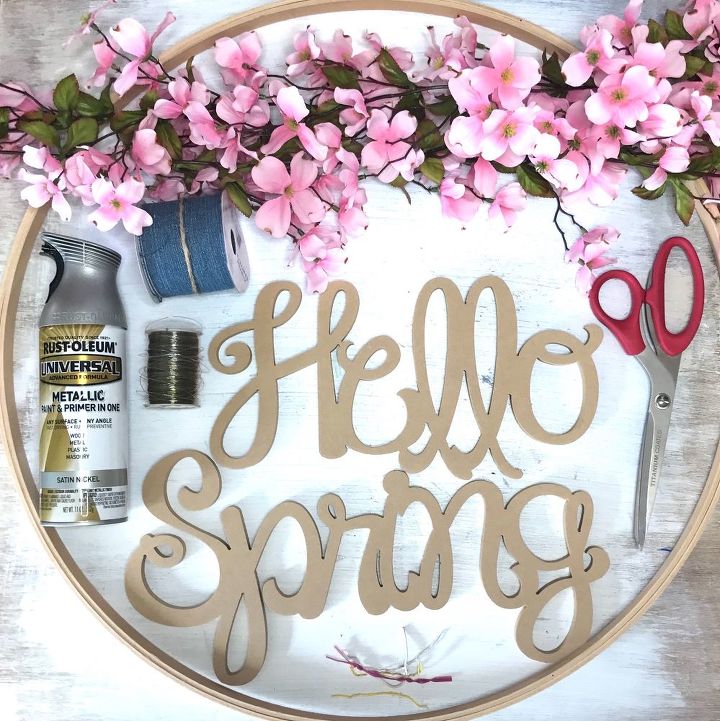
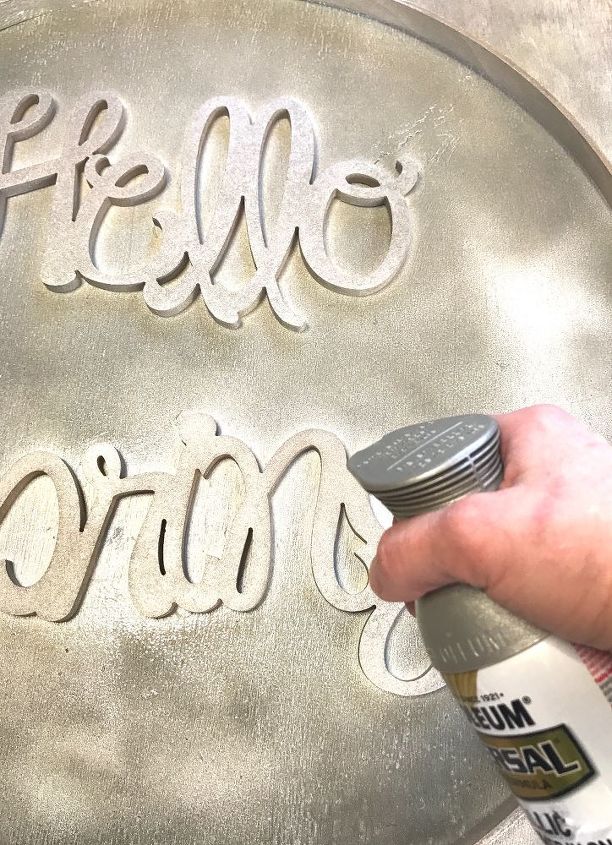
Next, I spray painted my wooden words, “Hello Spring”. These words were made with MDF so they held the spray nicely; all-in-all I applied 2 thin coats to each side. It’s hard to find the phrase you want, but I did see a bunch of them on Amazon.
 STEP 3: String up words
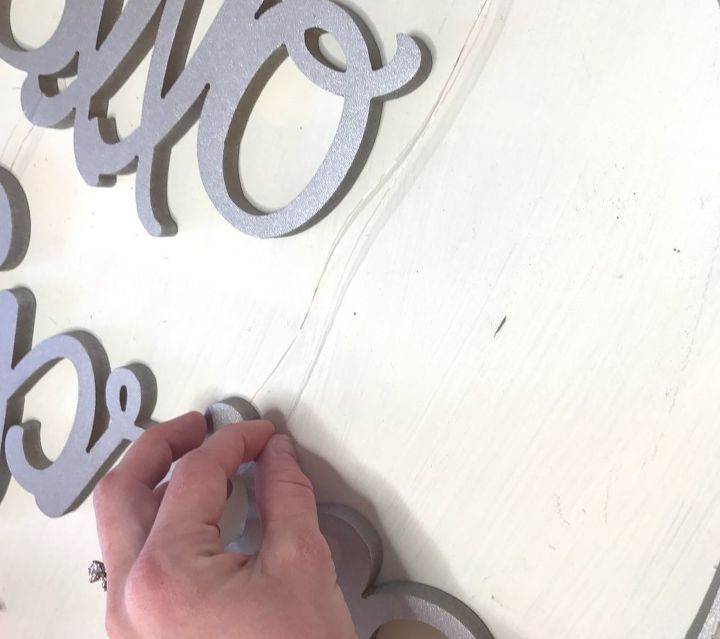
After my words were completely dry, I used fishing line to hang them from the inside of the hoop. You’ll have to play with alignment and techniques for tying a secure knot so that the fishing line doesn’t come loose. For my words, I didn’t want them centered so I hung “Hello” from the hoop itself, a little more to the left of the hoop, then connected the first “l” of “Hello” and the “S” in “Spring” together, and finally tied a long piece of fishing line from the top of the hoop to the “n” in “Spring” so that the word was aligned a little closer to the right of the hoop. Again, this will change and vary depending on the size of your hoop and the words that you use.
 STEP 4: Attach garland/flowers/greenery
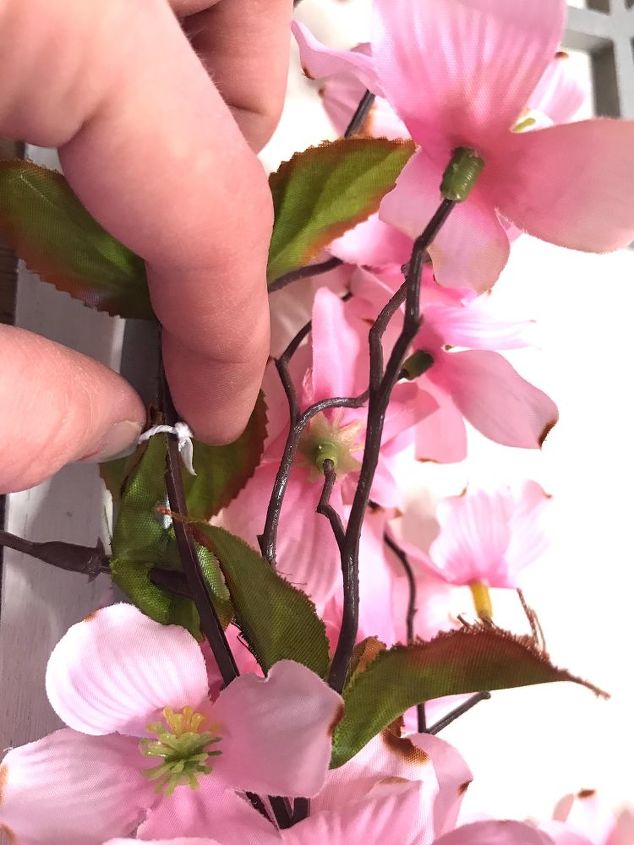
After my words were attached to the inside of the hoop, I laid out my garland along the hoop and secured it with bread ties. I’m a big of a hoarder when it comes to random things like bread ties–ya never know when you may need them! 🙂
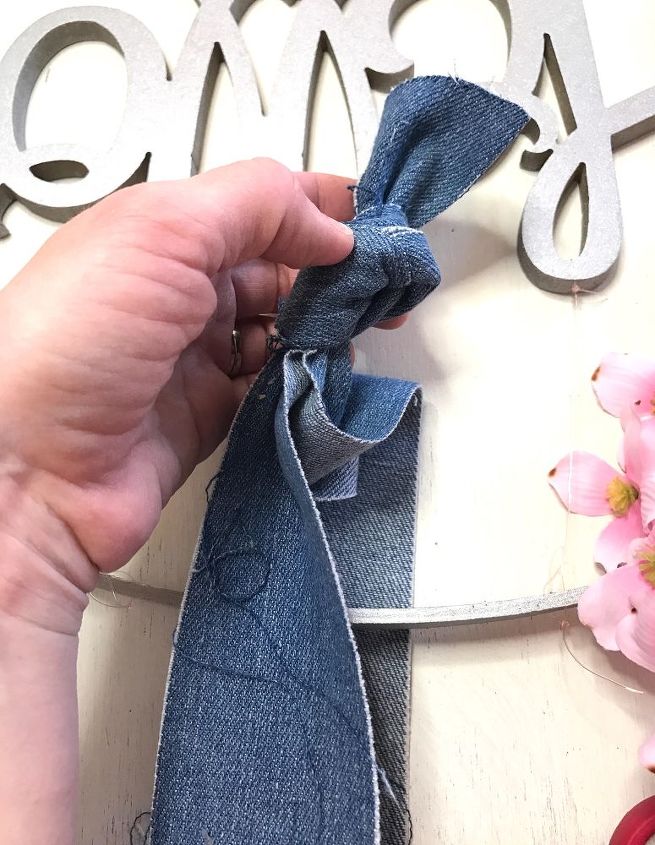
I had some denim ribbon on hand from last spring, so I decided to tone down my hoop a little by adding it for hanging the hoop itself. I thought instead of making it super classy with a white or silver ribbon, the denim would add a flair of casual, keeping the overall look springy and fun. I simply tied the end in a knot and looped it through the hoop.
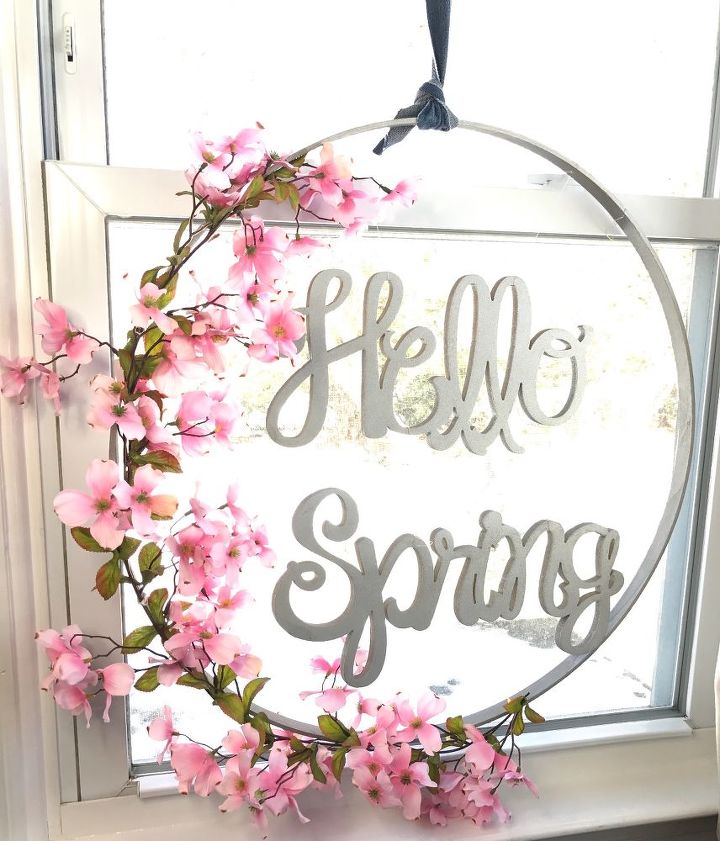 I’m not a fan of artificial flowers but I am so in love with this dogwood garland–I felt it was the most natural looking garland I’ve seen in a while, and the pink pops so well against the Satin Nickel color of the hoop and words. Here’s to a beautiful spring ahead!
Want more details about this and other DIY projects? Check out my blog post! GO