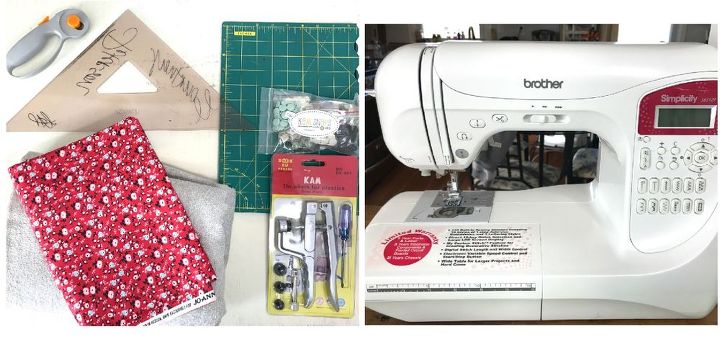
 SUPPLIES:
-1-1/2 yards cotton fabric
-1-1/3 yards terry cloth fabric
-cutting mat
-straight edge (I used an old transparent academic triangle I still have from college)
-Fiskars fabric cutting tool (they have a whole variety of cutting tools)
-Starter Pack KAM Plastic Snap Setting Pliers & Awl Set (this came with 100 plastic snap sets in a variety of colors)
-Brother Simplicity SB3129 sewing machine
Not pictured:
-fabric measuring tape
Note about the fabrics: I wanted to be sure to have enough in the event I messed up so I ended up having some left over…if you’re an experienced sewer, you should be ok with 1 yard.
 STEP 1: Cut fabrics
First, I cut my cotton and terry cloth fabrics into squares using my fabric cutting tool and straight edge. My Fiskars cutting tool is so much better than scissors; it glides across the fabric and is great for curved edges. I looked up the standard paper towel size and found it to be 11″x11″ so I cut my squares 12″x12″ to ensure that once I sewed everything, they would be closer to the standard size of a paper towel.
Here are my two stacks of fabric squares. I really loved the colors of these and how they meshed so well!
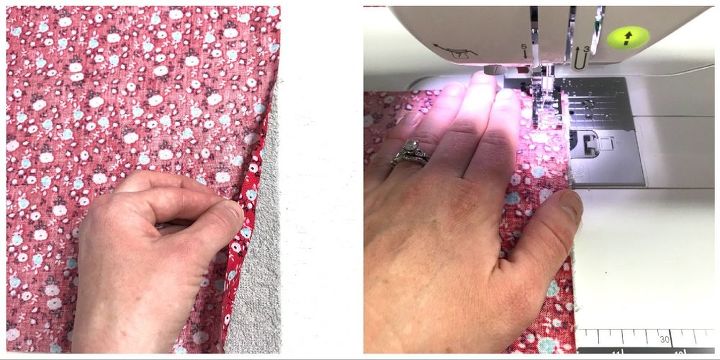
 STEP 2: Sew fabric squares together
Next, I set my sewing machine on the straight stitch (center needle position) setting which has a default stitch of 2.5 mm apart. (I apologize but I don’t know the sewing lingo yet so I’m just going based on what I read in my manual).
Once I sewed all the way around my square, I left a gap big enough so that I could pull the fabric inside out–the gap was approximately 1-1/2″.
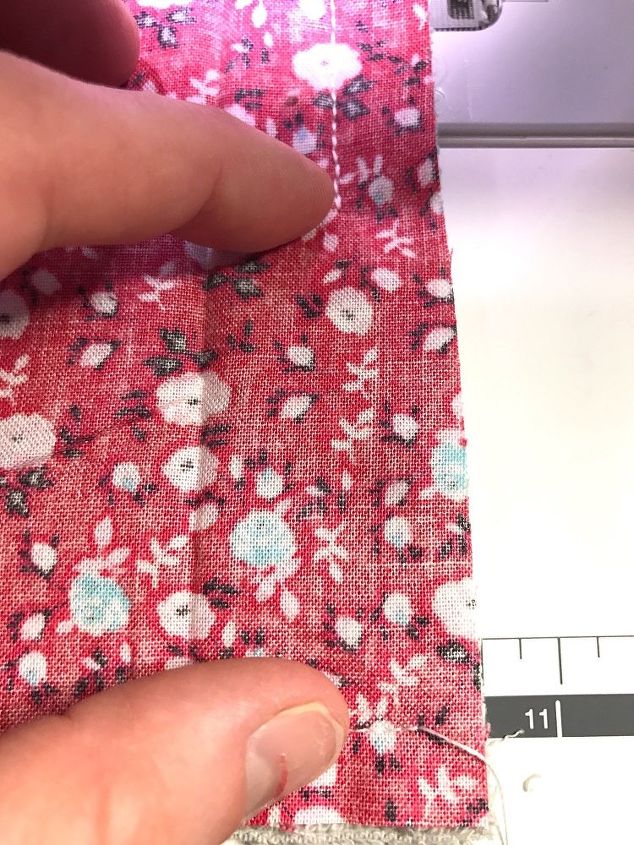
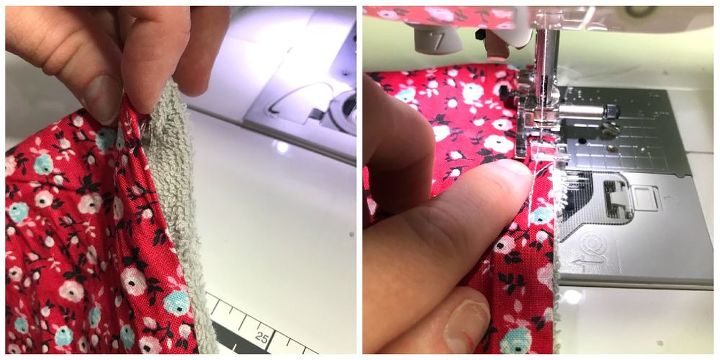 Here, I flipped my sewed (or is is sewn?) square inside out. Make sure to push out the points of all the corners from the inside so that you have nice, straight edges.
Then, I straightened out the gap from the outside, making sure to flip the edges of both the cotton and the terry cloth fabrics inward so that the side was nice and straight, and finally sewed the gap closed.
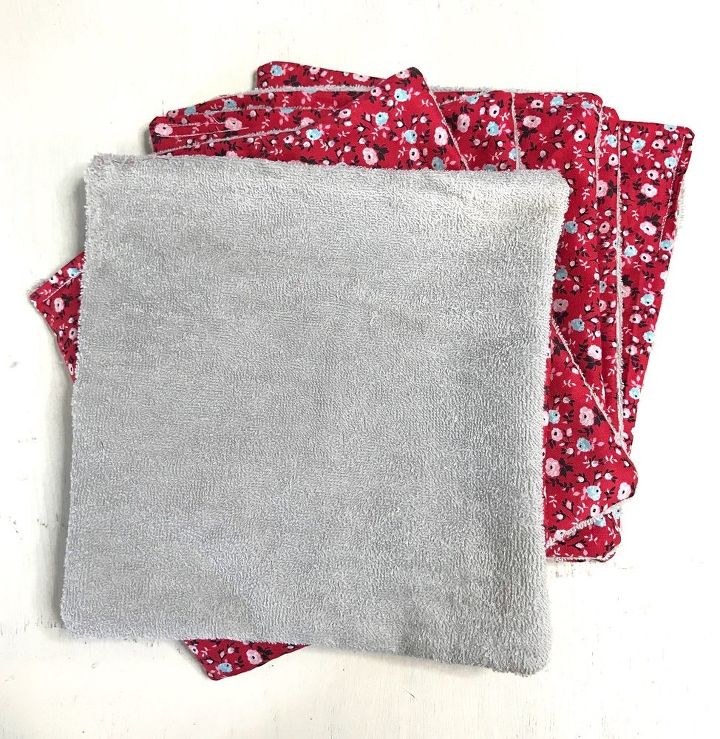
Here are my seven non-paper towel squares {insert happy jig here!}.
Finally, it was time to make my finished fabric squares into a continuous roll of non-paper towels. I’m super pumped with this cool kit I got from Amazon–once I read the instructions and watched a little tutorial online of exactly how to work this gadget, it took me no time to add snaps to my squares.
For seven squares, I ended up using 24 caps, 12 sockets and 12 studs.
 To add top part of the the snaps, I first took the awl tool and poked a hole through the fabric of my squares where I wanted the snaps to go. I decided to put my holes the side where I did my final stitch so that once the non-paper towels were on a roll, you wouldn’t be able to see that stitch. Then, I inserted a cap in the hole on the cotton (floral) side and a socket on the back (terry cloth) side. Finally, I took the KAMsnap pliers (make sure that the cap is snuggly in the cap die tray [black piece of the pliers!] and squeezed hard so that the prong of the socket flattened.
Here is how the top part of the snap should look once you’ve squeezed it with the KAMsnap pliers.
 Next, I had to add the bottom parts of the snaps so that the non-paper towels would SNAP together. I repeated exactly what I did for the top part of the snaps, only this time after I poked my holes with the awl tool, I inserted the cap on the back (terry cloth) side and instead of using a socket for the other side, I used a stud which I placed on the prong that was sticking out on the cotton (floral) side.
Here is the finished look of snapping the towels together.
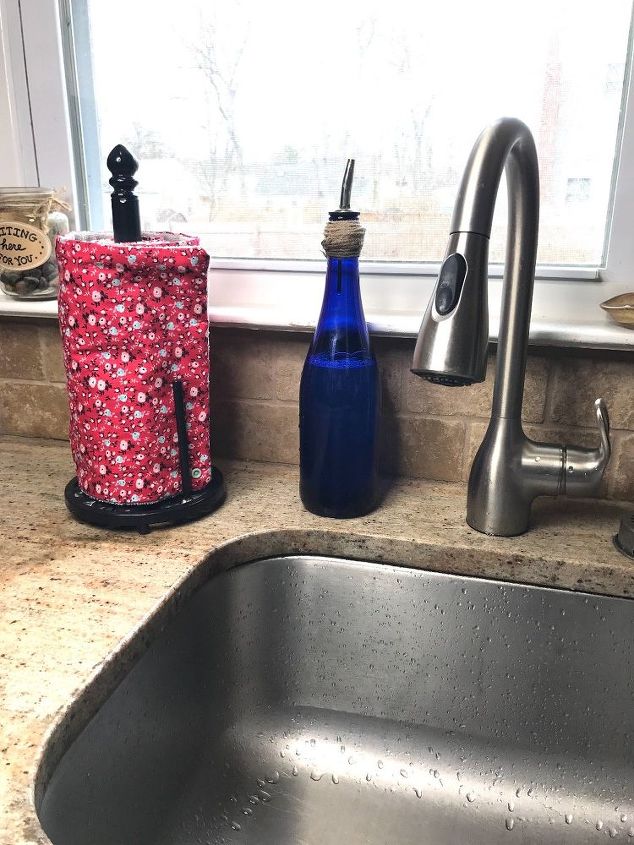 I’m pleased as punch at how these adorable non-paper towels came out!!! I feel like once I get a technique down, I can whip these up as gifts for family and friends, maybe eventually monogramming them with vinyl. Oh the possibilities!
Want more details about this and other DIY projects? Check out my blog post! GO