 The wallpaper… confusingly called a double roll, but is only 1 roll
( Here’s a link for this paintable wallpaper)
There’s a drip tray, (to fill with warm water to dip the prepasted wallpaper in to activate the glue), the smoothie tool, the wide blade putty knife, and the razor knife both for trimming the paper after it’s on the wall, the scissors to cut the piece initially from the roll, and a level to be sure the lines are plumb.
Here you can see the beadboard paper… which by the way is paintable. The paper feels like it’s made out of some sort of foam-y rubbery material and has dimension to it, so it’s not just printed lines on it.
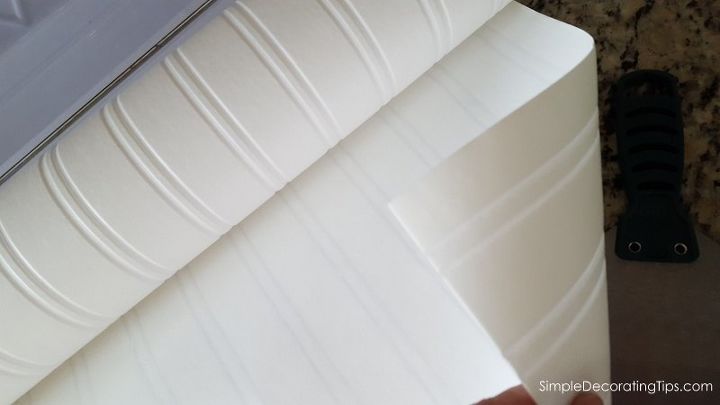 Once I measured how long a piece of paper and added a couple inches to that length for trimming, I simply cut the paper with scissors.
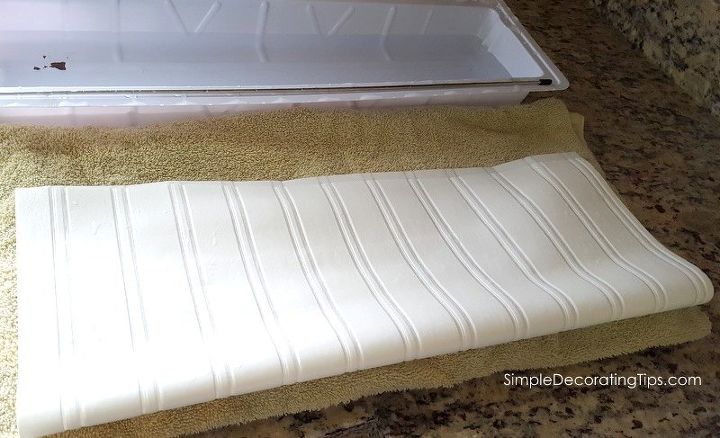
Next, with it rolled inside out, I dipped that piece in the drip tray, about half filled with warm water, being sure that the entire piece of wallpaper got wet. But not letting the paper soak in the water, that may cause the glue to start to dissipate and come off the paper.
 With an old bath towel folded right in front of the drip tray, I lay the wet wallpaper, face down, with glue sided together, and let it rest for a minute or two. This step is called ‘booking’ the paper and is important. During this time the glue activates.
If this is your first time wallpapering, a backsplash is a pretty good first project, because the pieces are so short you won’t feel that the wet, gooey paper is smothering you, like you may feel if you were working on a tall piece on a ladder. (I’ve had many a piece fall over the top of my head when I was adjusting the plumb… the secret is not to panic… can you tell I struggle with claustrophobia? )
Once the piece is plumb, and seams matched, I like to use a smoothie tool to gently get the air bubbles out. Back in the day I used to use a wallpaper brush, but for most modern papers I now use a smoothie tool. (a few years back I installed a vintage textured paper for my daughter, and went back to the good ole brush for that paper, because I was concerned the smoothie tool would burnish the paper)
 As I got to outlets and switches, which was practically every piece in this kitchen backsplash, I cut an X with my razor knife. This temporarily allows me to get the paper to lay flat, and once it’s good with the air bubbles out, I go back and trim around the switches better.

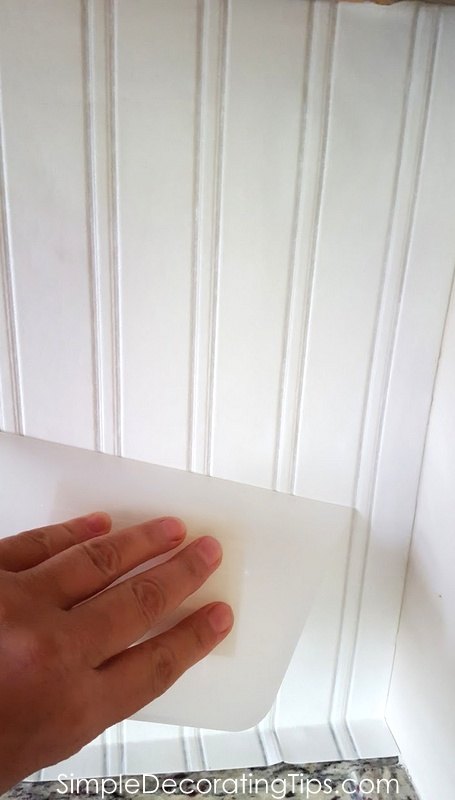
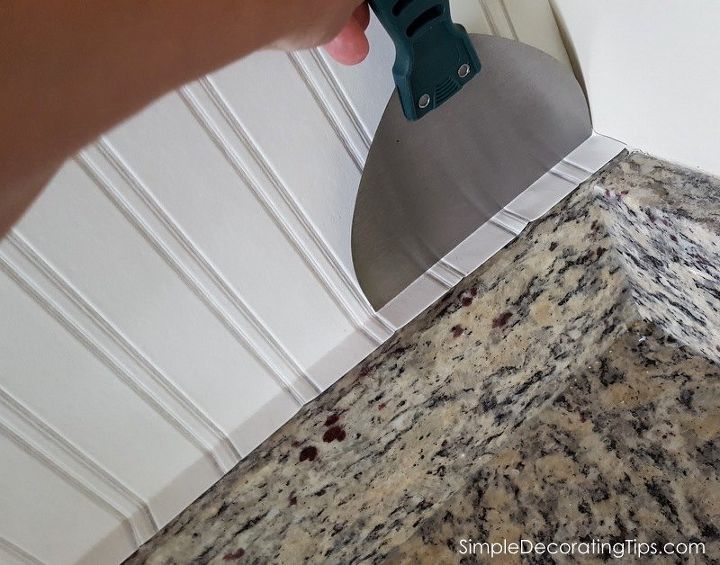
By holding a wide blade putty knife on the paper part that I’m going to keep, I run my razor blade knife next to it. That way, the putty knife protects any slips of the razor from going onto the good paper, and gives me a firm place to make a solid cut with the razor.
It’s that easy… no special skills involved.
Then I let the beadboard wallpaper dry overnight and went to the store to select some paint…
 I loved the coastal cottage feel of the middle one on this chip, so I had Lowe’s mix up a quart of satin, in their best quality, no VOC paint. (No VOC is important to me… the last thing I want to do is poison the air we breath with paint fumes!)
Once the beadboard is dry, painting it is just like painting any beadboard.
 Just no priming necessary, and the grooves aren’t super deep on the ‘beads’ so it’s not super hard to get good coverage with the paint.
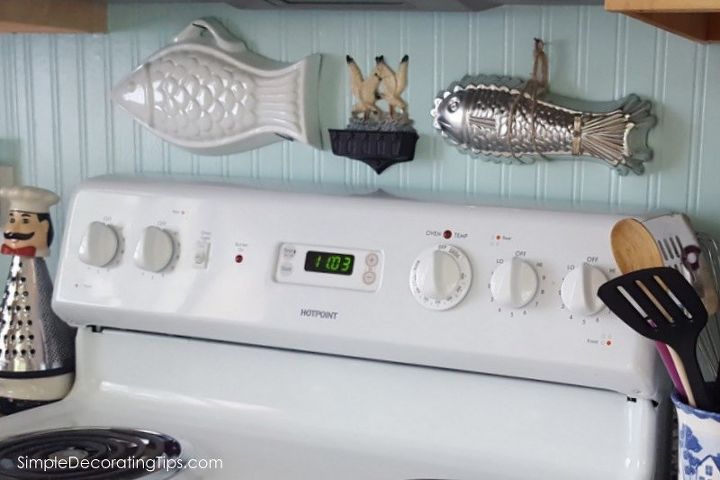
So here is the easiest DIY beadboard ever… after 2 coats of paint:
It looks so real and believable… even when you touch it…
It was the easiest DIY beadboard ever!!! Seriously! And it was the cheapest too, it was just the cost for this one double roll with some leftover wallpaper for another project, plus a quart of paint.
So here is this cute coastal cottage kitchen now…
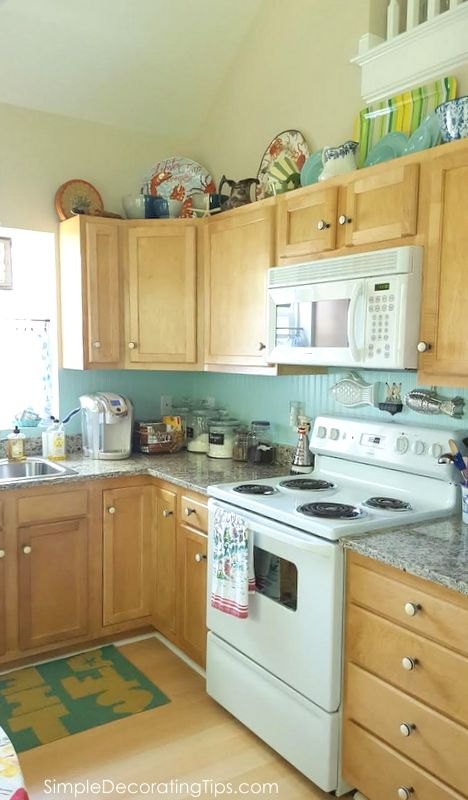 Not so boring anymore.
I typically would want to paint those cabinets white, but for some reason, (maybe because the beach keeps calling my name) but I don’t mind the light wood they are in. The grain is a very subtle pattern and with the painted beadboard backsplash, they work even better! Yay!
Be sure to stop by Simple Decorating Tips and see the other projects I’ve done in this Maine coastal cottage! See ya there! 🙂
Want more details about this and other DIY projects? Check out my blog post! GO