 The plan called for a 2 x 2 wood frame and I stayed true to this in my design. The 2x2s have a bit of an industrial vibe (I think they mimic metal when painted black or stained dark), it is relatively inexpensive, and it is pretty light weight which makes it easy to work with and move around.
To start, I worked on building the side bases. I wanted a bit of overlap of my desktop over the sides of the base rather than flush like the original design. So after calculating my desk top measurements (which I discuss in more detail below), I used those measurements and deducted about an inch in order to give a 0.5” overhang all the way around.
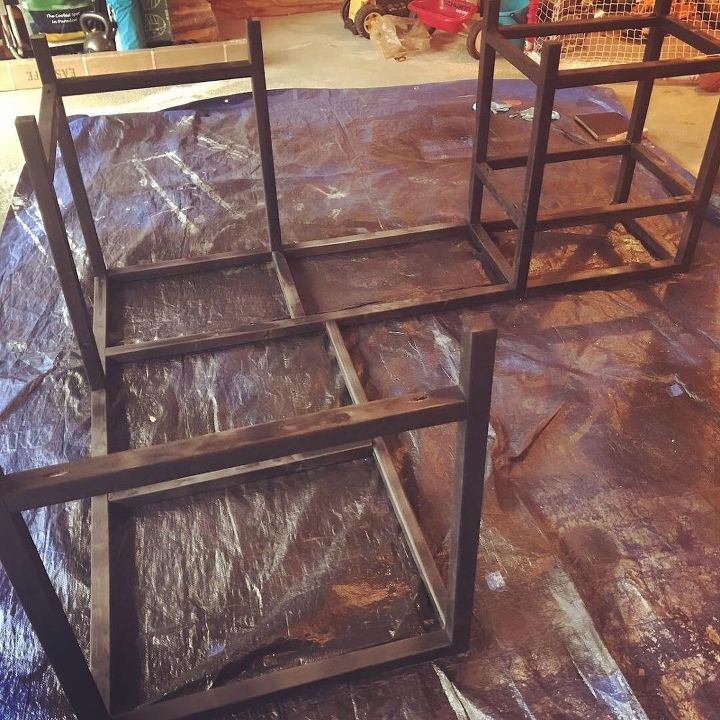
Going for an industrial farmhouse vibe on this DIY desk, I knew I wanted to paint my 2×2 frame black. Yes, you can hand paint this piece with a brush and black paint. However, this time around I finally sprang for a paint sprayer and I will say this: YOU WILL NOT REGRET IT!! I found this sprayer on amazon for only $99 and it works like a charm.
Not only does it use less paint and give a nice smooth finish, but it also saves a boatload of time!!! I don’t even want to think about all the time I’ve wasted holding out on buying a sprayer and hand painting instead.
It only took two coats of paint. I did do a light sanding in between coats just to be sure it was smooth and there were no drips.
 Side Panels
To create some additional interest, the side boards were arranged horizontally to mimic a shiplap style. The right panel consists of three 1 x 8 panels, 23.75” Length. I wanted a bit of overhang on my desktop rather than having the top flush with the base. The front section of the desktop is 27.75” wide. I subtracted 1” of that to create a 0.5 inch overhang on either side, then subtracted 3” (each 2×2 is 1.5 inches wide and there are two in this panel), which left me with my 23.75” L for the horizontal boards.
Shelves
Similarly, on the left side, my width of the desk top is 18.5” and I subtracted 4” total from that side as well, leaving my 1×8 horizontal panels to be 14.5” in length. 2×2 supports were added on both the bottom and near the top of the shelving section to serve as shelf supports. The shelves were comprised of two 1 x 8s which fit perfectly into the 14.5” opening (just one of the reasons I decided to do an overhang….planning ahead 😉 ).
The top shelf is 7.25” tall (the height of one 1 x 8 horizontal board) and the bottom shelf is the height of two horizontal 1x 8s (with a little of the underside of the 2×2 as well), so approximately 15”H, which works well for my printer. If you aren’t trying to accommodate a large printer, you might wish to make this a three shelf system or even add drawers like the original plan.
Long Supports
After assembling the side braces and shelving unit, you will need to cut your long support braces. These I cut to fit as I went. I made the left side one continuous piece and then kept the right side somewhat separate for ease of moving into the house. Once all the pieces were painted and brought into the house, I attached the right side to the left side. I also added a couple of middle support pieces just because I was a tad nervous about the length of the table top and didn’t want it to bow.
Assembly
The side panels were attached to the frame using glue and finish nails. You could also use pocket holes but I didn’t want anything visible from either side and nail holes were pretty easy to fill with wood filler. The shelves were attached with glue and pocket holes, with the pocket holes on the bottom so you won’t see them.
All of my 2×2 pieces were attached with glue and pocket hole screws. Lesson learned here: It is difficult to fit two pocket holes in the end of a 2×2 piece. That said, if you can do it, it is well worth it! One screw just doesn’t keep things flush and I had a few pieces that felt a little wobbly and would rotate slightly with movement. Once the glue dried that helped, but if I could do it all over again, I would do 2 pocket holes per connection.
 Finishing
For the desk top, I first sanded it using a belt sander to really get the edges between each board nice and even. Then I sanded with a finer grit paper until I achieved the desired smoothness.
For staining, I tried a new grey stain that I had never used before. It is called Weathered Grey by Varathane, and I picked it up at home depot. Can I just say… I freaking LOVE it!! It is the perfect grey color leaving a little of the brown undertones. I do a wipe on wipe off method and one coat was perfect! Two coats I think might have taken away some of the nice wood grain coming through.
Lastly, I sealed both the top and the base with waterbased polyurethane. The top got about 3 coats and on the bottom I only did one. To be honest, you could probably get away with skipping the base all together because it won’t get much wear and tear, but I just wanted the sheen to match. Again, light sanding with fine grit paper in between coats.
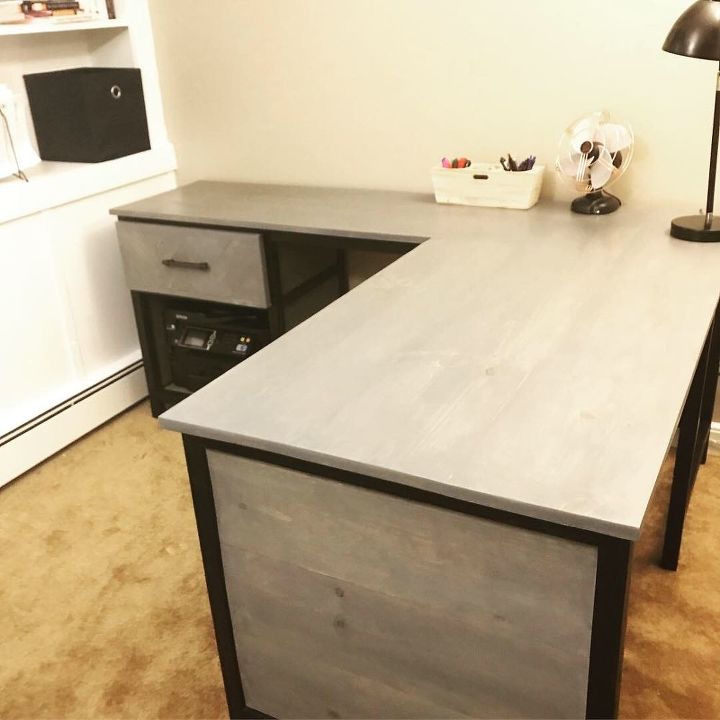
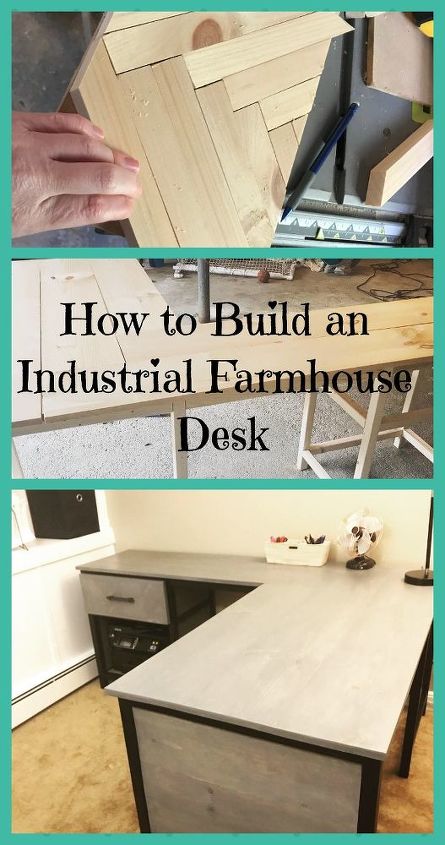
Finished Product
I really love how it turned out! A little bit rustic, a little bit industrial, a lot functional! It is the perfect size for our space and fits our printer perfectly too! You really just can’t beat making your own custom furniture to get everything you want for a price you can actually afford!
Check out my other post to learn how to add some killer office built in s to your home office as well! And soon we will be making a change on that god awful carpet you see! Stay tuned.
Best of luck making your own DIY industrial farmhouse desk!
Want more details about this and other DIY projects? Check out my blog post! GO