 STEP 2: TAKE A TRIP TO IKEA, TARGET, THE CONTAINER STORE or BED, BATH & BEYOND.
With the closed organized you’ll be able to better asses available space.
I can use the door to hang baskets, the encasing for broom & brushes, and the area next to the hamper.
Next, figure out what cleaning products you want to place in there: I decided to keep the kitchen related under the sink, and store here all bathroom and house cleaning products.
NOTE that your needs and space will be different, so feel free to change the layout and proposed items.
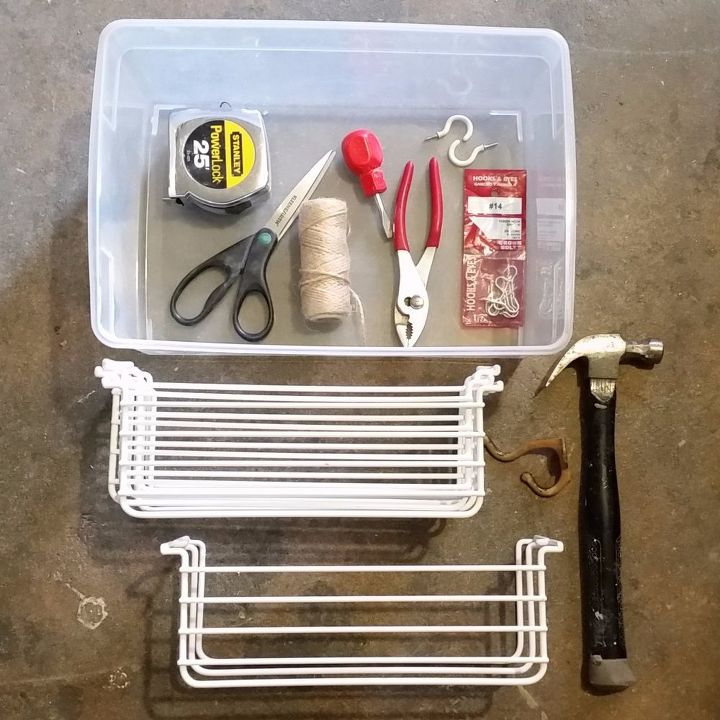
To use the linen closet as a cleaning store as well, I’ll need:
— 1 or 2 BOXES
— A few HANGING BASKETS: I’ll use 4
— EYE HOOKS or EYE SHAPED SCREWS, 2 per hanging box
— TAPE MEASURE
— 1 WALL HOOK or COAT HANGER with SCREWS
— SCREWDRIVER
— MARKER
— PLIERS or COMBINATION PLIERS, to tighten up the screws
— HAMMER
And to make things easier, I also used:
— ROPE (optional)
— SCISSORS (optional)
— DRILL (optional) – in case you want to pre drill before you put hooks in.
Got your materials ready? Let’s get started!
 STEP 3: GET THE BOX AND FILL IT IN!
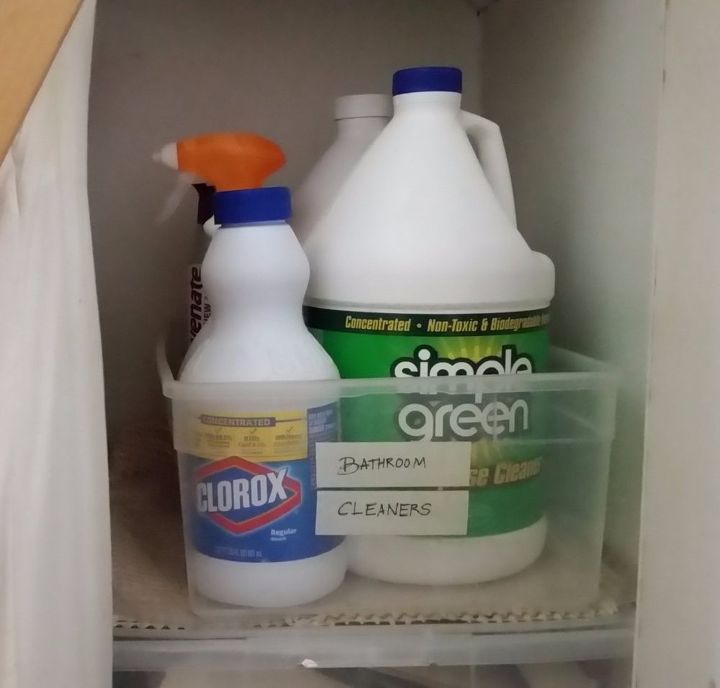
Since the cleaners come in large 1 gallon bottles, they’re too heave to hang. So I’m going to put then all in a box, and leave smaller items for the door baskets.
TIP: Don’t forget to label the box once you’re done!
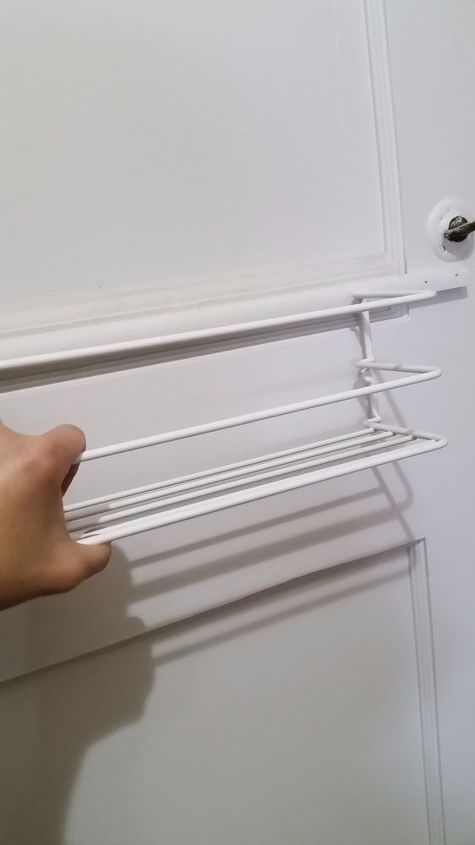
Assuming baskets will be centered wishing the door, position the basket and mark screw holes.
TIP: Each basket is different, check instructions to find where they should go.
Most likely the hangers you’ll get will come with screws. If not, you can use EYE HOOKS or L SHAPED SCREWS to hang your baskets.
TIP: Make sure your door is thick enough so the screws won’t go through. Keep in mind old doors with recessed middle areas won’t hold long screws.
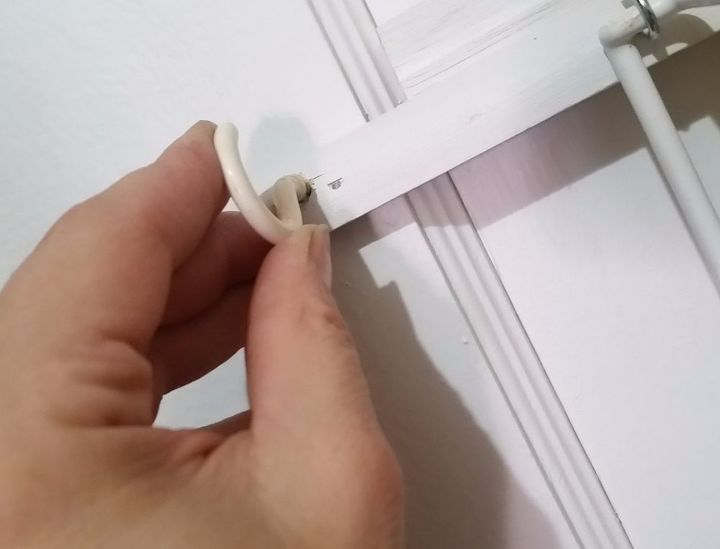
RECOMMENDED: Grab the drill and load a WOOD BIT, slightly smaller than your screw. Use tape to mark 1/8” – 1/4” in the bit. Remember, you want to make a hole deep enough so the screw stays in place—you don’t want to drill all the way in!
Put the screw in the hole and tighten it in with the pliers.
 STEP 5: GET YOUR BASKET AND HANG IT
Grab your basket and hang it from the screws. Now, that was easy!
Let’s do the next one.Repeat STEP 4 & 5 to finish the second screw that will hold the hanging basket.
STEP 6: GET A BUNCH OF CLEANING PRODUCTS AND FILL BASKET IN
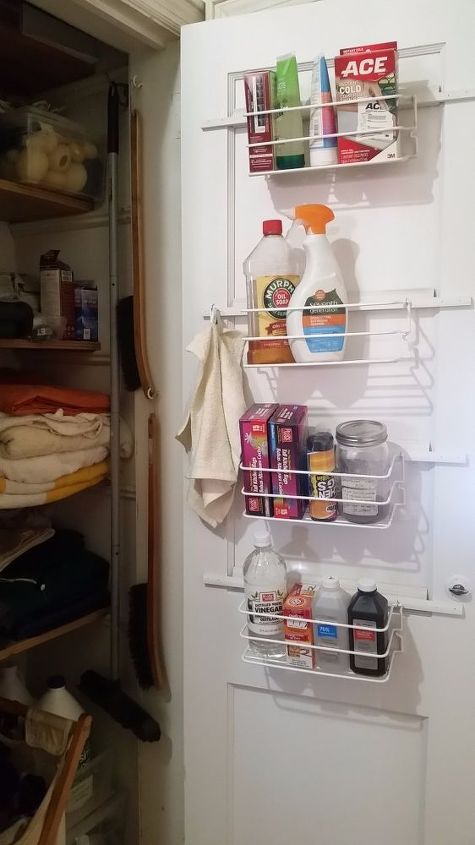
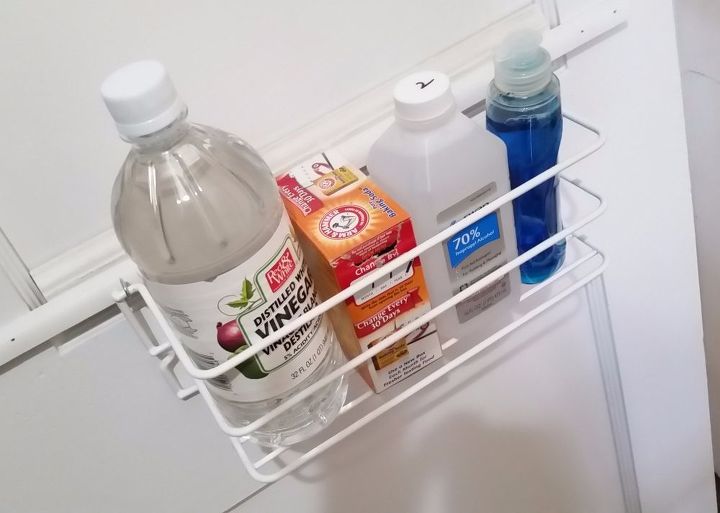
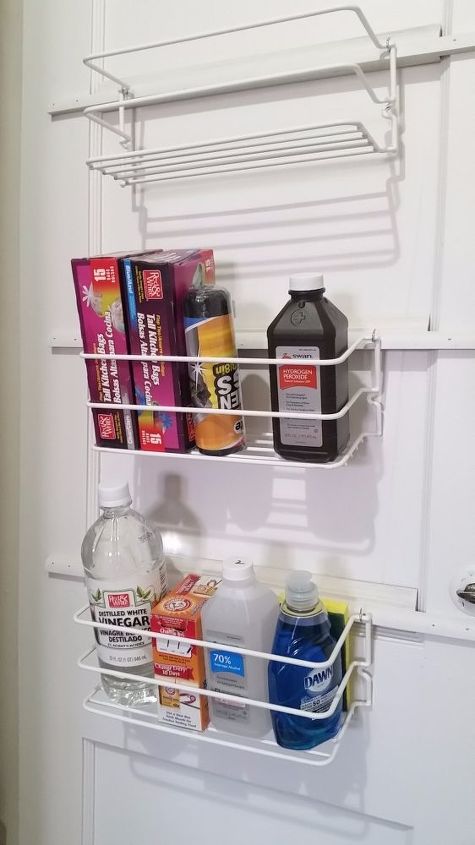
Again, I used the “CATEGORY” criteria to organize my products: bottom basket for cleaners; next above for garbage bags and related; third for cleaners I use less often; and finally the one at the top for those used seldom and restock.
TIP: Keep your most commonly used cleaners handier, but organize your baskets as you see fit.
I used this lower basket to put the products I use the most: vinegar, baking soda, alcohol, and liquid soap.
Repeat STEP 4 though 6 to keep adding baskets. Fill them in as you go.
TIP: Don’t forget to leave a few extra inches in between, and make sure you have enough room to items easily. (For instance, if you spaced your baskets too close to each you may not be able to fit taller bottles later.)
Continue until you’re done hanging all baskets. Your door length will determine how many you can fit.
STEP 8: ADD MORE HOOKS TO HANG A FEW MORE ITEMS!
Is there anything else you want to hang from that door?
Now is the time!
TIP: If you use kitchen rolls often and have enough room in your door, you can get one of those wall-mount hangers.
 STEP 9: HANG RAGS OR LIGHTER ITEMS FROM THE HOOKS.
I used to keep handy a few cotton rags under the sink or in drawers, but since I’m making a custom storage closet, I’m going to add a couple of hooks to hang them instead.
They’ll be so much more accessible!
STEP 10: DO YOU NEED TO HANG BROOM AND BRUSHES TOO?
I’m done with the door but there’re still a couple of items that i want to keep off the floor: large broom and brushes.
After checking there’s enough clearance once the door is closed, I found the perfect spot to hang the broom! It’ll be inside the closet, without interfering with any stored item.
Scout your area and find your broom should go — or skip this step if you have no broom, though you may want to hang something else here 🙂
Next, get a coat hanger and mark there the screws will go. Grab the screw driver and screw all the way in.
Really, I’m getting here turning my former “black hole” into an organized space.
I found the perfect spot for the brushes! They’ll go in the encasing, next to the broom, making sure there’s enough room for the door to close well.
Since I want to hang two vertically, I took a couple of minutes to ensure they both fit in the allocated space. Then, marked the position of the first, grabbed my pliers and started to screw in.
It’s was so easy!
STEP 12 (optional): ADD A CORD TO HANG YOUR BRUSHES
Next, I added a hemp cord to the brush for an easier hanging. You can also do this with a short handled dust pans or small brushes to keep it off the floor.
I’m done!
 And to get you inspired, here’s the result again.
There’re three more closets at home that need an intervention and can’t wait to tackle them.
And that wraps it up for now. I hope you enjoyed these posts, and more importantly organized and clean along with me 😉
For more on DIY organizing, check my IRONING BOARD WALL STORAGE – http://www.hometalk.com/26376405/diy-ironing-board-wall-storage-to-spruce-your-laundry-room – and for more on DIY cleaning tips and solutions, go back to my profile to find how to clean your HOOD FILTERS, your GROUT, REMOVE STAINS and much more.
Happy “Spring” Cleaning!
Want more details about this and other DIY projects? Check out my blog post! GO