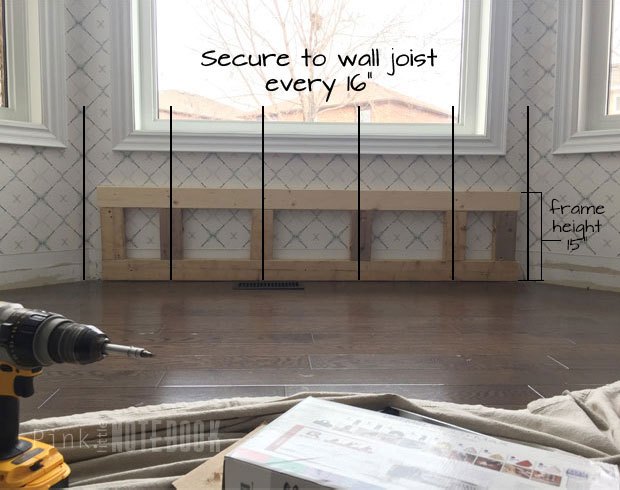
 3) Next determine the depth of your bench. Measure the distance from the back wall to the front of the 2″x 4″. For our frame, we decided on a 15″ base. In order to achieve this, we made the frame 14-1/4″ which allowed us to apply our 3/4″ 1-side finished plywood giving us an overall depth of 15″. For our upholstered cushion we wanted an overhang of 2.5″ making our finished seat depth 17.5″.
Once you marked out the depth, you’re going to want to cut and attach the 2″ x 4″ which will span across the front of the frame from wall to wall. We also added joist between the base for added support.
 4) The sides of the frame on the top and bottom that are located on the two angled walls were not mitred cut to fit into the back support of the frame due to uneven angles. We simply just secured the 2″ x 4″ to the joist in the wall for maximum support. We also made sure that it was levelled with the other 2″ x 4″ for a well supported bench top.
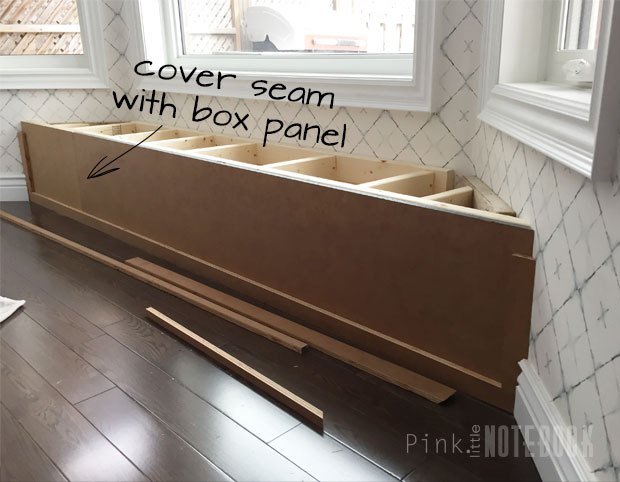
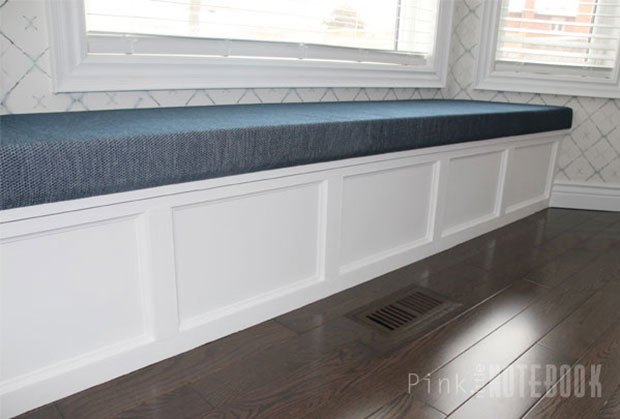
 5) To box everything in, we are using 1-side finished 3/4-inch plywood. Since the front of our bench is almost 9 feet, we needed two pieces. To cover the seam, we will be adding trim to the front. Also for either end of the plywood, be sure to cut the sides on a 45 degree angle. This will allow for a snug fit against the wall.
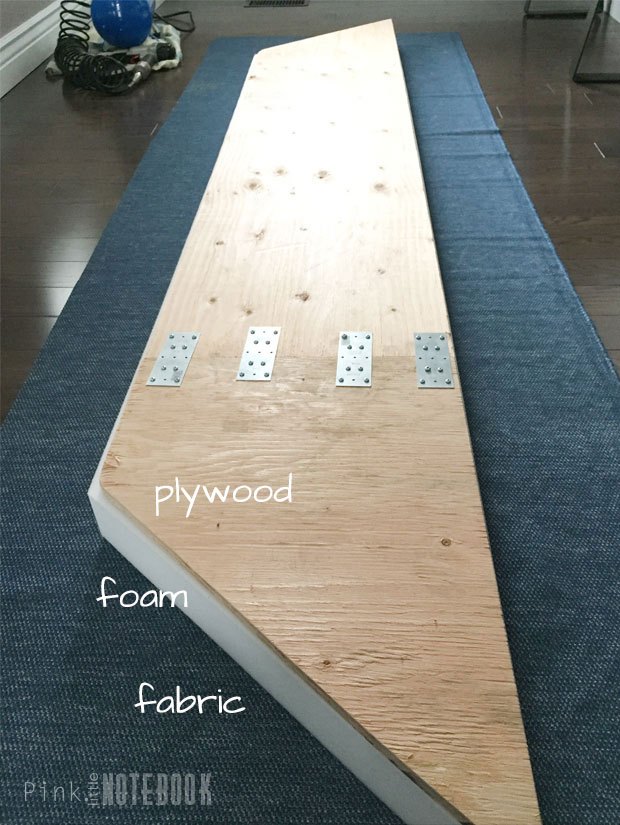
Since our bench top is longer than our 8 foot plywood sheets, our template was created with two pieces. To connect the two pieces together, we used nail plates on the seam for maximum hold.
 Once the fabric is stapled around the sides, flatten and fold the corners as you would with gift wrap. I brought the fabric up on the diagonal to make a corner fold, and held this in place with one hand while tucking the excess fabric on the floor snug against the width of the foam and board neatly stapling it down. Trim any excess fabric to make it easier.
Place the newly upholstered bench top on the base. To secure in place, we used L-brackets every 2 feet attaching the bottom of the upholstered seat cushion to base. To cover up the L-brackets, we used an extra piece of 1″ trimming we had and nailed right to the face of the bench.
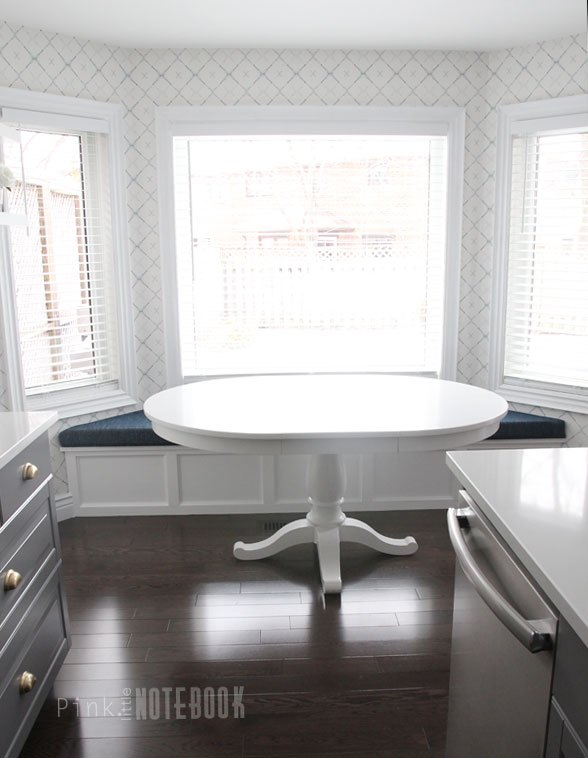
For more info and images, please visit Pink Little Notebook’s blog post.
Want more details about this and other DIY projects? Check out my blog post! GO