
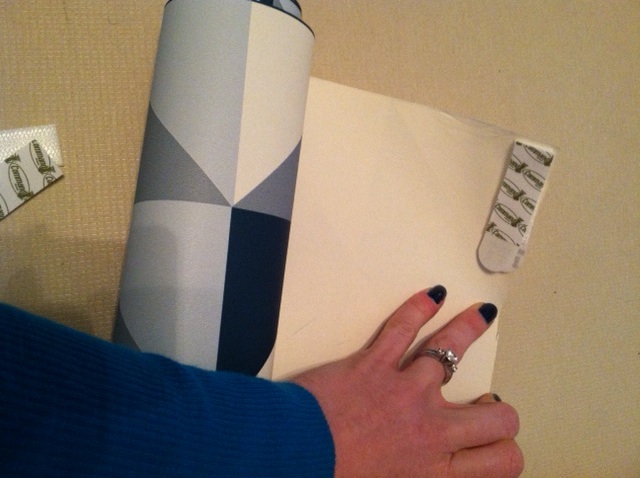
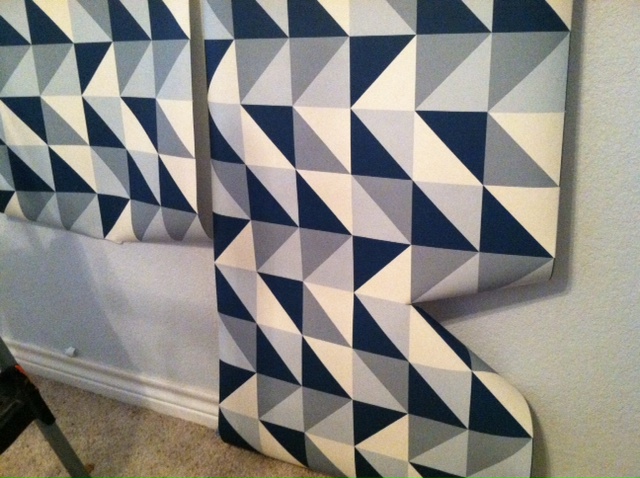
 Next step was hanging the wallcovering. I used the Command Strips on the top and bottom corners of each panel of wallcovering. To keep the panels from curling away from the wall I put one Command Strip in the center of each panel on either side. Then trimmed the bottom to my desired length.
 Finally the trim. Again I used Command Strips on the edges, started at the top and worked my way down.
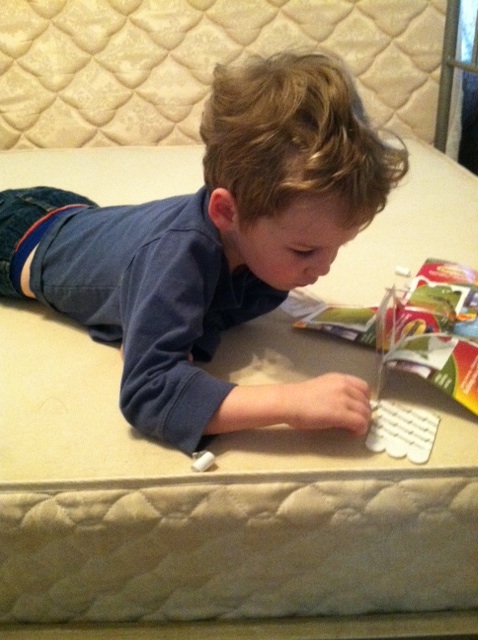 As always my helper was nearby- so easy a child can do it! (J/K not really…)
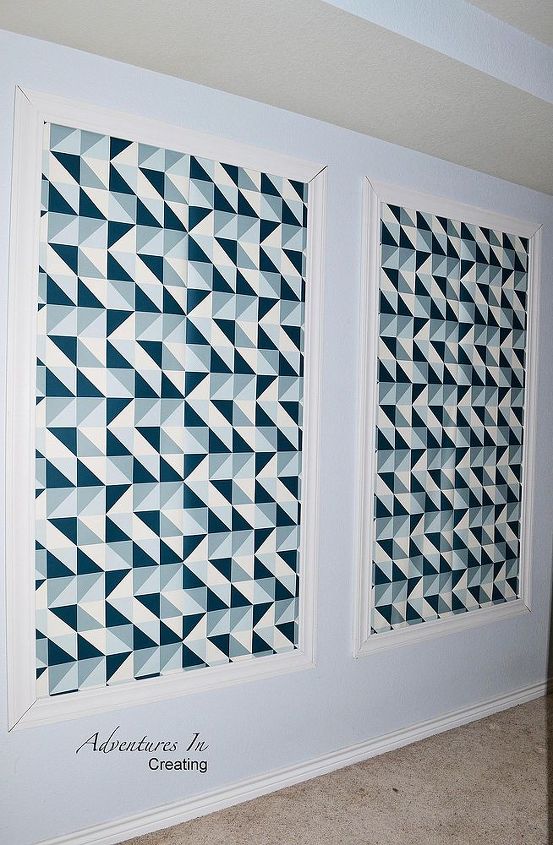
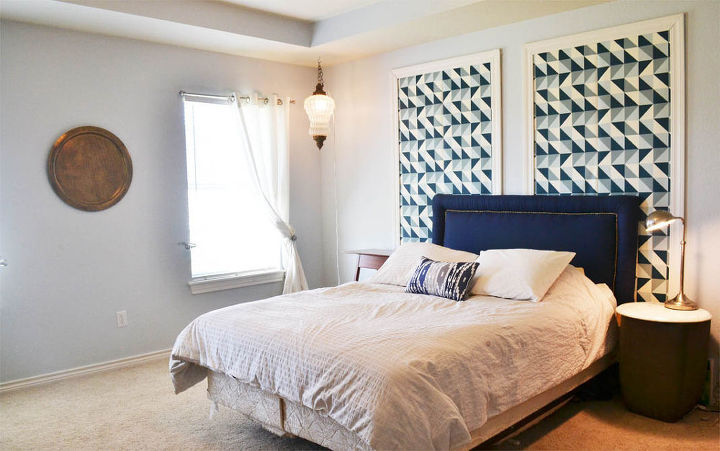 The panels and trim have been up for over a year now and nothing has come crashing down on our heads in the middle of the night.

Want more details about this and other DIY projects? Check out my blog post! GO