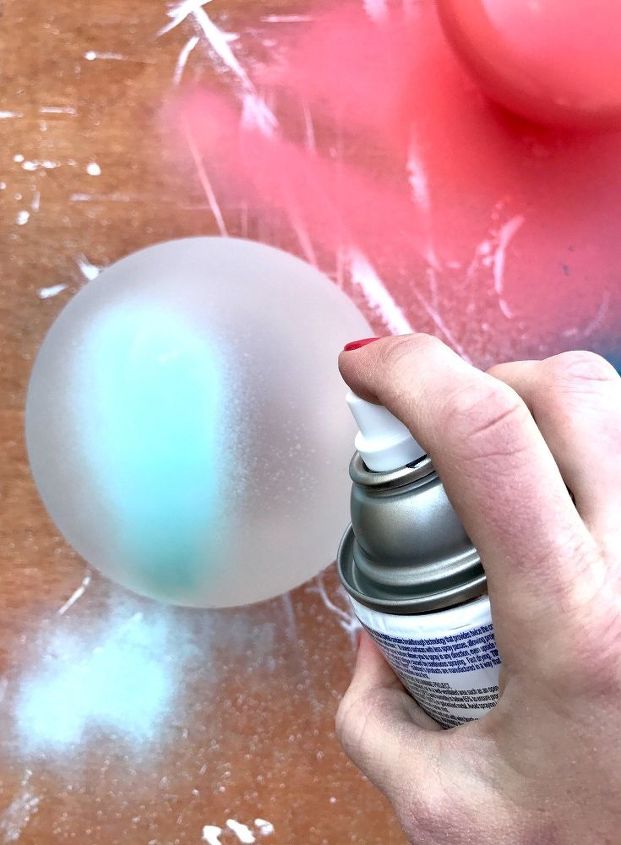
 Did I mention that I need a new spray can attachment? I miss mine oh so much! I would recommend to anyone who spray paints to grab one–I’ve seen them for about $5-10 depending on where you get them from. I just need to remember to grab one next time I’m at Walmart or ACE. The attachment allows you to spray evenly and the spray doesn’t tend to want to glob in one spot.
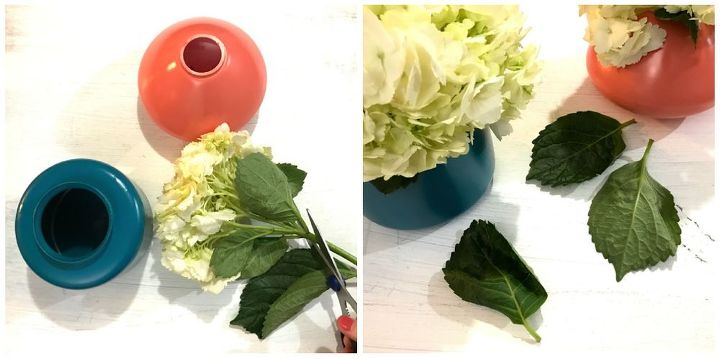 STEP 2: Fill with flowers After my globes were completely dry, I took a bouquet of white hydrangeas I purchased at Costco, cut them to fit my lighting globe vases and put them out for display. So simple, yet so much character—that’s what I love about DIY projects—you can add your personality to the most random items and create unique décor that will have people talking and wanting to try their hand at it. I love how these cute little vases came out and can’t wait to continue to fill them with beautiful fresh flowers as spring approaches!
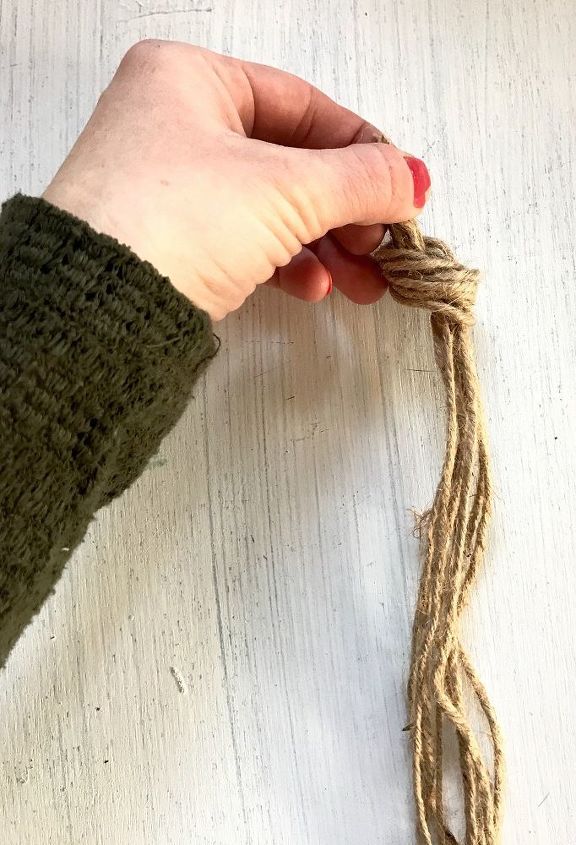 STEP 3: Tie on twine or create macrame hanger (optional): One of my lighting globes was rounded on the bottom so I decided to rig it up with some twine I had on hand (although you can get it on Amazon. I know I’ve mentioned our kitchen reno that we are in the midst of right now so my end-vision is to have this globe hanging from the window opening that will be between our living room and kitchen where my work space will be (I’ll post pictures of that once the reno is complete). I initially tried simply wrapping the twine around the neck of the globe 2-3 times and creating handles but because of the weight of the water that was inside, the twine slipped off and thankfully the globe didn’t shatter all over the floor (I was still working on the counter). So I looked up a few ideas and came across several hanging pots with macrame hangers. I decided to try this method out. I figured many of you would see the end picture and wonder how I did it so here it goes… First, I cut 8 long strands of twine–you can cut them roughly to the length you think you’ll want your globe to hang down to. Then, I tied them in a knot all together at one end.

To buy the twine I used for this step, CLICK HERE
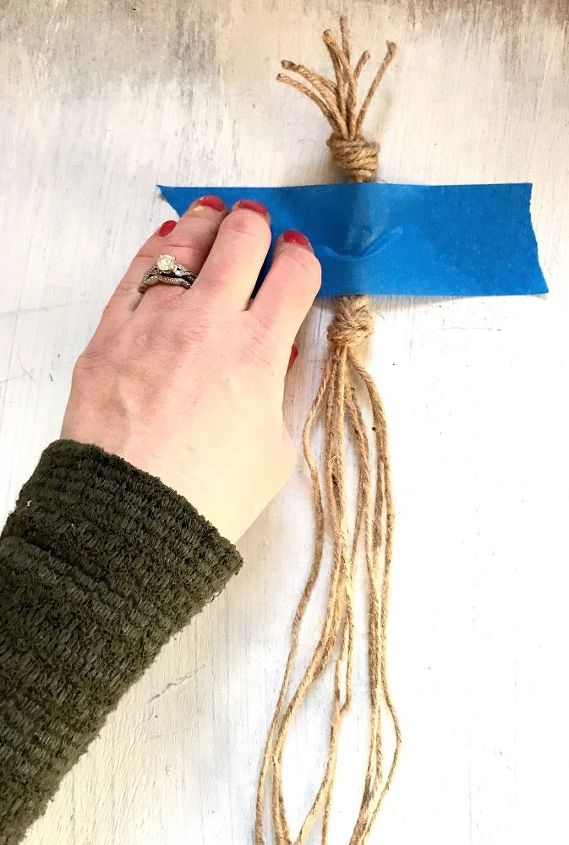 Then, I taped down my knotted end make it easier for me to tie the rest of the knots.
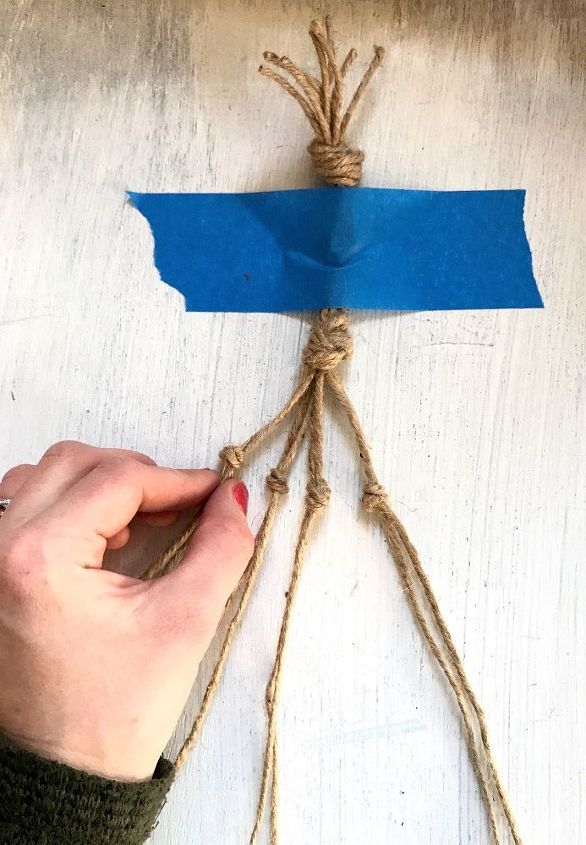
 Next, leave the far left and far right twine strands alone, tying every two pieces of twine together in the middle. This part was the confusing point for me–I wasn’t sure what to do with the very end pieces once I tied the middle knots together. This is where you’ll flip the middle three strands back (or just move them out of the way) and tie the two end pieces together in a knot, making sure to keep them at the same level as the middle knots.
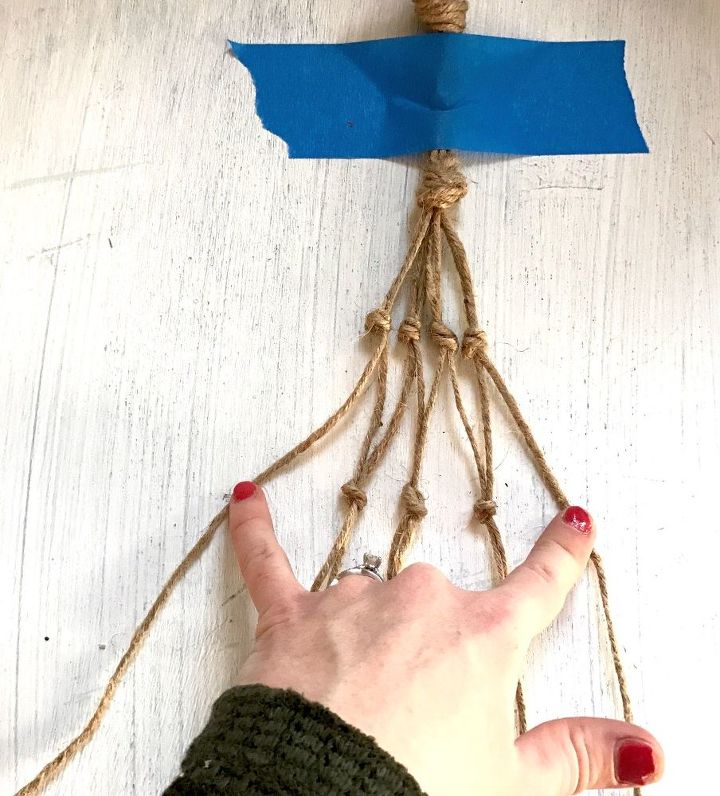
 Here is what the macrame twine hanger will look like once you have your first two layers of knots tied. You’ll continue tying knots into the twine strands–make sure you’re taking two separate groups of twine and tying the two opposite strands of twine together (i.e.: Group 1 has a left and a right strand, Group 2 has a left and a right strand…tie the right strand from Group 1 to the left strand from Group 2 together). Make sense? Once you’ve made enough “net/nest” to fit the globe vase into securely, tie the remaining twine together in one big knot.
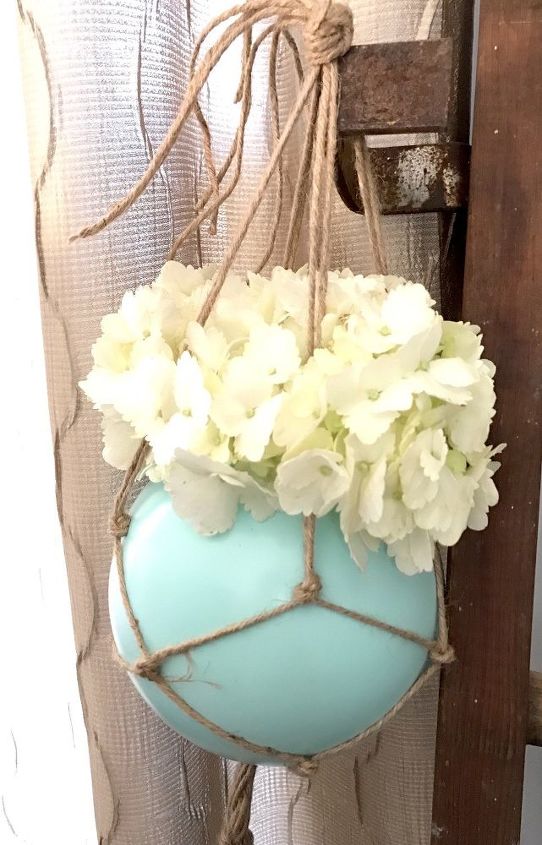
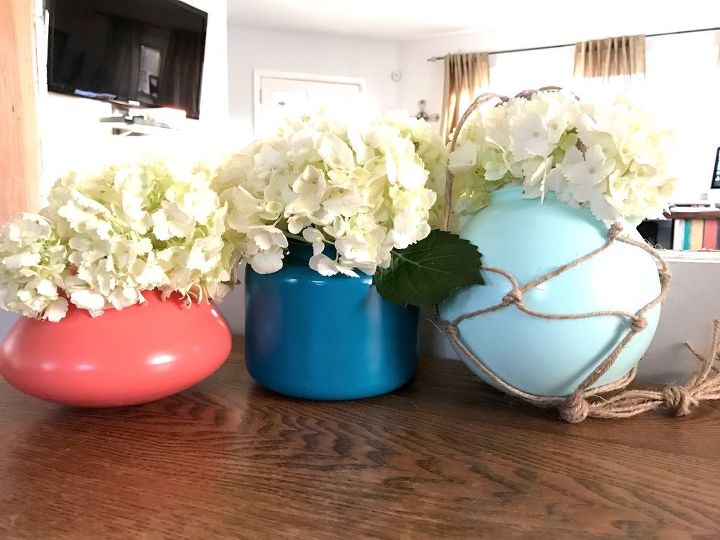 Here is how the globe vase should look once the macrame is finished.
I love the color these simple little vases add to my house! I can’t wait to fill these with beautiful fresh flowers throughout the coming spring/summer seasons!
Want more details about this and other DIY projects? Check out my blog post! GO