 After the glue dries, add some wood filler in the areas where you still see gaps. I mostly had this issue where the legs meet the sides and the feet.
 After the wood filler has dries and the entire piece is no longer wobbly, sand down the entire piece using 220 grit sandpaper, especially the areas with wood filler. Then wipe it down with a damp (water) lint free rag being sure all the dust is removed.
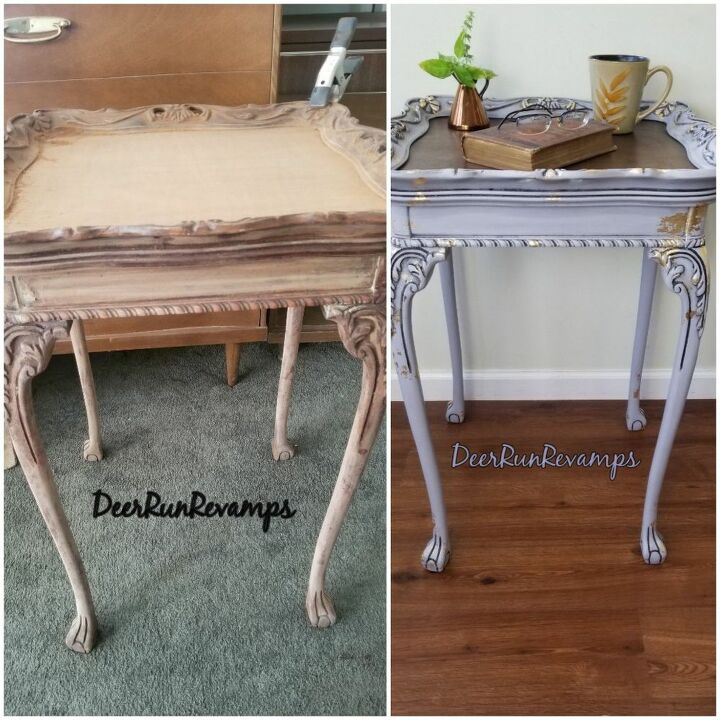
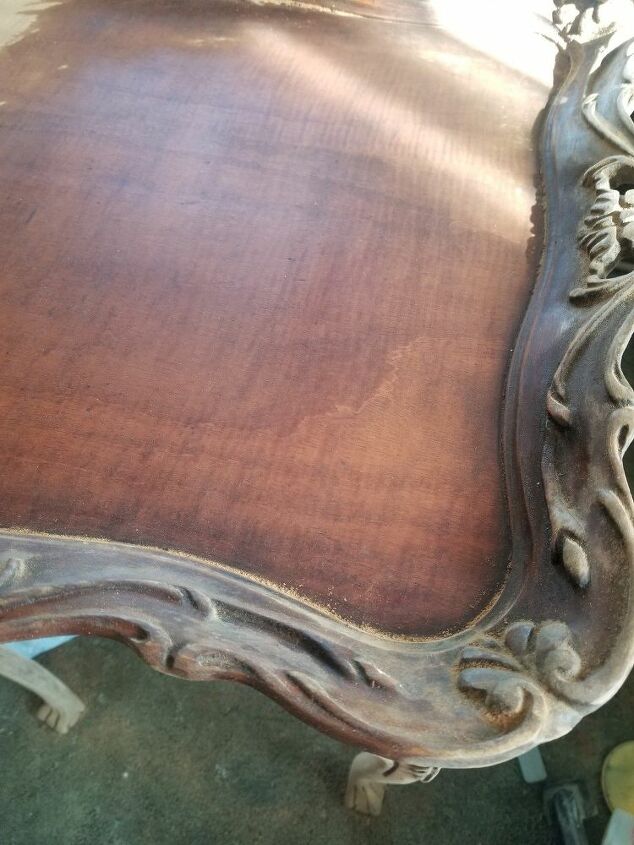
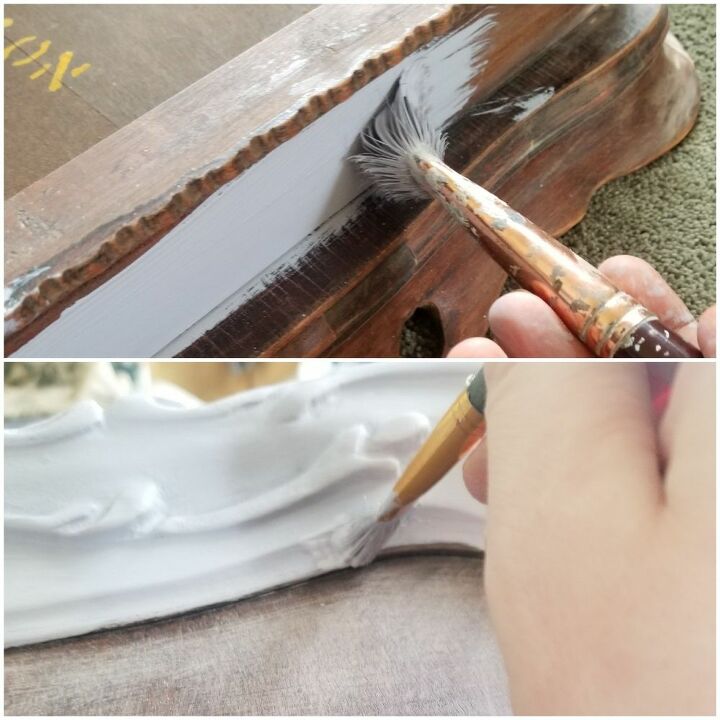
 This table is solid mahogany. I decided to leave the top natural while painting the rest. I used a custom color homemade chalk like paint for this project. Using a 12 ounce jar, I mixed about 2/3 valspar paint in tempered gray and 1/3 heirloom traditions in ruffled lilac. I then mixed 4 tablespoons of calcium carbonate with hot water and added that mixture to my paint. This gave me a pale lilac chalk like paint. Then I painted the entire piece leaving the top.

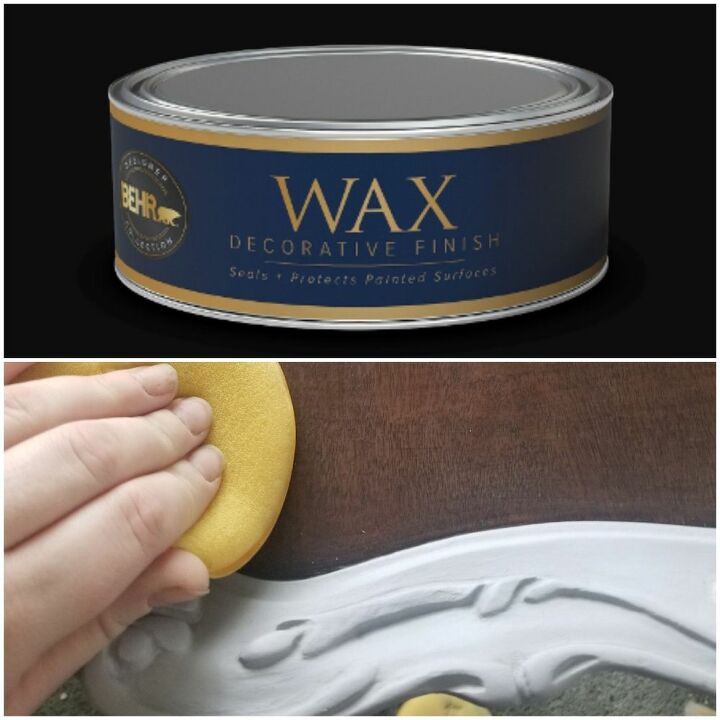
 Now it’s time for the black wax. I used Dixie Belle’s best dang wax in black. Using a wax brush and working in small sections, apply it all over the details, wiping off the excess. I used a small artists brush for areas that I wiped too much from. If you apply more than desired and it isn’t wiping off easily, go over the area with a small amount of clear wax, this removes it in seconds!
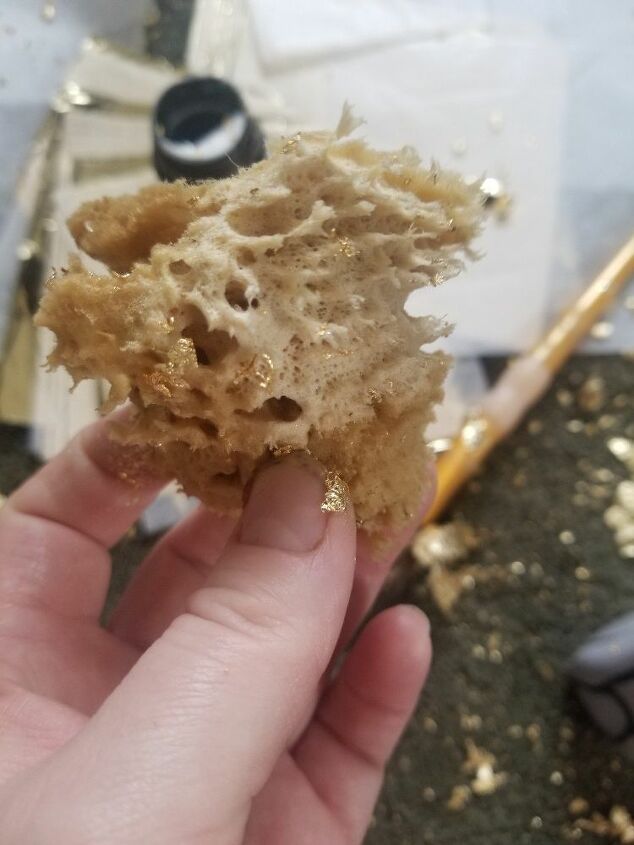
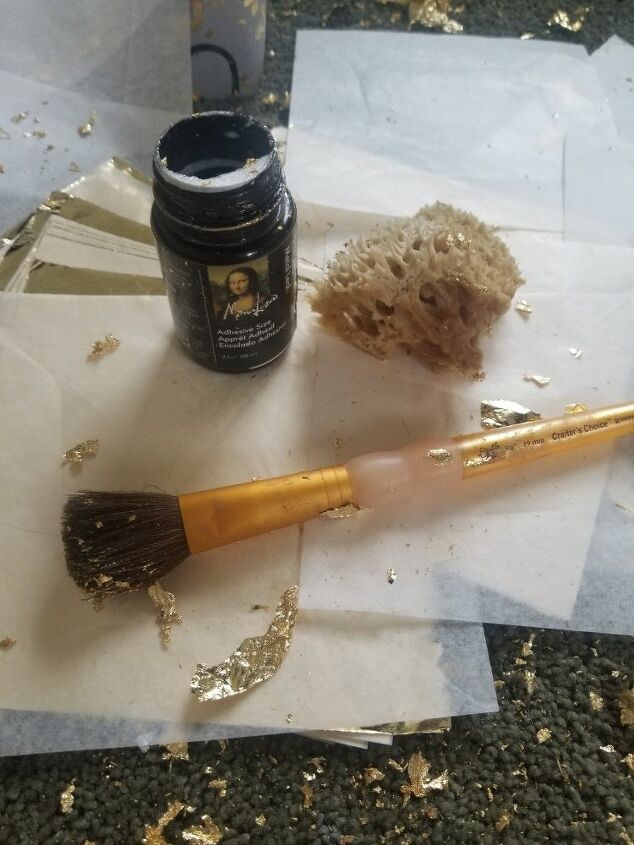
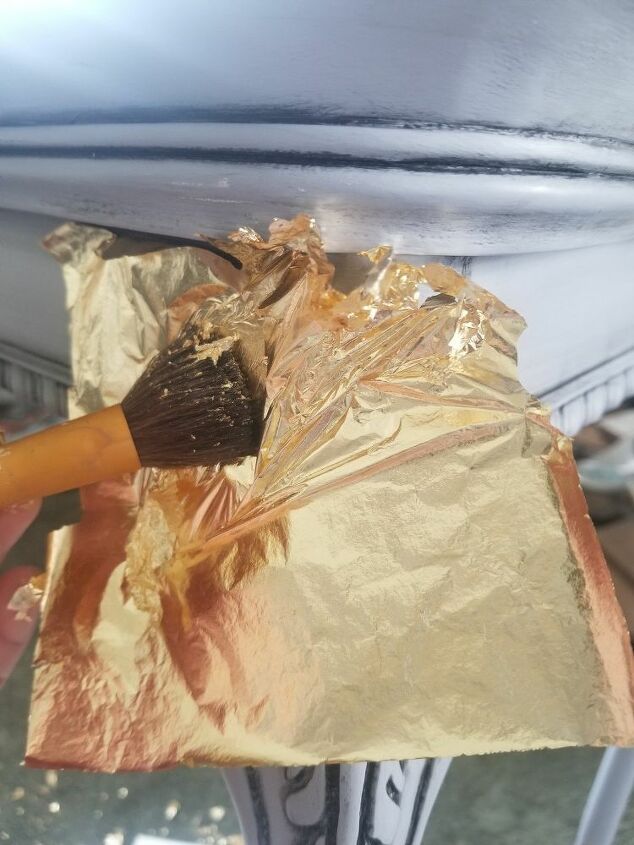 Apply just a little adhesive to sponge and dab it onto the piece where you want the gold leaf to stick. Wait 30 seconds for the adhesive to become tacky, and apply a leaf sheet, pressing it onto the glue with the fluffy brush.
Brush away any loose leaf
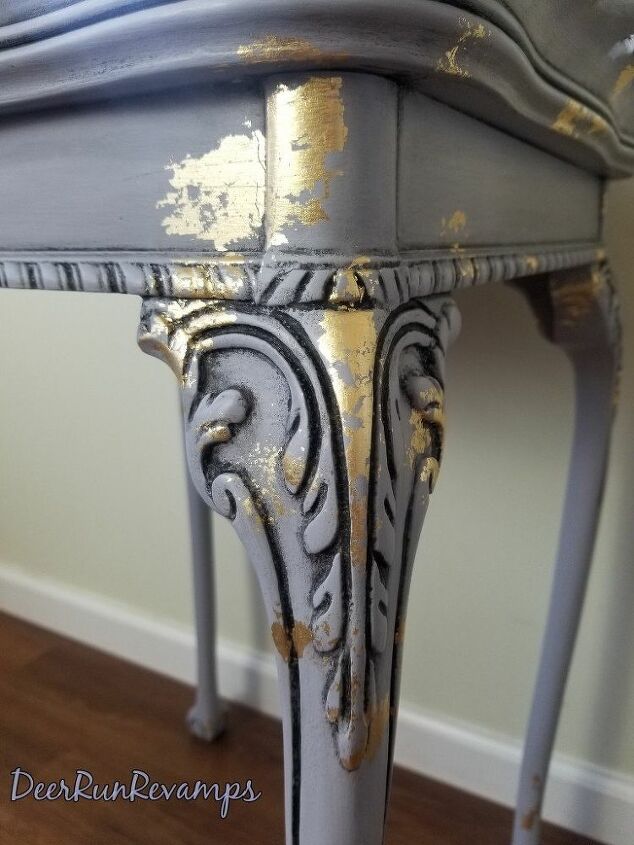 Continue this process until you have your desired look! Then go over the golf leaf with a bit of clear wax to seal and your finished!
Want more details about this and other DIY projects? Check out my blog post! GO