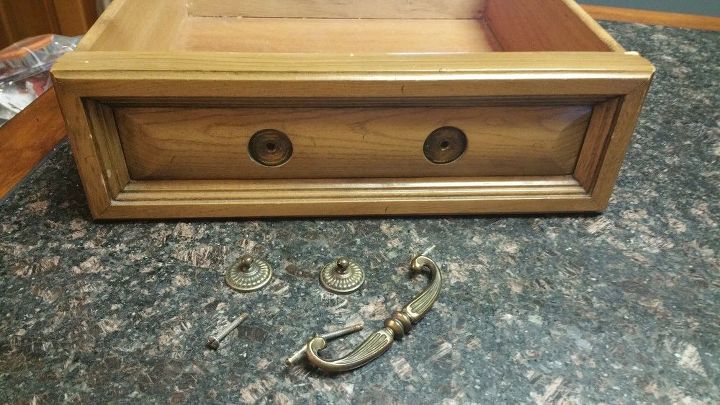
 To create a smooth appearance, I needed to fill in all of the holes from the hinges and magnets. For this I applied plastic wood with my finger. Once it dried, I sanded it until it was even with the wood surface.
 I removed the rest of the doors and hardware. The glass and metalwork was removed from the doors as well. With a rag and my Krud Kutter, I thoroughly cleaned the entire piece (including doors, drawers, and inside the cabinets). Be sure to have the room well ventilated because this stuff reeks! Let the piece dry overnight.
The glass and metalwork was removed from the doors as well.
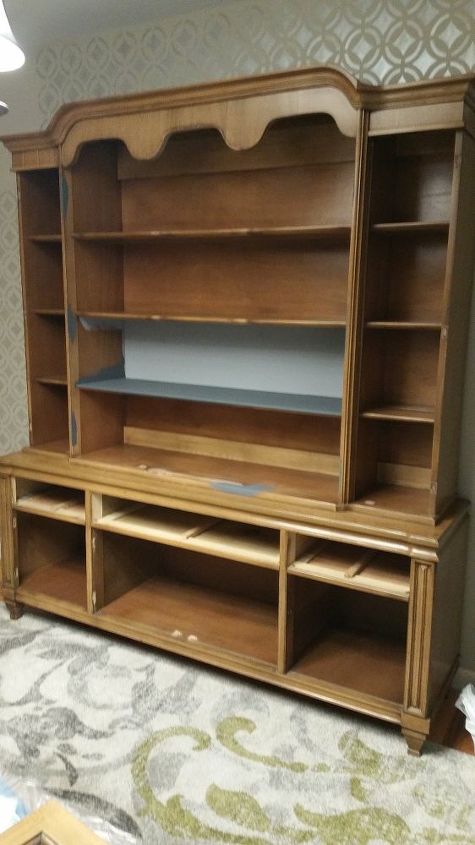
 I couldn’t wait to dive in with the paint! Truthfully, I had already experimented with one of the shelves. The paint and finish was given to me through a collaboration between Fusion Mineral Paint and Hometalk. It is only fair that I give an honest assessment of the paint, so here goes…I LOVE IT!!! I am a novice at this. As a matter of fact, this is my FIRST furniture painting makeover. I was intimidated to say the least. Anyway, it was all for naught. The color was beautiful. I used a brush, but once dry you could not detect any brushstrokes. It dries to a beautiful, velvety flat finish.
One coat would have been acceptable, but I did not want to go through all of this trouble to find out that I should have done two coats. This hutch took two jars to complete two even coats. Since I have no previous experience with this kind of paint, I’m not sure if that is a lot or not, but frankly, I couldn’t be more satisfied with the results.
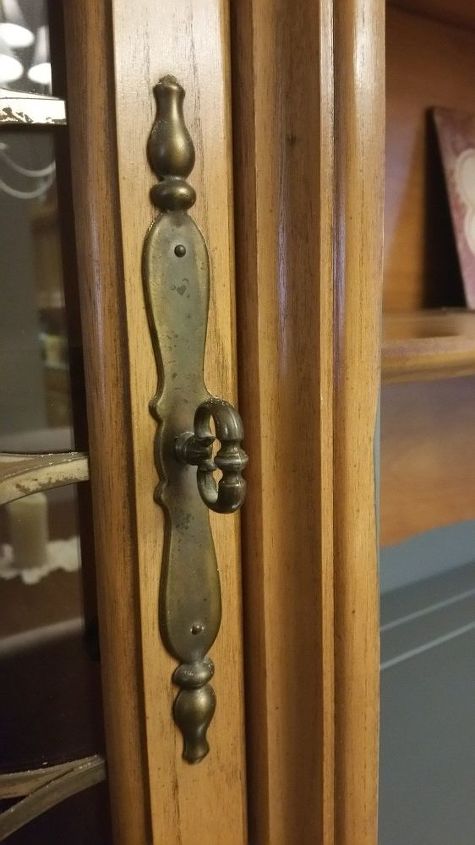
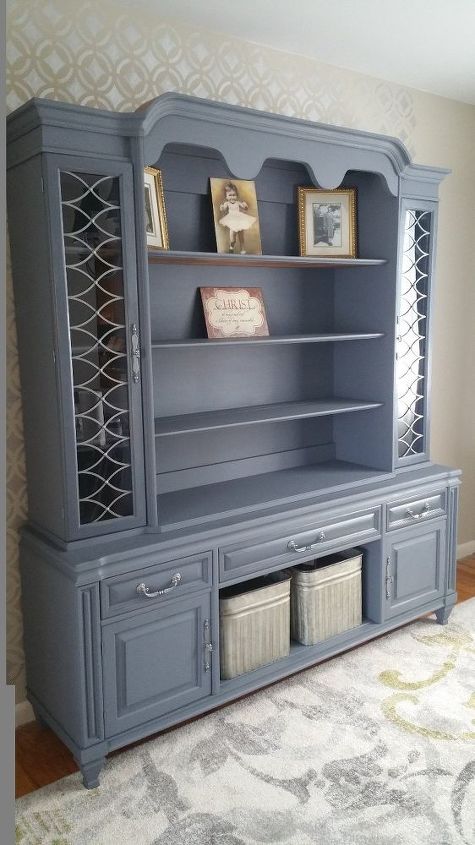 It was time to apply the Fusion Mineral Beeswax finish to the unit and the doors. This wax goes on like melted butter and it smells soooo nice! It gives depth to the paint and also provides a protective coat. I like the feel of the wood better with the finish on than without. I replaced all of the hardware and metalwork and then re-attach the doors! This is the most tedious step, but because I was so close to the finish line, I didn’t mind at all. I went to three Home Goods stores and Hobby Lobby to finally zero in on the right bins for my hutch. I couldn’t decide between metal & wood baskets, cloth baskets, or these galvanized bins. Well, I guess I did finally decide and I really love the way they look. Decorating the shelves is a work in progress…several future projects will pay homage to my family.
Want more details about this and other DIY projects? Check out my blog post! GO