 Step 4: Create 2 mixes. Mix the French Blue acrylic paint with paint extender and then mix the Midnight Blue acrylic paint with paint extender.
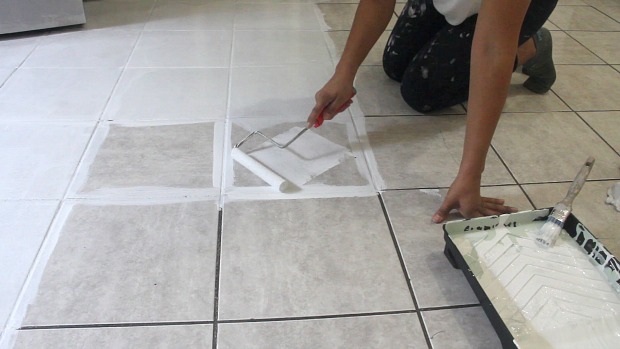
Step 5: Place and secure one of the Renaissance Tile Stencils onto one of your floor tiles with painter’s tape. Load a 2” stencil brush with the French Blue acrylic paint mix and offload the excess paint onto a paper towel.
Step 6: Use varying pressure to paint the tile stencil design. This will achieve a distressed and glazed tile look.
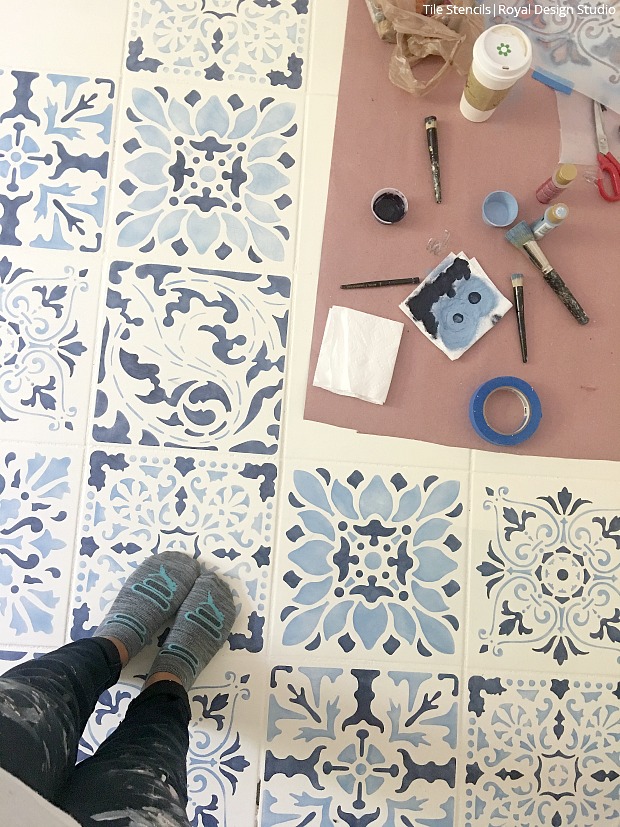
 Step 7: Load the 3/8” and 1/2” stencil brushes with the Midnight Blue acrylic paint mix and offload the excess paint onto a paper towel. Use these smaller stencil brushes for better control when painting the smaller stencil design elements.
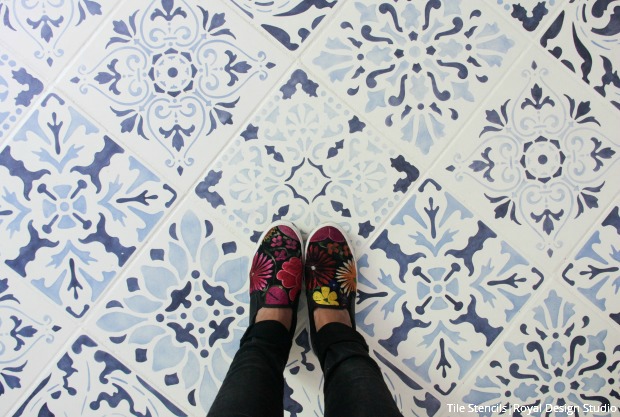
Step 8: Place and secure a different Renaissance Tile Stencil over the next floor tile. Repeat Steps 5 through 7. Use different tile stencils for each floor tile. Whether you use a random or preset order… the choice is yours! Repeat this step until the entire tile floor is stenciled.
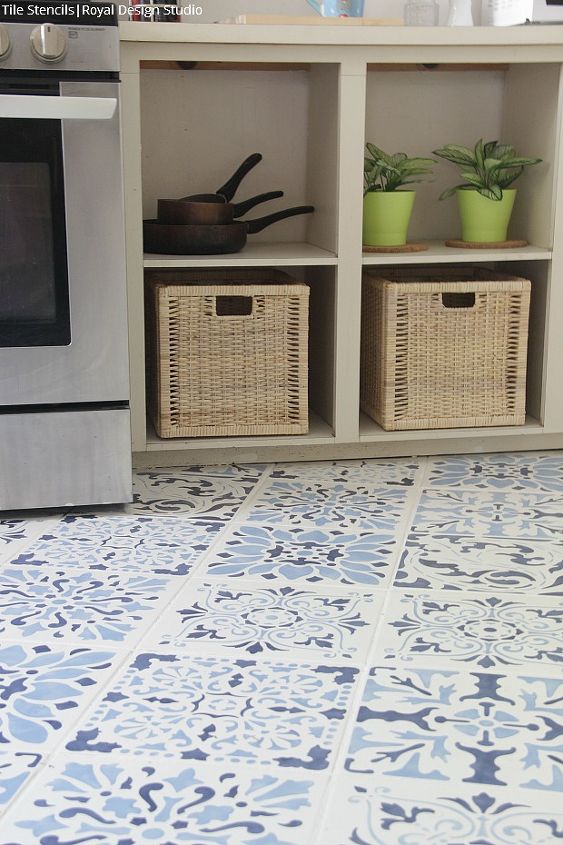 Step 9: To finish stenciling the areas near a wall, make sure to protect and mask off the wall or baseboard with painter’s tape. Place and secure your tile stencil on the center of the tile near the wall with painter’s tape. Use your free hand to push the stencil into the corner between the floor and the wall. You may use a small paint brush and Old White Chalk Paint® to touch up any areas.
Want more details about this and other DIY projects? Check out my blog post! GO