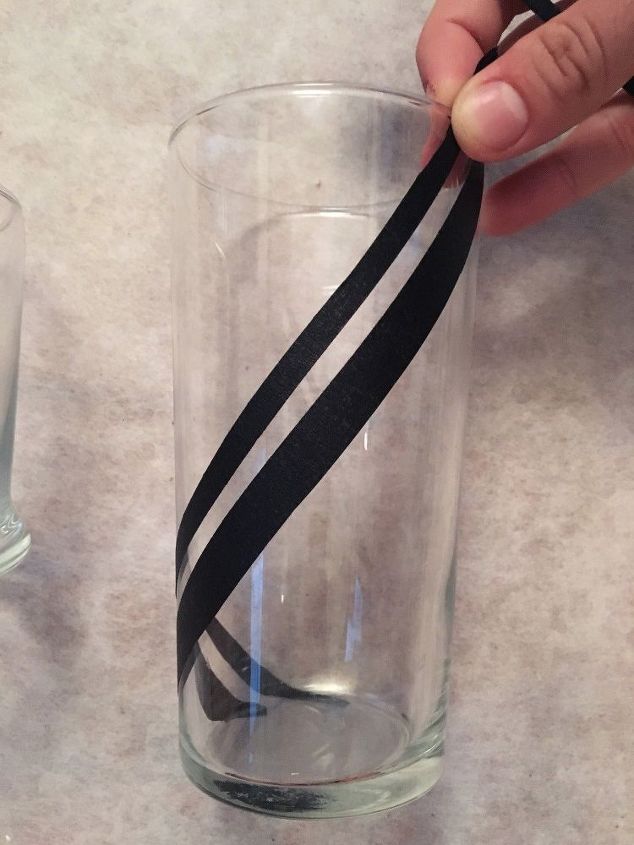
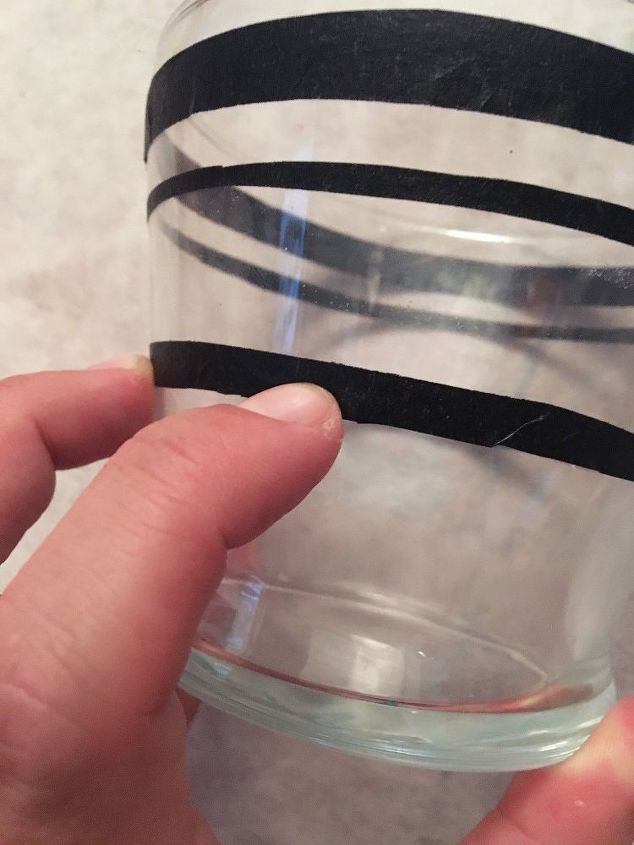
 STEP 2: Remove air bubbles Make sure to press down on your tape and remove any bubbles to ensure that no paint gets underneath. This helps create a clean design.
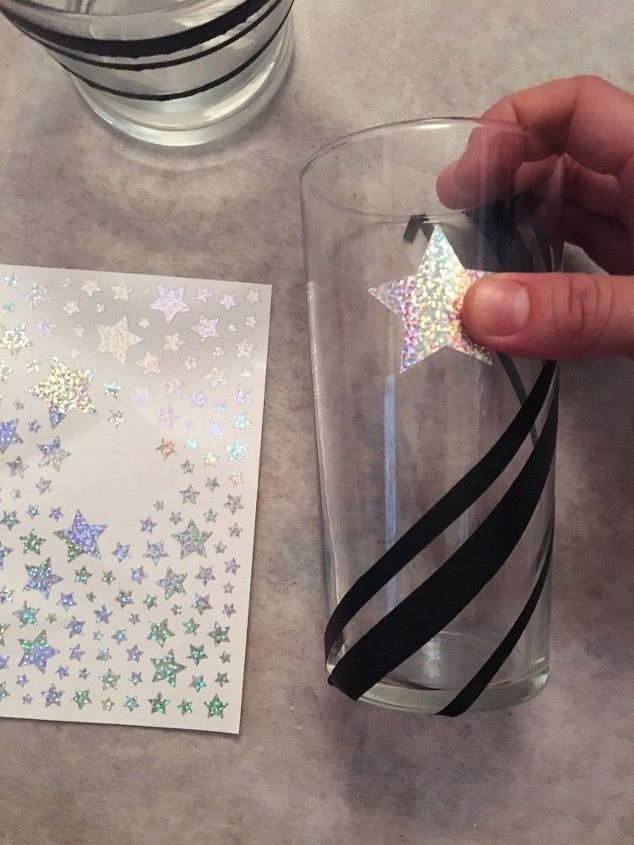
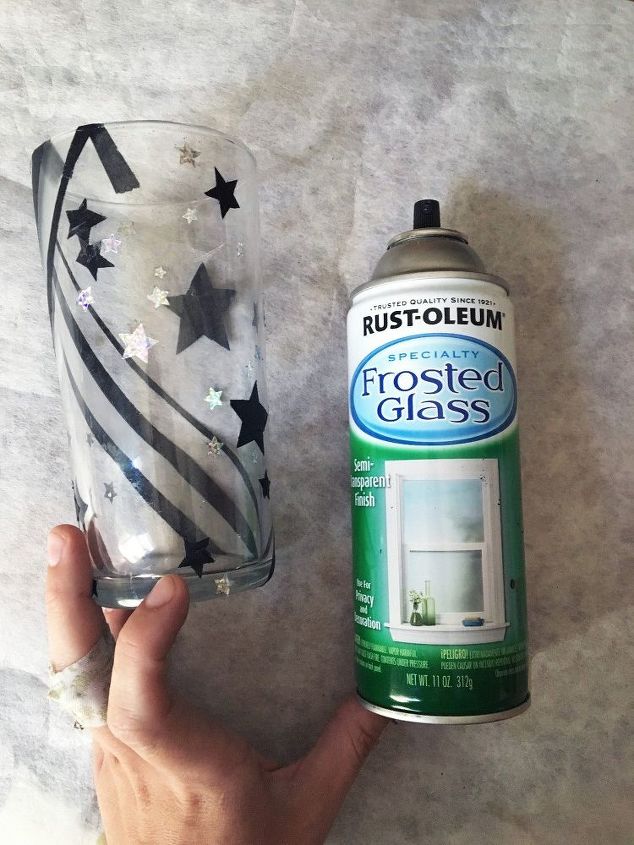
 STEP 3: Add stickers Take your star stickers and place them all around the glass as you choose. Be sure to press these in place as well.
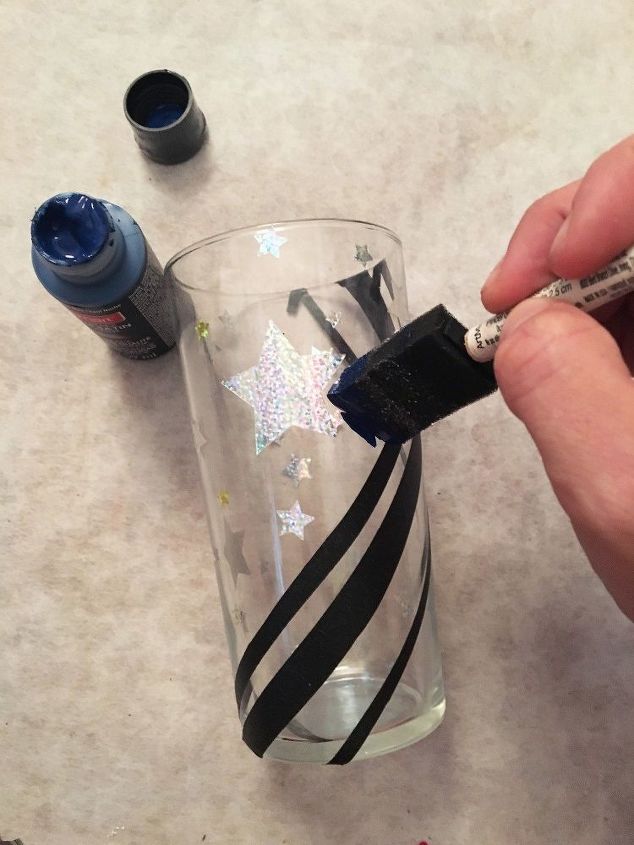
 STEP 4: Paint around stickers (Optional) I had an extra glass and wanted to see what it would look like with some color so I grabbed some acrylic paint and dabbed it around with a sponge brush filling in all the empty spaces around the stars. I filled in one stripe white and left one empty to be filled in with only the frosted glass spray.
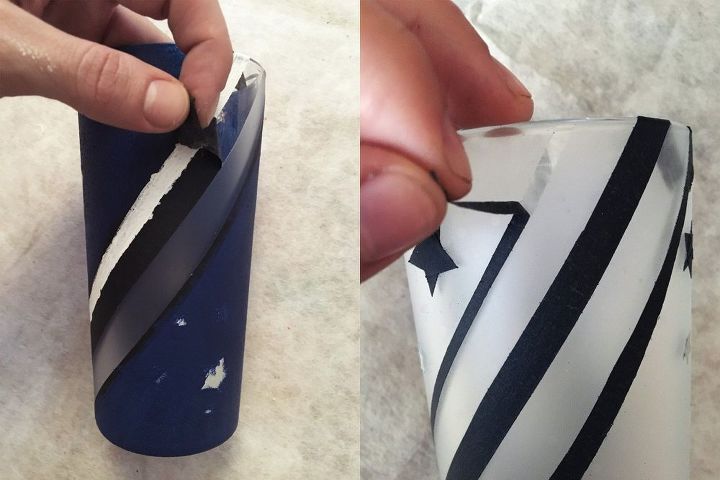
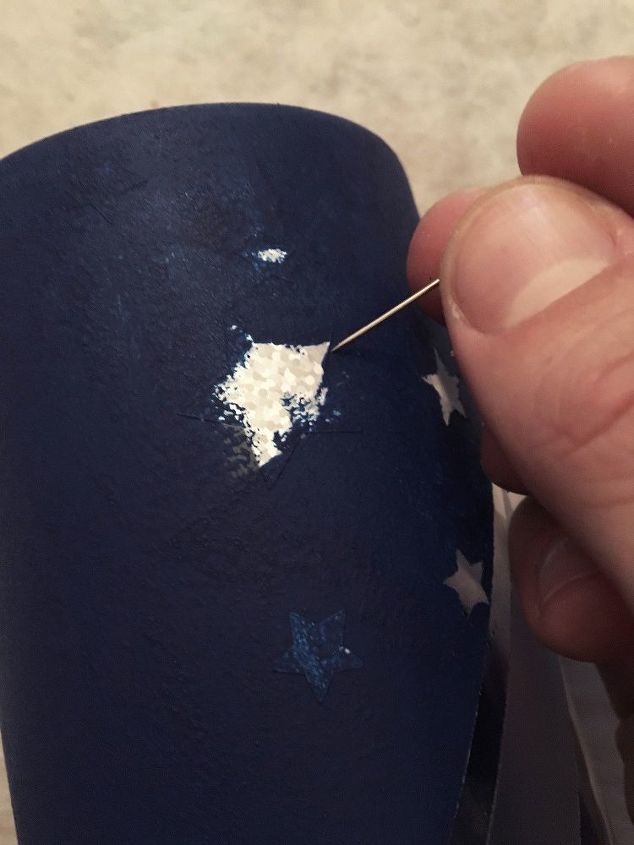
 STEP 6: Remove the tape Once the frosted glass spray has dried you simply remove all the tape from your glasses.
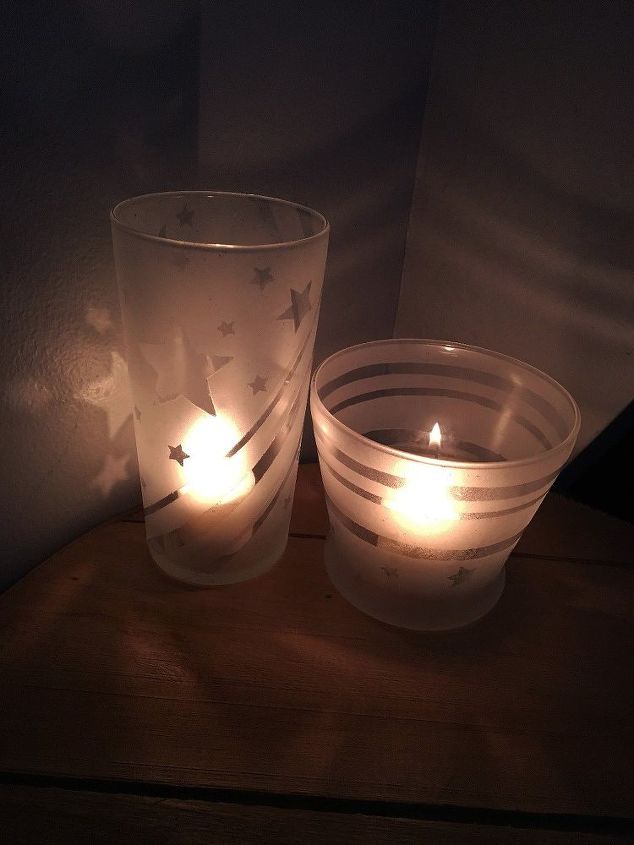
 STEP 9: Add candles
That’s it! Now you are ready to enjoy your luminaries!
 You could really use any shape of sticker to create the design of your choice! I might have to make some more of these with some other fun shapes!
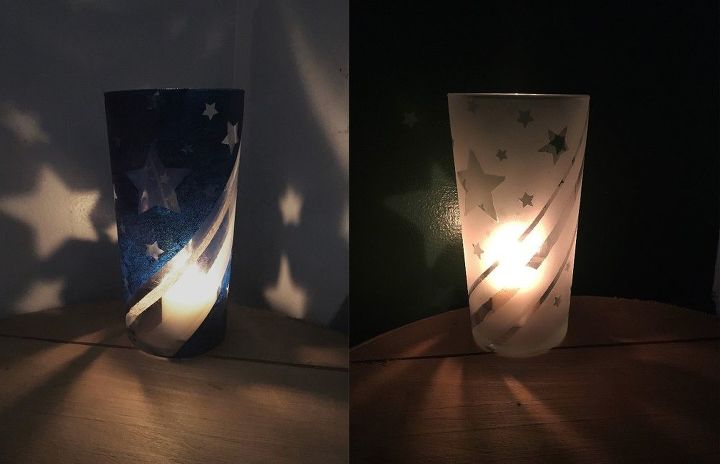 On the left is the one that I painted in with the blue vs. the one that only has the frosted glass spray. The shadows when it is painted in are more intense, however I love the simplicity and elegance of the frosted one. Plus you can use the white one for Christmas too or even as a simple night light.
Want more details about this and other DIY projects? Check out my blog post! GO