 Step 5: Seal your wood top with a polyurethane to protect it from any scratches, dings, dents, and spills. On the side that will be your top add a second coat of polyurethane.
Step 6: Center your table top on your milk can and secure with 3 braces – evenly space them apart.
You’re finished! The paint tends to bring out the lettering in the can that sometimes can be hard to read with the rust and dirt- -This is one of my favorite things to see with a finished can. Now your table is ready for any room in your home or on your front porch.
To BUY this vintage side table, click here
 Here is how our top turned out.
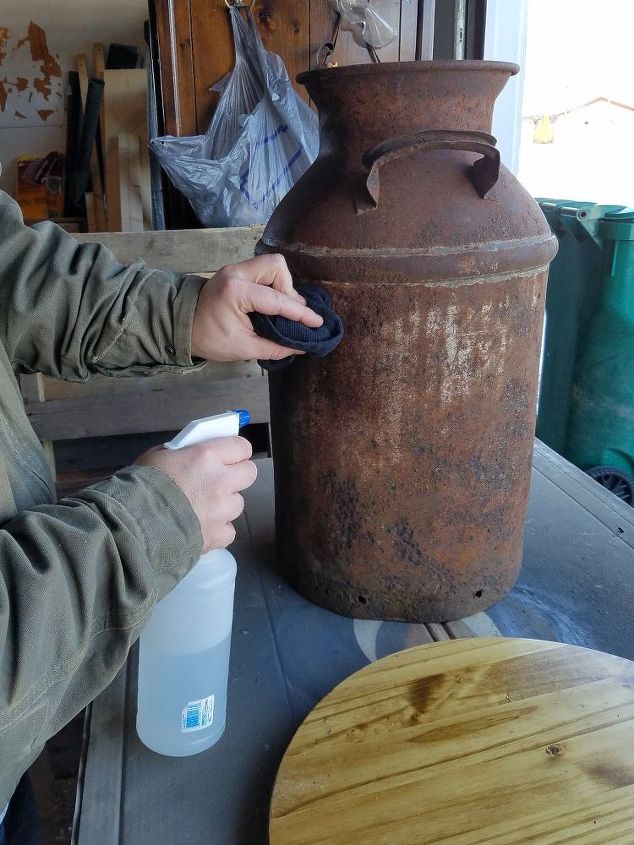
The overall project takes around 3-4 days to complete. Having to give layers of paint, stain, and polyurethane coats time to dry – as directed on the cans.
Want more details about this and other DIY projects? Check out my blog post! GO