 Something else to keep in mind is which way you’re making your cuts. Make sure that you’re paying attention to the design of the moulding and making your cuts so that they all are the same. For example, I made the mistake THREE TIMES of having the concave/divot side of the moulding being positioned on the outside edge of my final panel box rather than on the inner edge of the box. Basically, once I put my “boxes” together after all of my moulding was cut, three of my four sides didn’t look continuous. Make sense?
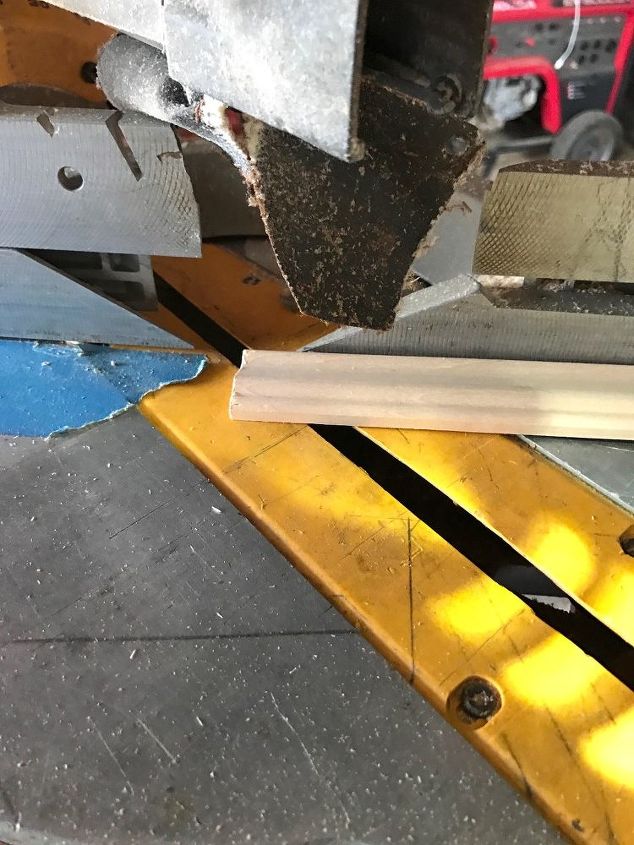
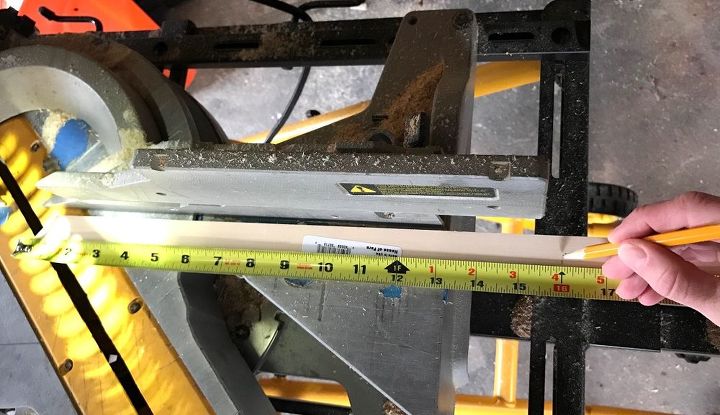 Once I made my first 45* angle cut on the very end of my moulding, I flipped it over and measured from the pointy edge to where I needed the other end to be, then made my mark and cut.
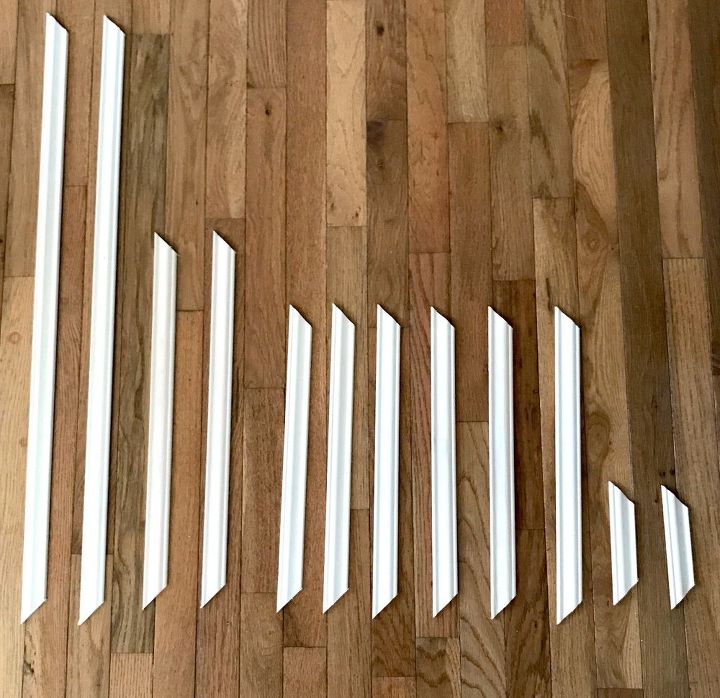 Here are my cuts all laid out (again, a few of these had to be re-cut because of the design but you may not even be able to tell from the photo). For a 24″x80″ door, I ended up with: (2) 34″ pieces (2) 20″ pieces (6) 16″ pieces (2) 6″ pieces
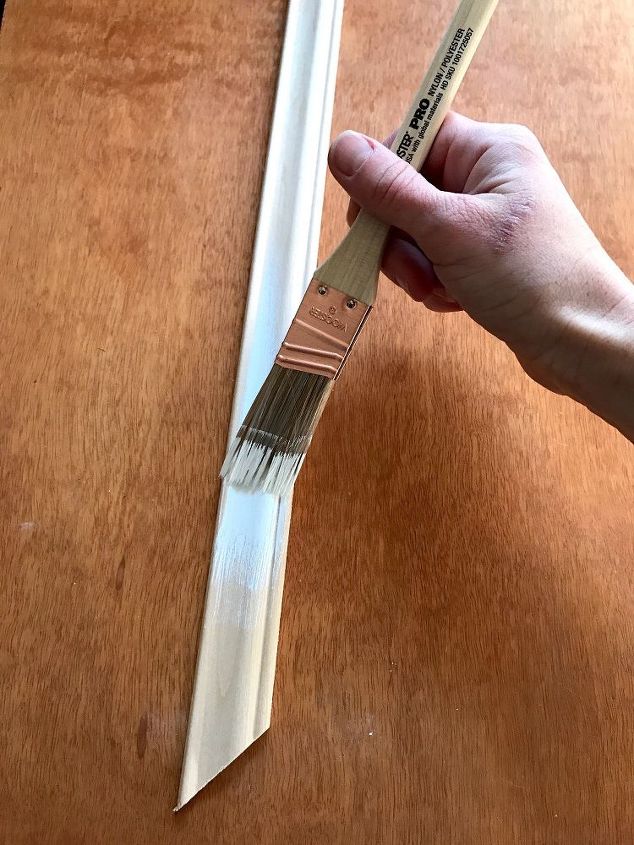
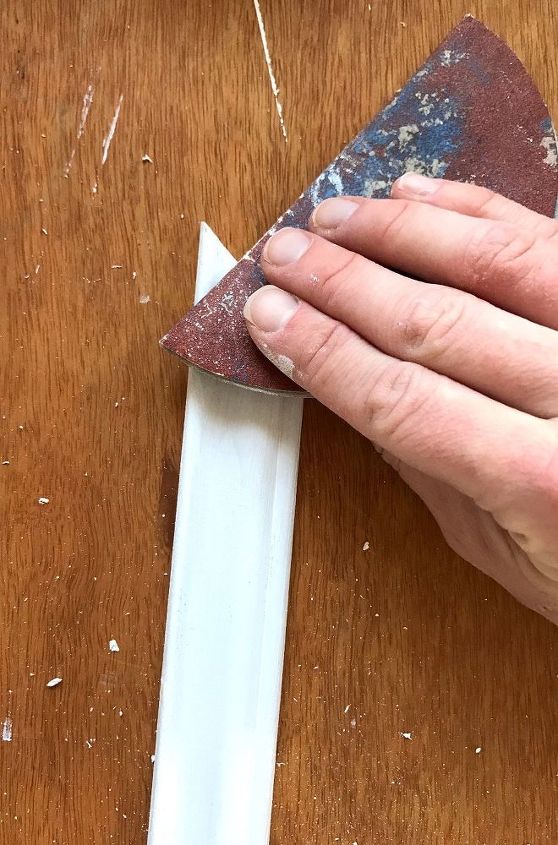 STEP 3: Sand moulding Next, I lightly sanded the edges where I cut in order to get rid of splinters and make the edges smooth.
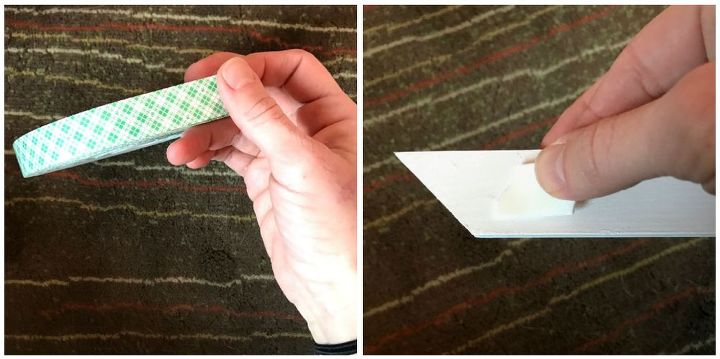 After I made a tiny mark at 4″, I used small strips of my double-sided tape and adhered them to the back of each strip of moulding. The tape I used gives a warning that it is permanent and may damage the surface if removed, but I was able to reposition the moulding even after I stuck them to the door. I would advise, however, not to completely press them down until you’re happy with their positioning–this way you’re less likely to mess up your door while you’re working out alignment. Once you have your tape on the back of your moulding, adhere it to the door.
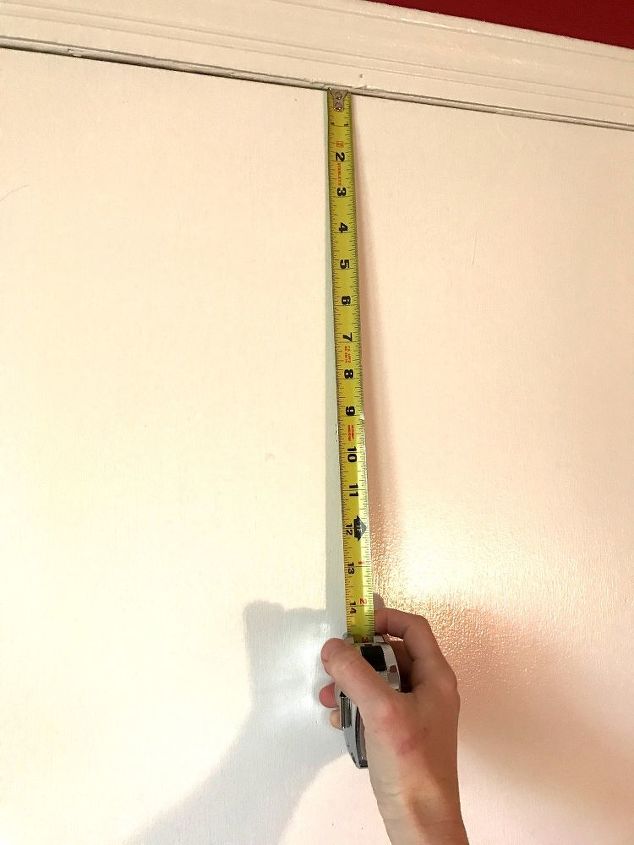
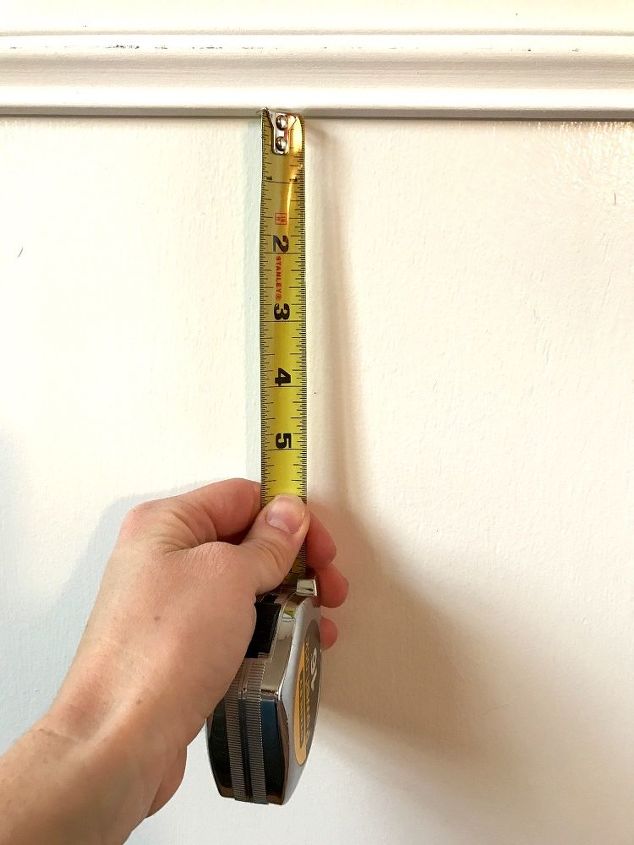 After I had my first “box” on the door, I measured down 4″ and created my next box. I repeated this a third time, creating three panel boxes in total.
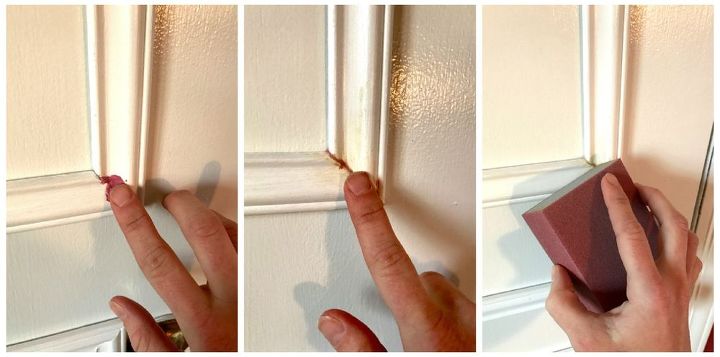
STEP 5: Fill cracks, sand and paint After my boxes were assembled on the door, I used my finger to wipe on wood filler in the joints of the moulding. I’m sure there’s a tool for this but I found that I could get into the crevices and smooth out the wood filler easier by using my finger. Try not to get too messy with this step–maybe even keep a rag on you so you can quickly wipe off any excess wood filler as you work–this stuff dries quick! Once you’ve filled in the joints, take an angled sand sponge (or just a regular piece of extra fine sandpaper) and lightly sand away any dried excess wood filler.
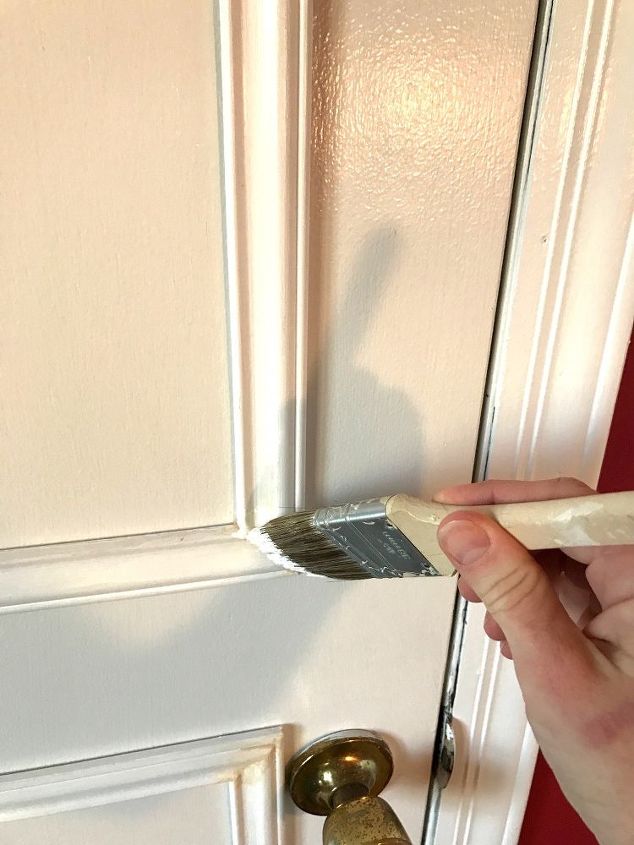
 Lastly, apply a second coat of paint over all of your moulding, paying attention to the joints. You want your panel boxes to look as if they are one completed piece.
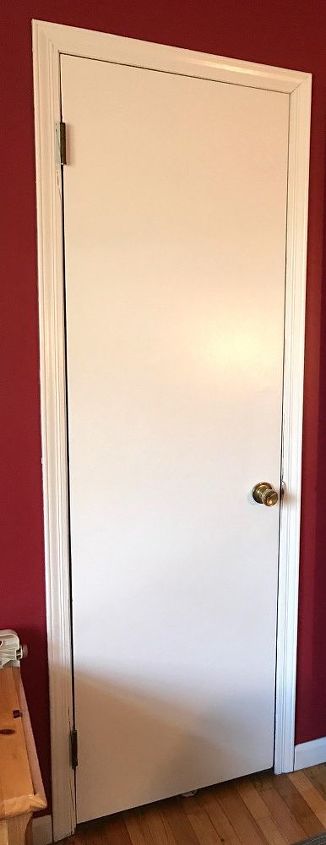
I was so amazed at how easy this project was and the fact that it cost me roughly $60 to create this look versus going out and spending about $160 on a door that would look very similar in design. I figure for a bedroom door to go from plain to pizazz, that’s not half bad!
 Here is a split screen shot so it’s easier to see the before and after. I realize the alignment isn’t PERFECT but for a quick facelift, I’m happy with it. 🙂
Want more details about this and other DIY projects? Check out my blog post! GO