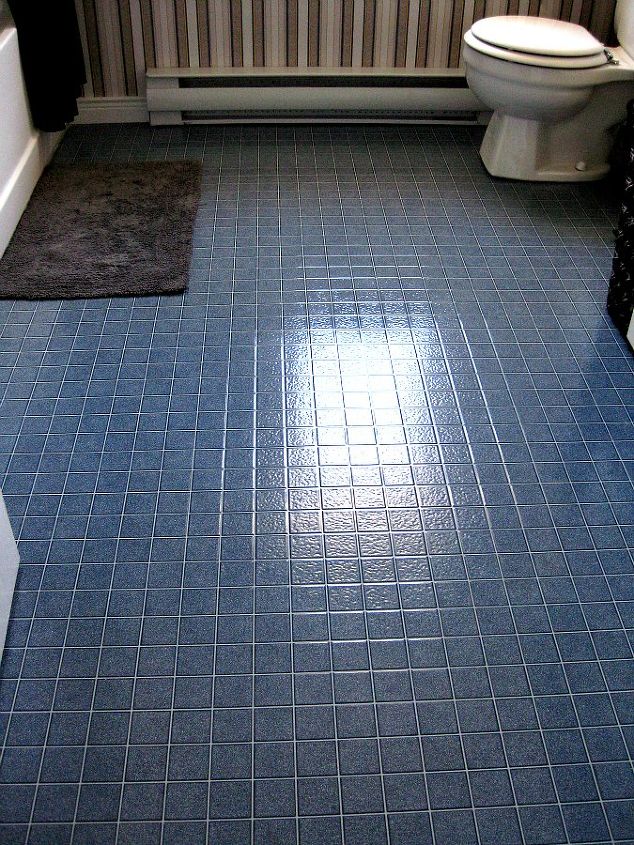
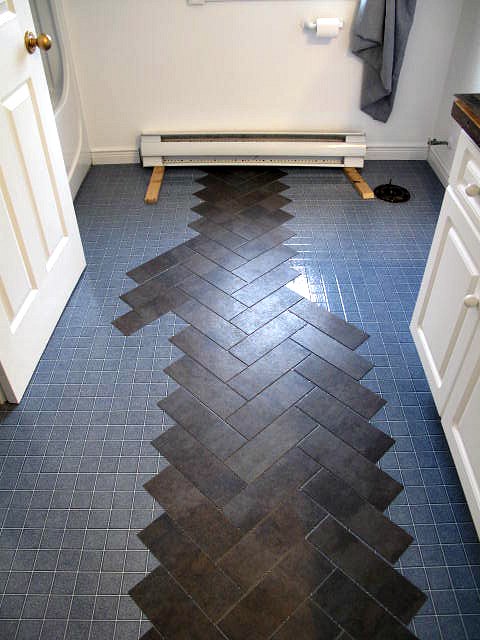
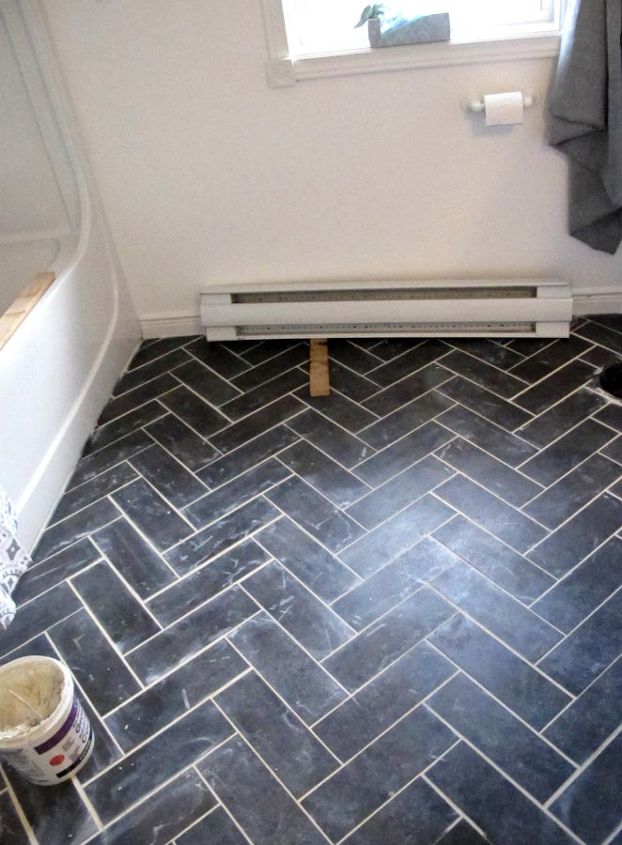
 Measure, score, snap; measure, score, snap. I did a half row using my tetanus-laden square to start off. After I was sure I liked the placement/it was relatively straight, I peeled the backing off the tiles and stuck them on, pushing down really hard. After the first few, I just went from there, sometimes using tile spacers and sometimes not, peeling and sticking as I went. As you can see I stuck them directly on top of the old floor because it was in great condition.
 Obviously cutting the tiles by hand like this is not going to yield perfectly even, equal tiles which means you’ll have to improvise for some areas and adjust accordingly (or you could just be a lot more careful and precise than I was. Your call .)
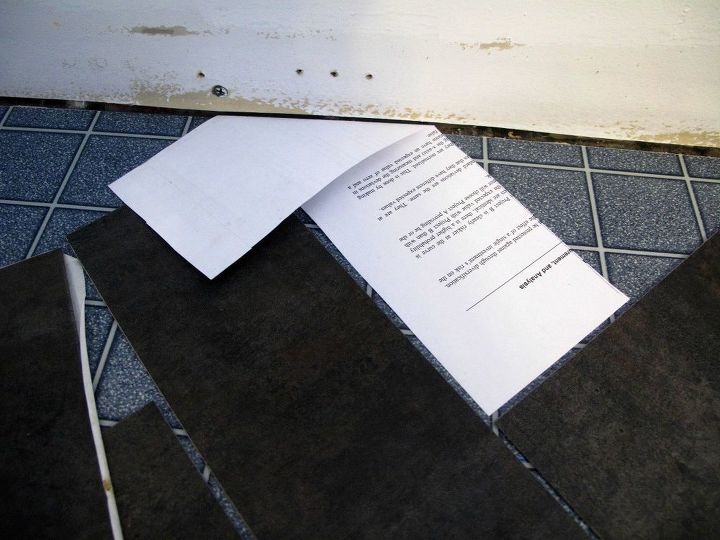
 When I came to an edge, I used a template tile cut out of paper then put the paper tile stencil on top of the real tile and used a straight edge to cut it.
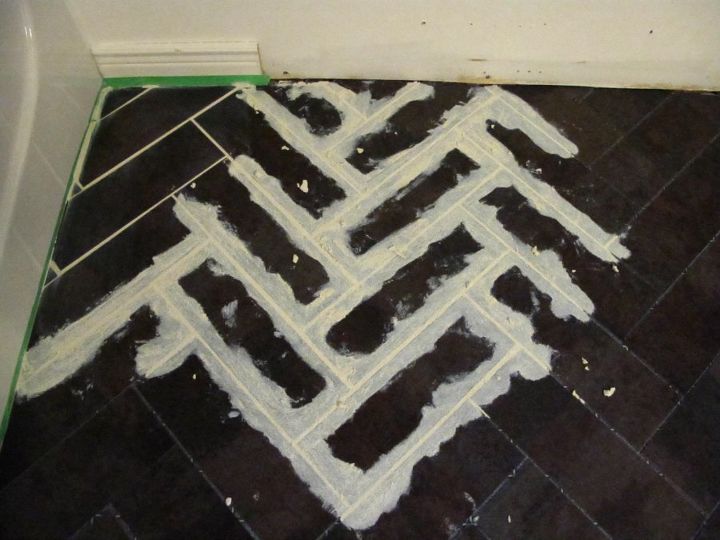
Once all the tiles were down, I grouted little areas at a time and then wiped off the excess with a damp sponge.
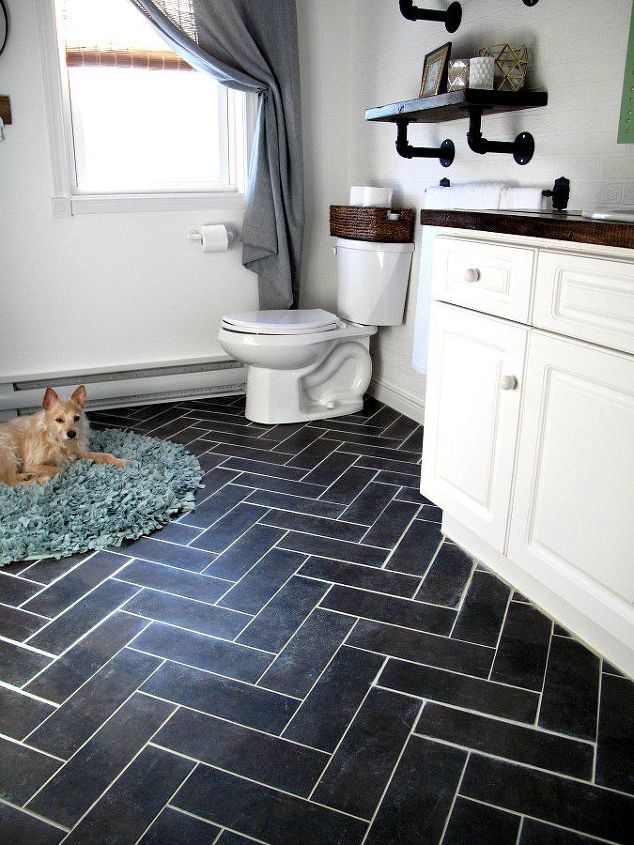 It was well worth the effort, as the floors turned out better than I hoped. I sealed the grout and even after a year it still looks fresh and white, and I have not had any issues with the tiles shifting or lifting. Those suckers are stuck down hard! You can find the blog post here for more info.
Want more details about this and other DIY projects? Check out my blog post! GO