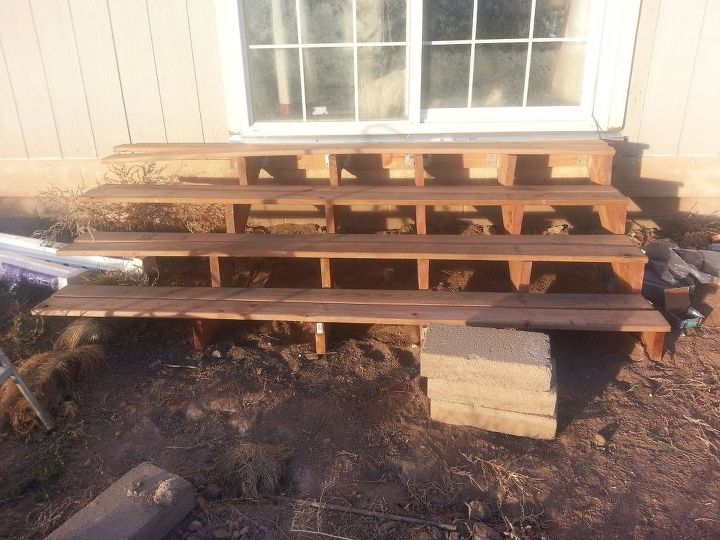
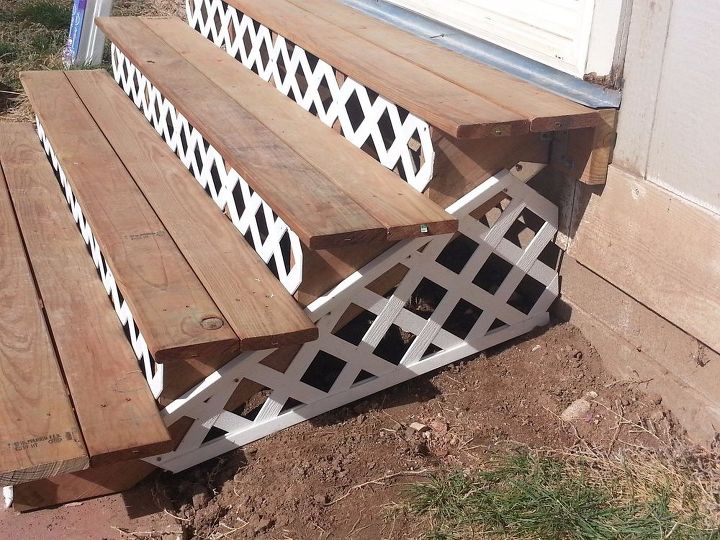
 This picture shows the step boards all hanging off to the left. I was hoping to only have to cut one end, but a few boards were a bit warped on one end, so the next picture shows how I placed them to use the straightest portions of the boards.
 I used 2 deck screws to attached each board (2 per step) to each riser. Then I cut the ends on each side leaving a little overhang on each end.
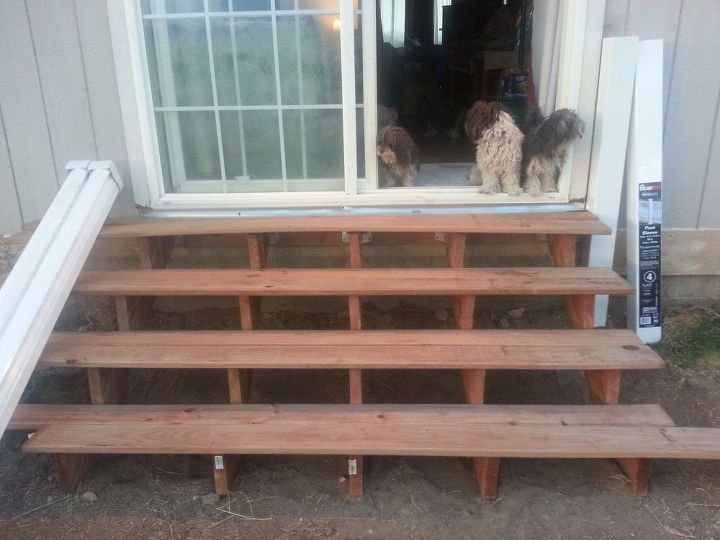
The dog 2nd from the right is a digger, and she teaches the others.
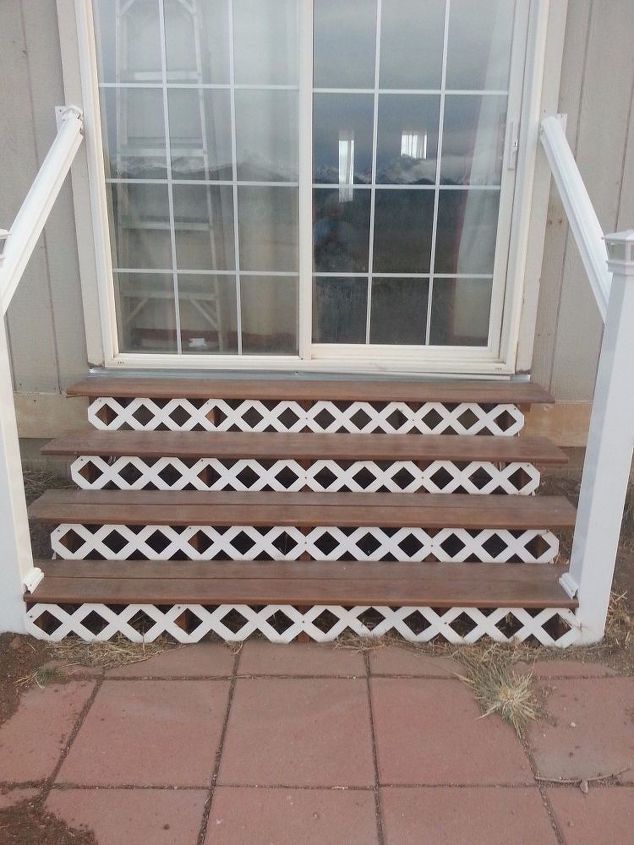
To stop the digging (tunneling along the foundation), I cut lattice strips and attached them to the risers between the steps.
NOTICE: I now have patio paaverss under the risers (so they aren’t resting on dirt or mud and have solid support on the bottom). This was extremely difficult to do after they were at this stage of construction.
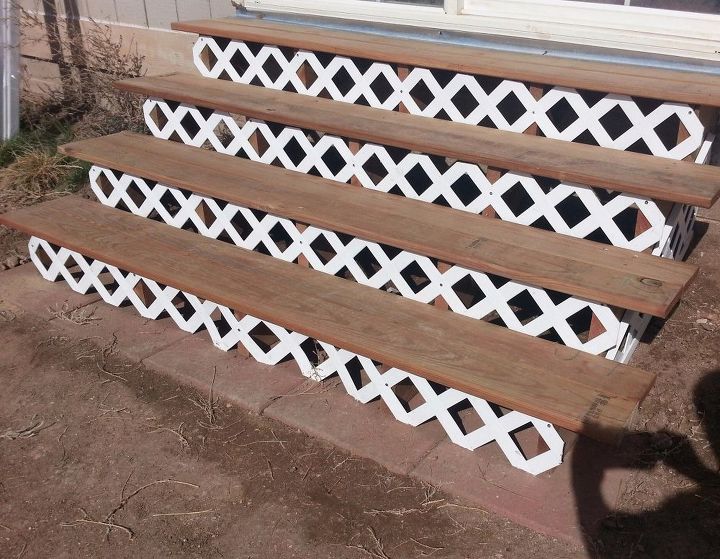 I later added a few more rows of patio pavers.
I attached latice t the risers on each side as well and put a cap on the top and bottom.
I used a RotoRazor Saw to cut the lattice. LOVE that tool!
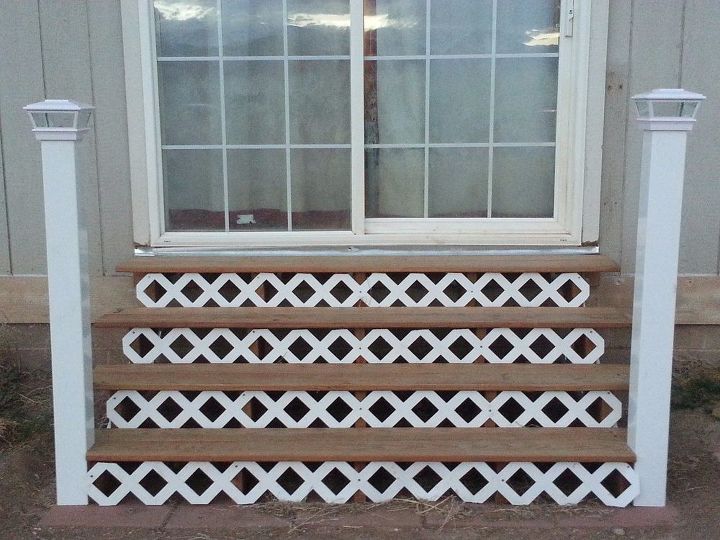 The railings haven’t been cut to size yet. In this picture, you can see that the change in temperature has allowed the pvc pipe to come outon the ends, so I’ll have to attach that to keep it in.
The post caps are solar lights.