
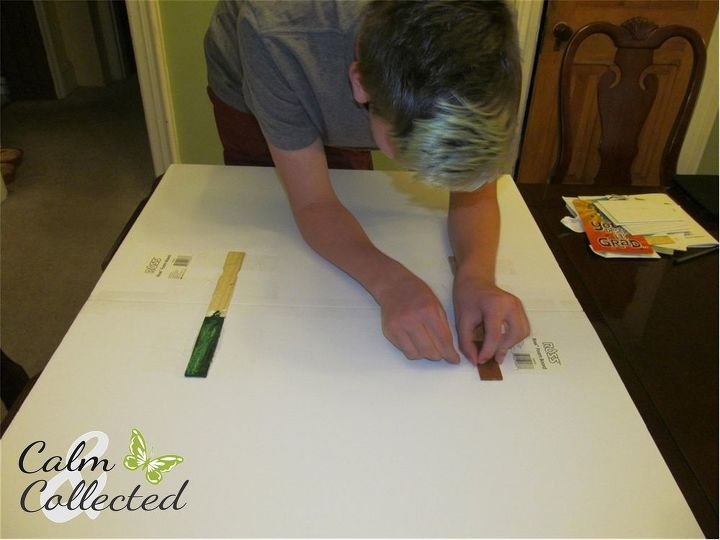
 I bought 3 sheets of foam core, the only plastic shower curtain at my local Walmart that fit my decor, and a roll of packing tape. I wanted 2 pieces of art in 2 different sizes. For the smaller wall on my porch, I used the foam core as is ( 22″ x 28″). For the much larger wall, I decided to attach 2 boards together making a piece that is 28″ x 44″. My middle son helped me! We taped the boards with the packing tape and added additional support with 2 used paint stirs from our basement (free!).
 When I opened the shower curtain it was very wrinkled and full of fold lines. This is the one step I would do differently next time: I decided to use my steamer to get the wrinkles out. It did get the wrinkles out, but the steam also puckered the curtain in a few places when it got really hot. I’m not sure HOW I would do it it differently, but I wouldn’t steam it next time. ***UPDATE- I’ve had hundreds of people offer suggestions on how to remove the wrinkles since this article first appeared on Hometalk. I’m good, now. Thanks! (They said to throw it in the drier. Be careful if you do this! If you leave it too long it will melt!)***
We just cut the curtain in two pieces and then further cut it so each piece was slightly larger than the foam core pieces. We wrapped the curtains tight around the boards and taped them to the back with packing tape. I taped down all the loose edges, so no bugs or debris would be able to get inside- this was especially important here because my shower curtain is actually clear on a white board. The curtain is not white. Any speck of dust that would get in there would be visible.
And the finished product:
I hung them with sticky back Velcro squares: 4 squares on the small one and 6 on the big one- not because they are heavy, but because I didn’t want the wind to take them. The package said “For indoor and outdoor use”.
I would love to see if you decide to try this yourself! There are a few more photos of this project on my blog. Follow the link below.
Want more details about this and other DIY projects? Check out my blog post! GO