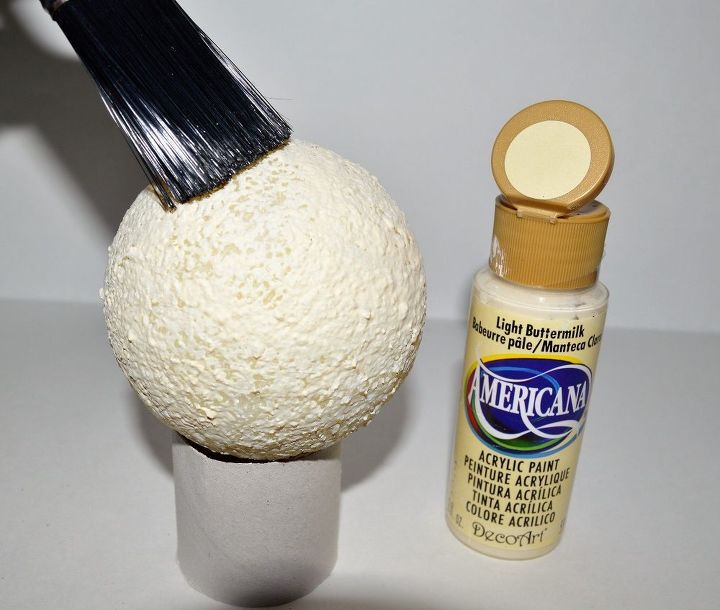
Step 4: Paint your Styrofoam ball with the cream colored paint.
I used Americana Light Buttermilk. Set aside and let dry.
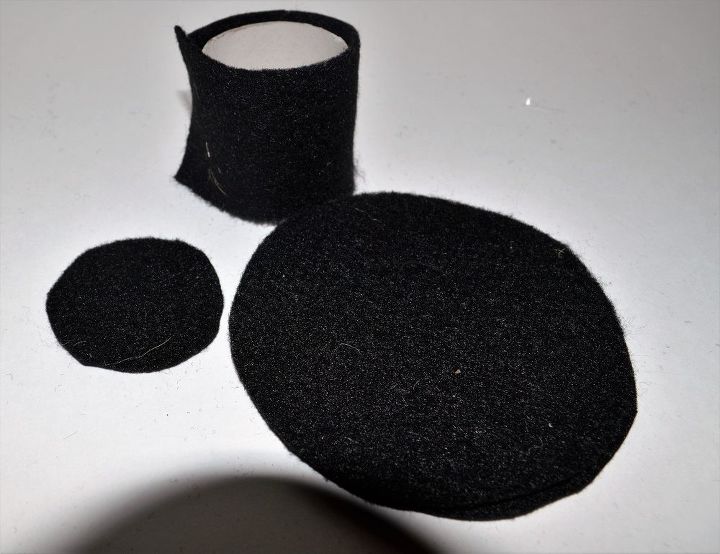 Step 5: Prepare your snowman hat. Cut two 3 1/2″ circles from the black felt and one 1 1/2″ circle. You also need to cut a strip to fit the other half of your toilet paper roll.
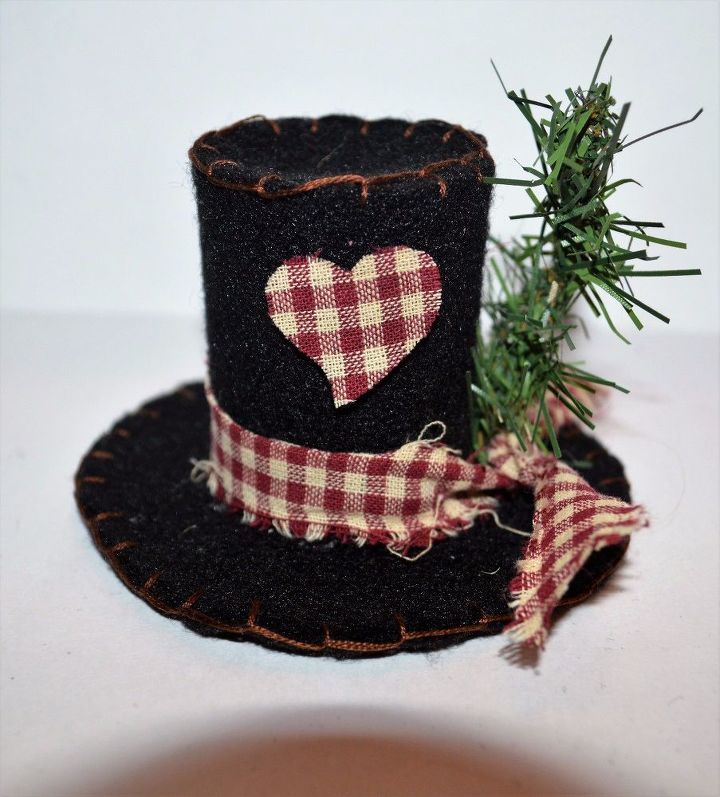 Step 6: Once you have all of your snowman hat pieces cut out you will assemble them by hot gluing them together. I also like to blanket stitch around the outside of the bottom and top of the hat too but that is totally optional. You can leave the hat as is if you choose.
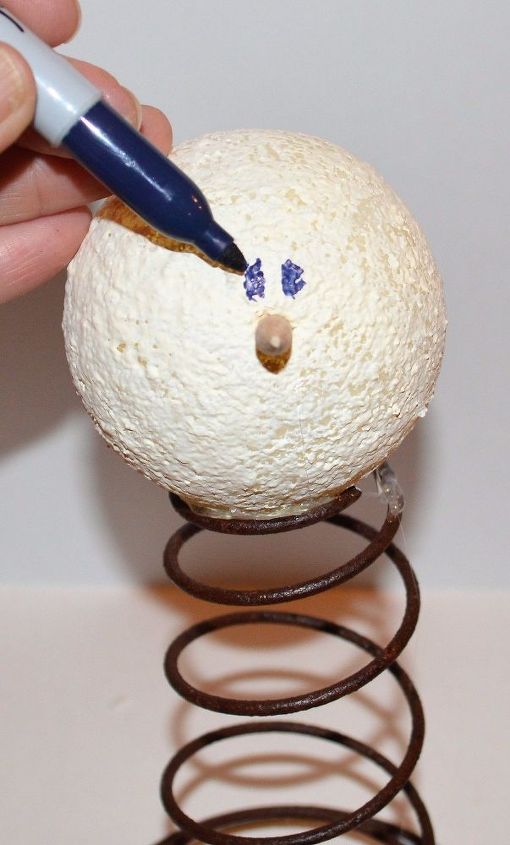
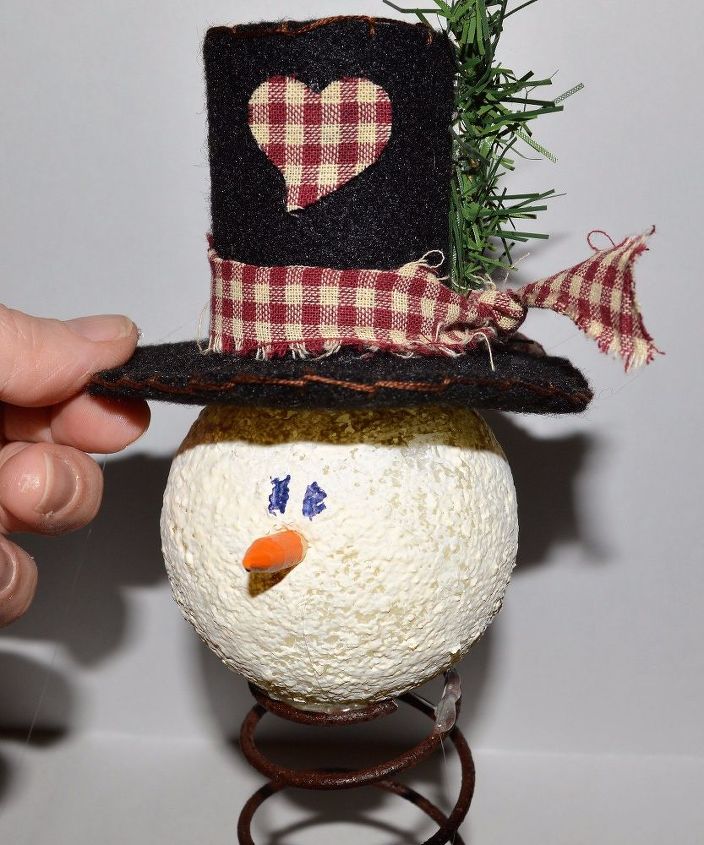 Step 8: Hot glue the Styrofoam ball onto the top of the bed spring and insert your nose. Draw the snowman eyes with a black Sharpie. You could also certainly use black paint as well. I just prefer the Sharpie.

 Step 10: Tie on scarf. For this snowman I chose the same red check fabric as the hat. I’ve tied it on with a bit of twine and used a little bit of hot glue to hold it in place.
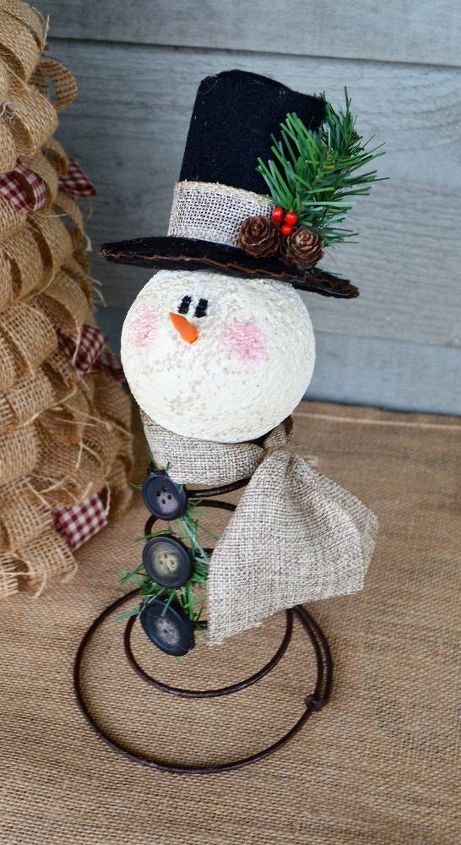
Step 11: Add button embellishments. Hot glue the buttons to each ring on the front of the snowman. I also chose to glue garland clippings onto the buttons before attaching to the snowman.
Rusty the Snowman is complete. Since he is made of rust; I’m sure he won’t melt away. Enjoy.
To BUY this adorable rusty snowman, click here!