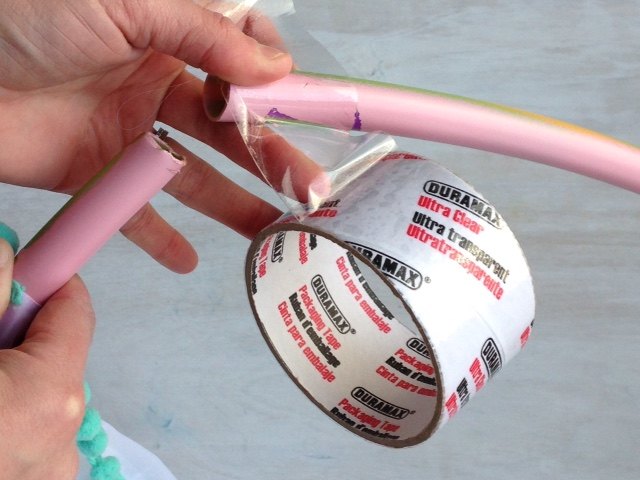
 Step 2: Paint your hula hoop. You will see the hula hoop through the sheer panels, so be sure to paint it if you don’t want to see those bright and flashy colors popping through.
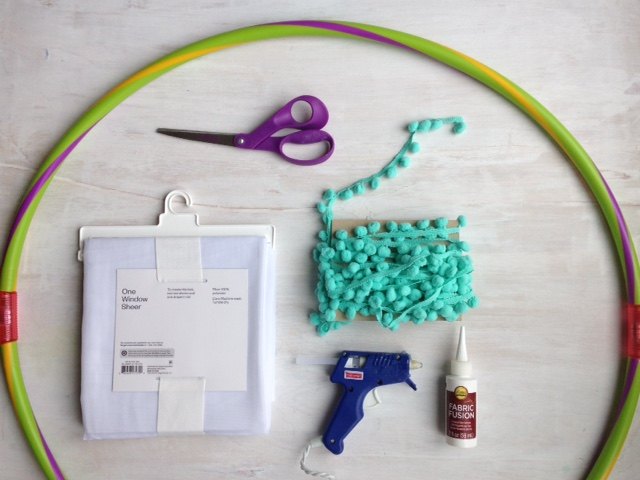
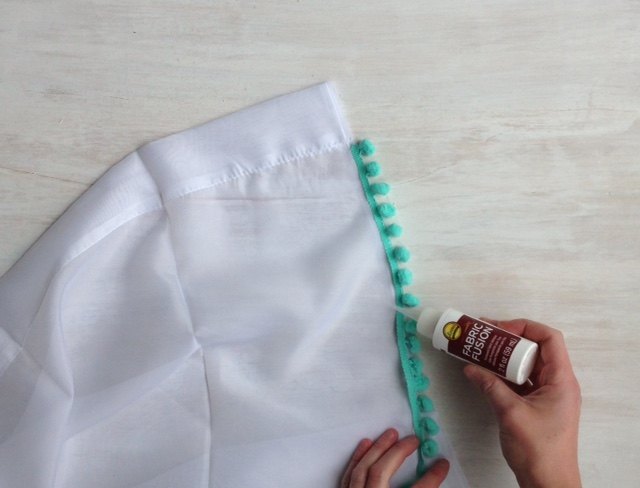
 Step 3: Glue on Trim. Ensure you purchase enough pom pom trim for your curtain panels. They will be applied to one edge only, so you’ll need two separate strands the same length of the panel. Using fabric glue, carefully apply it the the edge of the first panel. Then, apply is the the edge of the other panel.
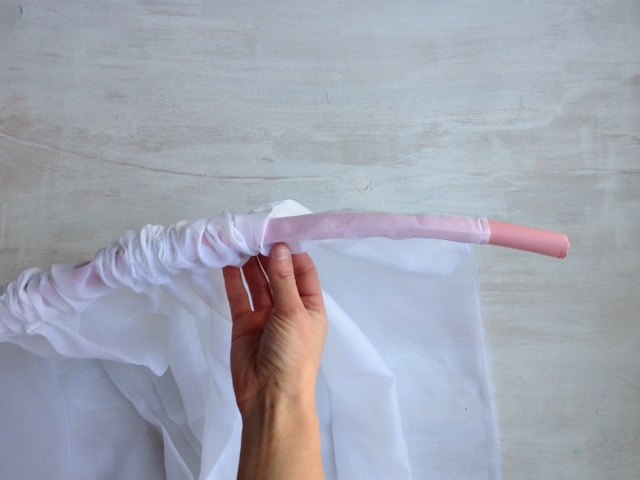
 Step 4: Thread panels onto the hoop. Thread the first panel with the trim applied on first, ensuring the trim leads when you put it on the hoop. Next, thread the two panels without the trim onto the hoop. Last, thread the final panel onto the hoop with the trim facing the outside.
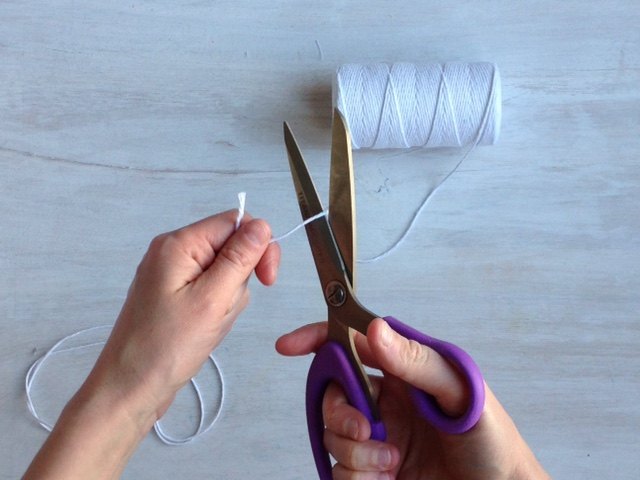
Step 6: Cut your String.
Using string or ribbon, cut 4 equal length pieces at least 15″ long.
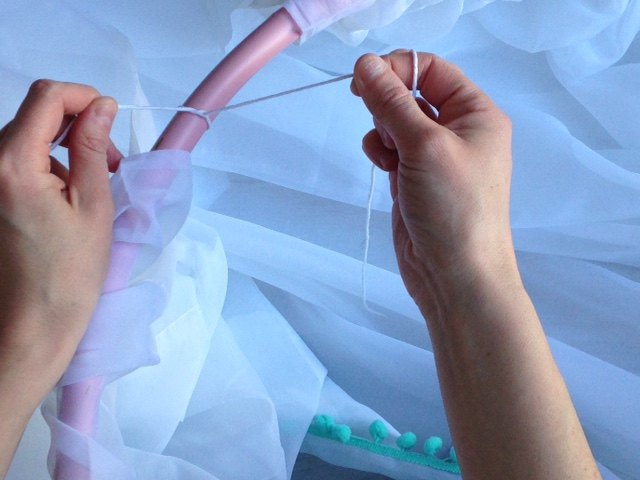 Step 7: Tie your string on. Tie each piece of string securely onto all four areas of the hoop, ensuring they are evenly placed between the curtain panels. These strings will be used to hang your canopy from the ceiling, so overall balance is key.
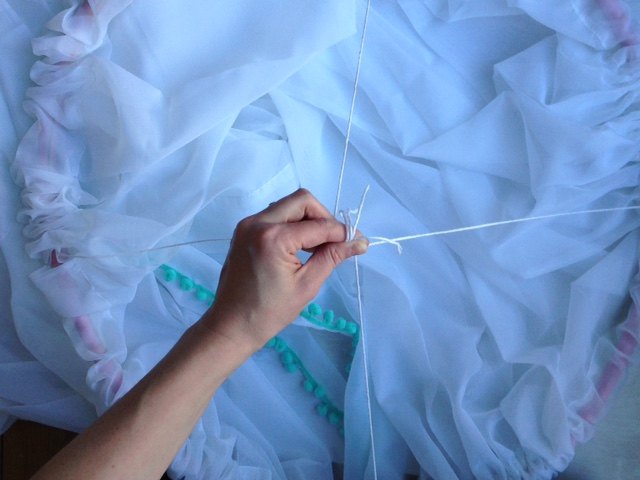
Step 8: Meet in the middle.
Take the long pieces of all four strings and meet in the center of the hoop. Tie a knot to connect all four strings together to ensure the canopy hangs evenly and well-balanced.
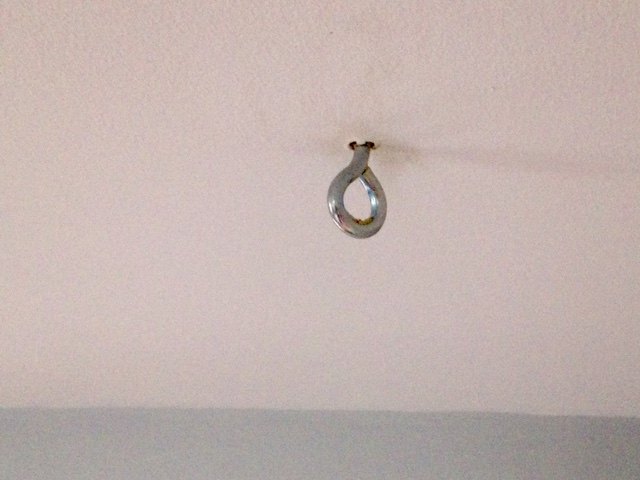 Step 10: Tie canopy to the ceiling hook.
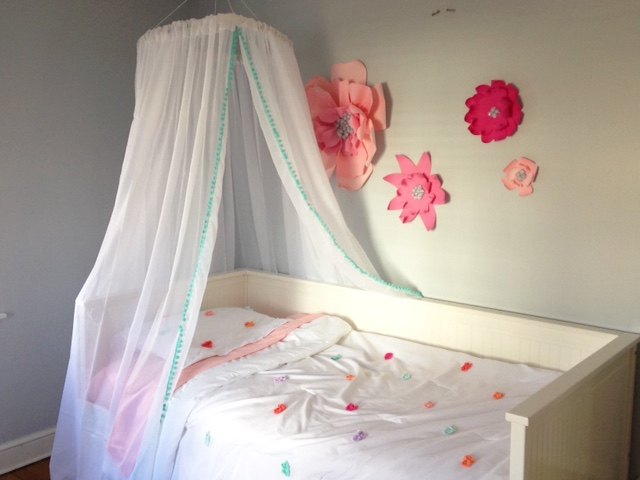 Once you’d tied the canopy string to the ceiling hook, evenly space out the curtain and create an “opening” between the two panels with the trim on the ends. Now, you have your own special retreat to enjoy! Doesn’t it just pretty up my daughter’s room?
Want more details about this and other DIY projects? Check out my blog post! GO