
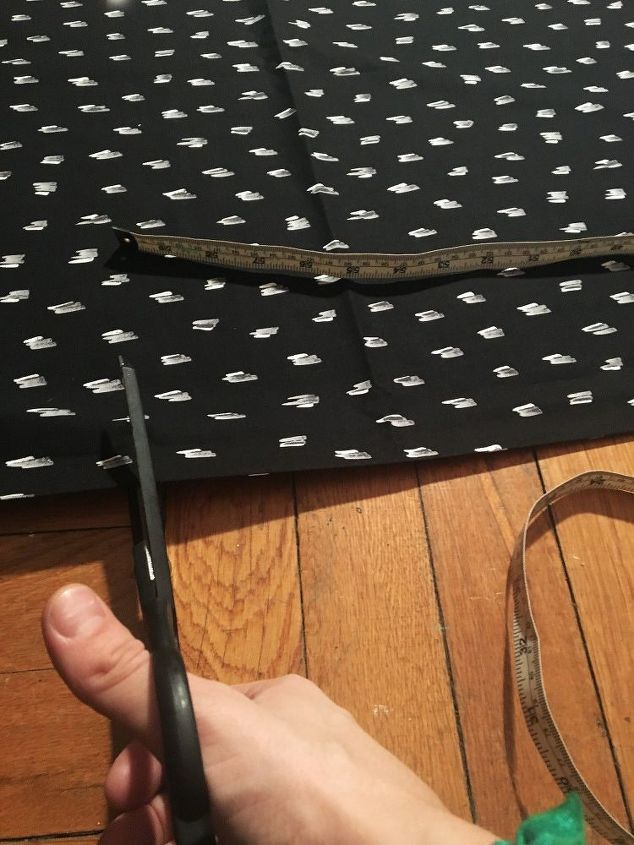
 STEP 3: Cut your fabric Cut the top/front portion of your duvet out of the fabric of your choice. Because most fabrics are only sold with a width of 42-60″ you will need to cut 3 separate panels out which is why this calls for so many yards. Cut your first piece out with the full width of the fabric and the length needed according to your measurements (plus the 4″). My first piece measured at 45″x90″. Now you need to figure out how much of the width still needs to be covered. For example, my comforter has a width of 84″ plus the 4″ seam allowance (88″) and my middle panel is only at 45″ wide meaning I still need to cover 43″.
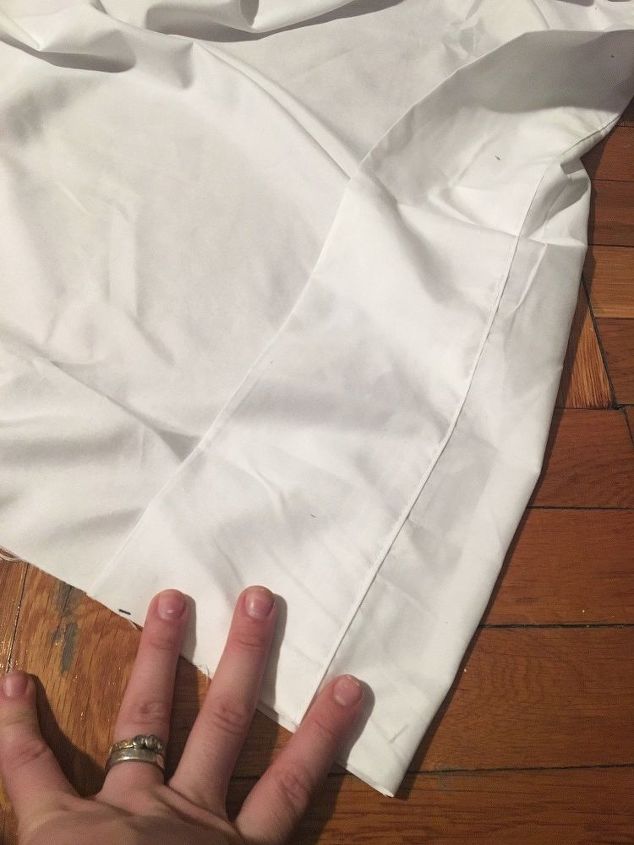
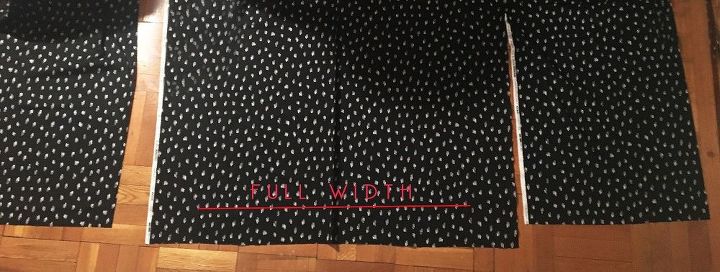 STEP 4: Cut out 2 more panels Now you need to cut out 2 more panels to cover the remaining width (for me 43″). You will want these panels to measure evenly. Each will of course have a length that measures the same as your middle panel and each width will need to be your remaining width cut in half plus a 1/2″-1″ seam allowance. Since my remaining width is 43″ each side panel needs 21.5″ plus an extra 1/2″ seam allowance to connect it to the middle panel meaning each panel measures at 22″ wide and 90″ long. Place your side panels one on each side of the middle panel you just cut out in step 3. Normally you would cut off the selvage edge, but I knew it would be eaten up in my 1″ seam allowance so I just left it in. (*I hope this isn’t too confusing)
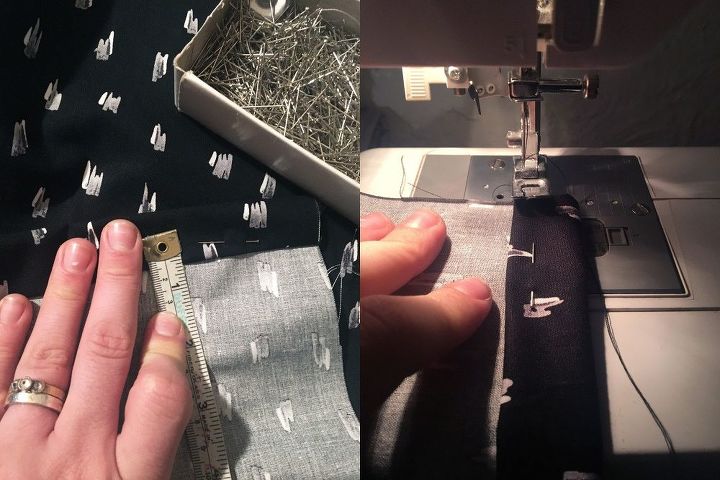
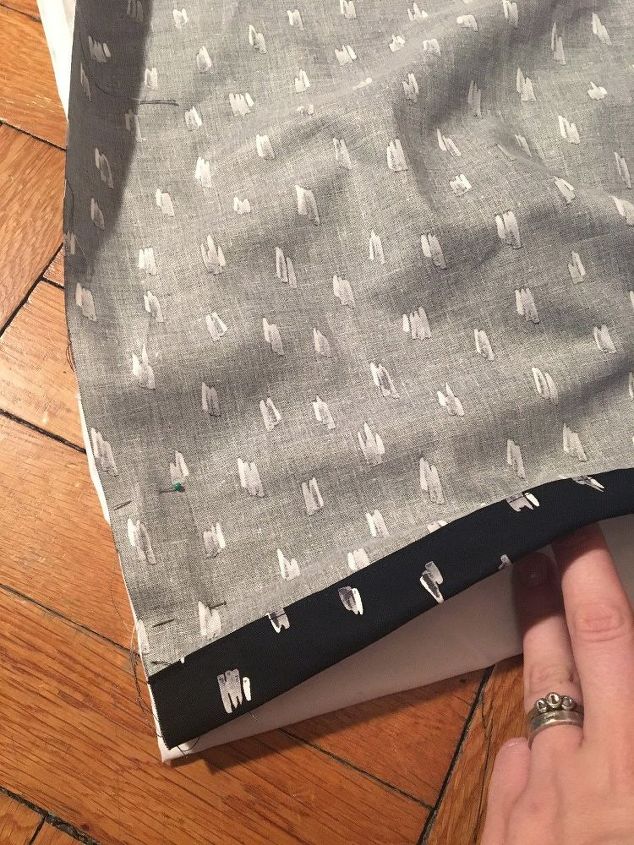
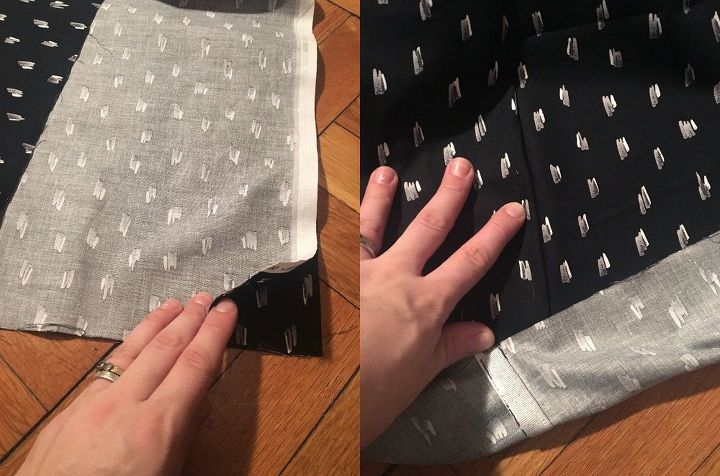 STEP 5: Sew your panels together Lay your side panels and your middle panel face to face and sew them together making sure the lengths line up. If you have a certain pattern try to make sure they line up as well as possible. press the seams nice and flat.
 STEP 7: Create a pocket for the comforter Now grab the bottom piece of the duvet (the flat sheet) and fold over the top portion of the sheet 6″ to create a pocket for the comforter end to slip into and pin it in place.
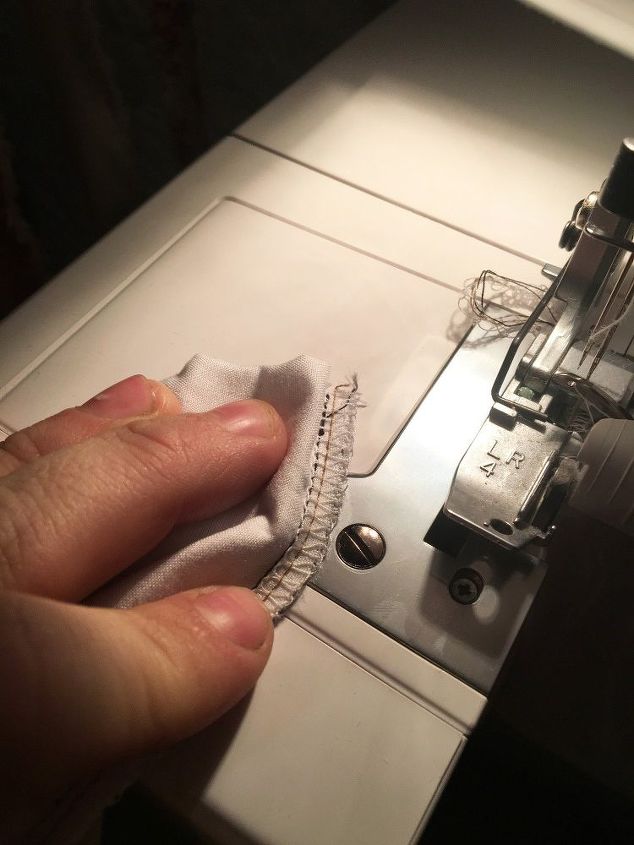 If you have a serger, serge the edges to give the duvet greater durability. This will also cut off the excess seam allowance. If you don’t have a serge machine you can cut away any excess fabric and do a zig zag stitch making sure the thread goes around the edge of the fabric.
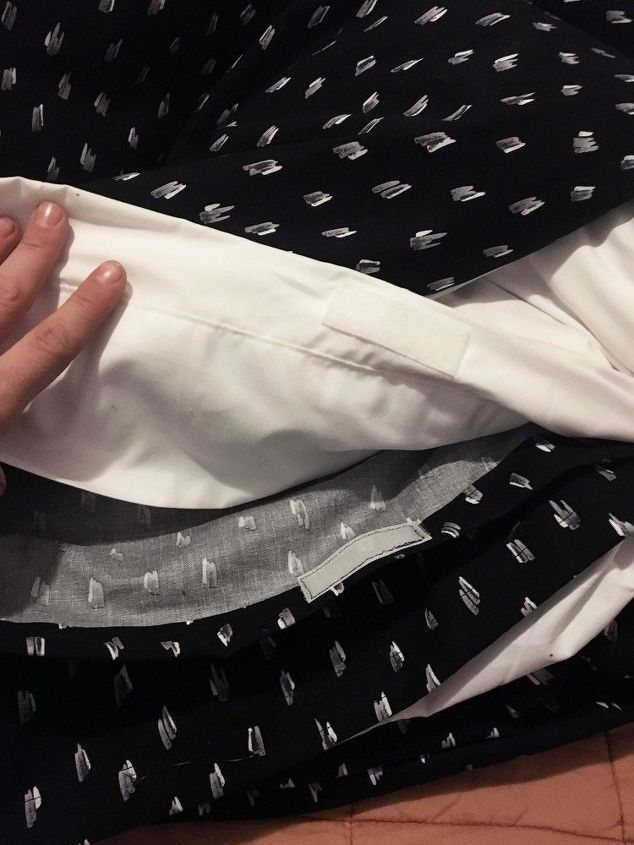
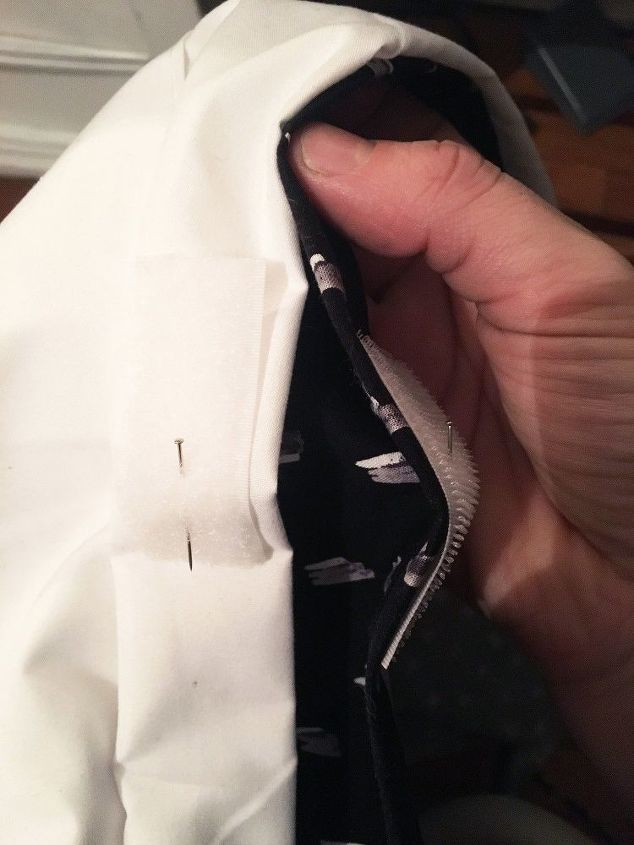 STEP 9: Now all you have to do is add some velcro to the opening so you can close the duvet around the comforter. With the duvet still inside out attach one piece of the velcro to one side and the other to the opposite side so that they line up and sew them in place by sewing around the perimeter of the velcro piece.
STEP 10: Insert your duvet Now simply insert your comforter into the duvet and velcro it shut!
 Now Simply place your blanket where you wish and cuddle up!
I ordered this fabric online and in person I am not sure how I feel about it, but with how easy this was I may make another one soon… My husband says it looks like an 80’s tie hehe… in hind sight I would have rather purchased a printed sheet and had a double sided duvet!
Want more details about this and other DIY projects? Check out my blog post! GO