
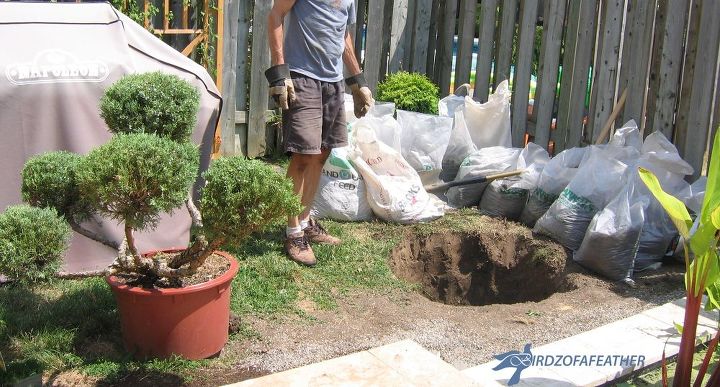
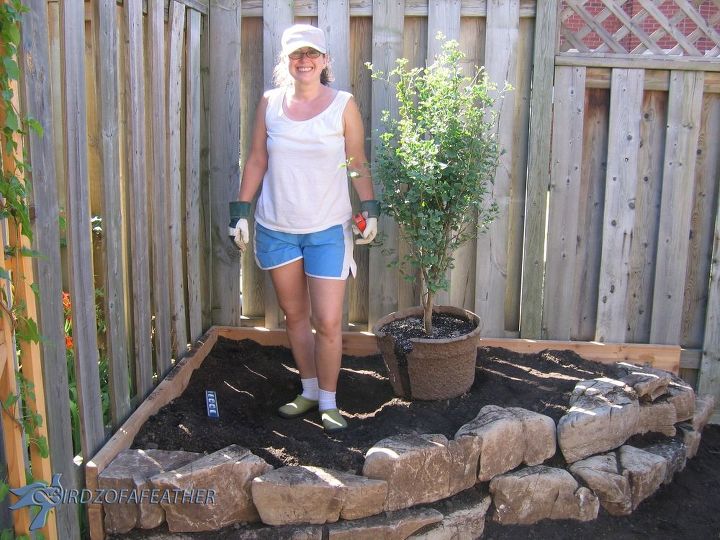
 The first order of business was digging an enormous hole to plant a Blue Danube pom pom juniper at the south end of the dry creek bed. By the time hubs dug this hole, we no longer had our clean fill bin to dump the soil, so he used some left over landscaping bags and filled them up. He placed the bags at the front of our house and the neighbours scooped them all up – waste not want not!
 Once the juniper was planted, we used a garden hose to help us outline the shape of the dry creek bed so we could dig out the grass. We sloped the sides and dug out a shallow bottom so we wouldn’t have to fill it with too many stones. It was all hands on deck, so we didn’t get pictures of digging out the dry creek bed!
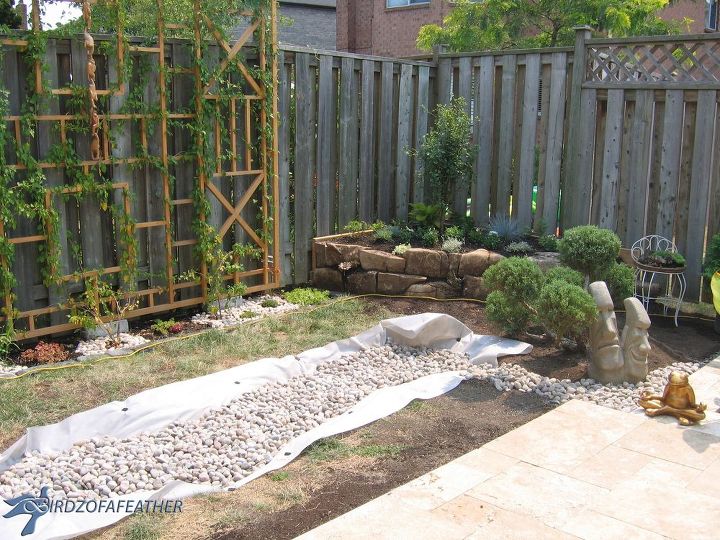
 We added landscape cloth along the bottom and up the sides to prevent weeds from growing. We extended the landscape cloth a few feet over the edges so we could run it under some larger boulders we planned to place around the bed. In areas we weren’t planning on putting any boulders along the sides, we simply folded the landscape cloth under and staked it into the sides of the dry creek bed to prevent it from shifting.
When the landscape cloth was secured, we filled the dry creek bed with a colourful variety of smooth river rock.
We then went shopping for flagstone to place around the perimeter of the dry creek bed so we’d have some stepping stones to walk around. We handpicked the pieces at the stone yard that we thought would fit best. When shopping for flagstone, take along a sketch of your plan to help you visualize the space!
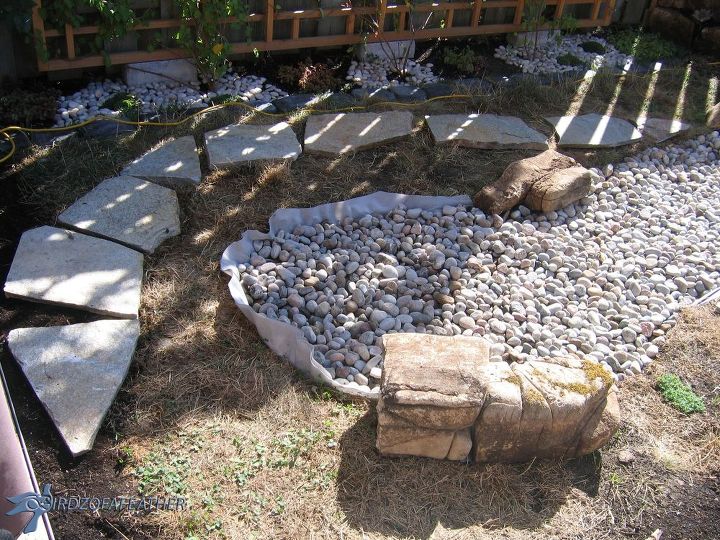
Here you can see where the landscape cloth extends over the edge of the dry creek bed and is held down by some of the flagstone pieces. We had wanted to use this ‘landing pad’ as a base to level one side of a wooden bridge that was going to span across the dry creek bed – but we never got around to building that (you’ll see an inspiration shot on my blog)! We were going to fill in the gaps with some pea gravel, but instead we filled them in with dirt so we could plant moss in between and around the stones (as you’ll see further ahead).
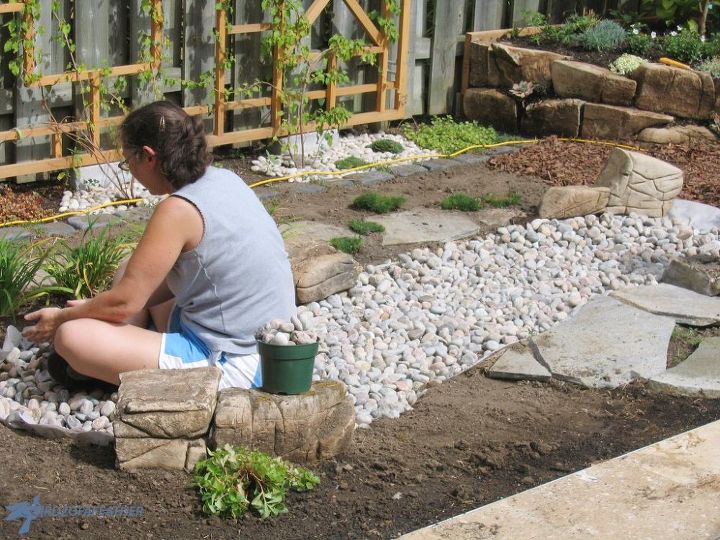 We took our time with the dry lay of the stepping stones and boulders to make sure they were beautiful as well as functional!
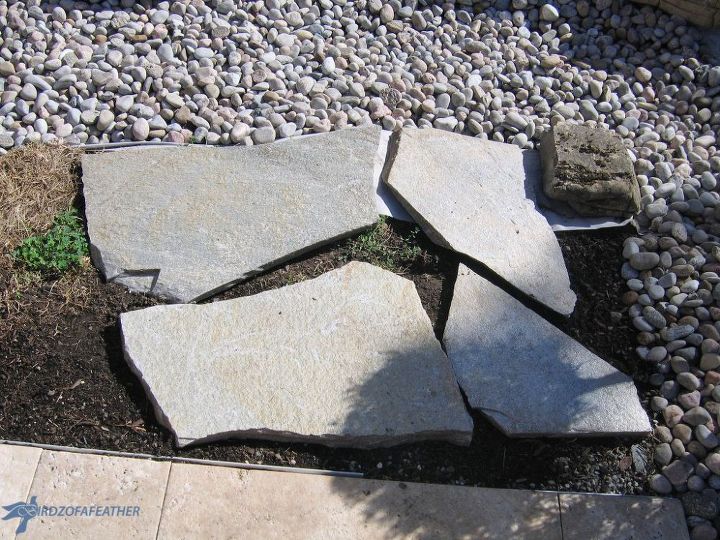
Once we were happy with the placement, we dug around each stone with an edging tool and removed the grass as well as a few inches of topsoil. The goal was to inset the stones slightly below the surface to keep them in place and prevent shifting during colder weather.
Next, it was time to get down to fine the tuning details and be one with the earth! I literally sat myself down in the dry creek bed and pushed all the river rock out and over the edge of the landscape cloth to hide it.
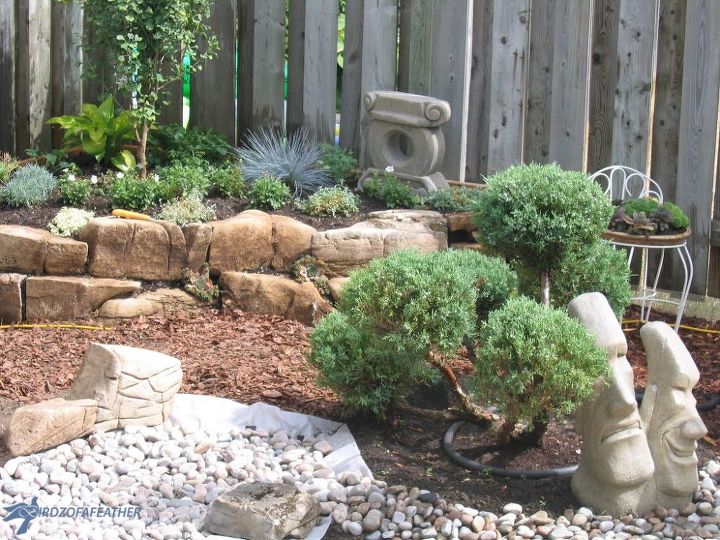
Where the dry creek bed ends, we found the PERFECT statue to accent the pom pom juniper. We trailed the river rock from the dry creek bed around the ornamental juniper and in front of the statue ending it beside a pond we installed when we constructed our patio.
 The statue represents a tragedy and comedy mask; a great reminder of all the hard work – with all its setbacks and humourous moments – that we put into building the garden from the ground up!
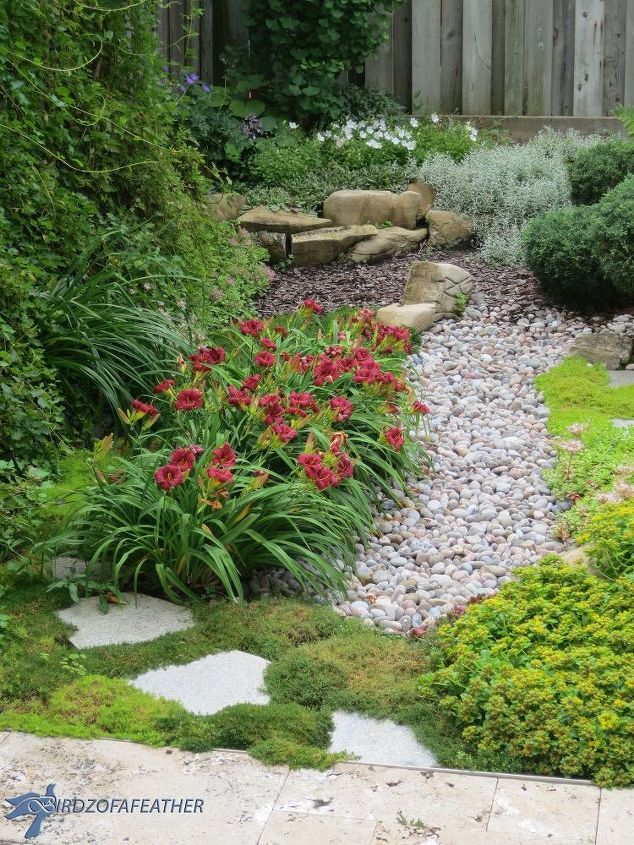
Once all the fine details were taken care of in the dry creek bed, we planted moss around the flagstones so it would grow in to fill the gaps between them. Around some of the boulders on the perimeter of the dry creek bed, we planted miniature day lillies (so they wouldn’t grow too tall) and some drought resistant (aka low maintenance) ground cover.
 Remember the ‘landing pad’ of flagstones I showed you earlier? Here’s the before and after of how that area filled in with moss. Isn’t it pretty?
You’ll find an inspiration shot on my blog of now I envisioned using the flagstone to support a bridge on either side of our dry creek bed. It’s the only thing I wish we had added, but it’s never too late – it’ll likely be a project we’ll attempt down the road.
To finish the area around the dry creek bed, we covered a narrow pathway between it and the fence in mulch to keep the mud and weeds at bay.
Here’s how the moss, ground cover and day lillies (in bloom) filled in over a few seasons of growth. The dry creek bed looks seamless once the plants around it are fully grown; everything just drapes over and softens all the edges!
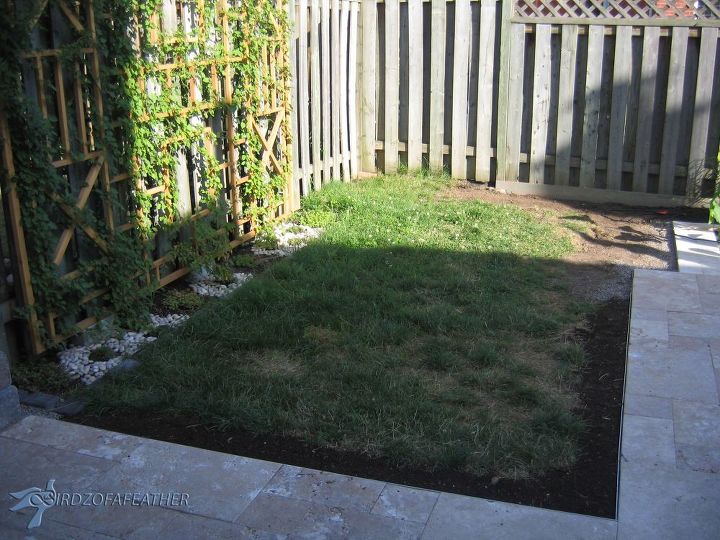
The south east corner of our backyard went from this lonely patch of grass:
 … to this lush section of our landscaped surburban oasis. For the time and effort we expended up front, it’s certainly a big payoff in the end. It’s far more interesting to look at than a patch of grass – and requires very little maintenance to maintain it! The only care it needs is a seasonal trimming of the ornamental juniper to maintain the round shape of the pom poms.
The dry creek bed really added a special touch to the garden, but we didn’t stop there! I was happy to have hubs’ help through the next stage of the process too: I couldn’t have done it without my ‘partner in grime’ – as I like to refer to him! Check out Part 2 of Low Maintenance Gardening to learn how to build a rock garden:
 For more inspiring ideas in and around the home, subscribe to us on Birdz of a Feather. You can also follow us on:
Pinterest: http://bit.ly/BirdzPIN
Facebook: http://bit.ly/BirdzFB
YouTube: http://bit.ly/BirdzYT
Instagram: http://bit.ly/BirdzIG
Want more details about this and other DIY projects? Check out my blog post! GO