 My husband took all of our measurements we needed. He measured in between the cabinets and cupboards and also above the cabinets to see how to cut the beadboard to size. He also measured the outlets so he can cut those as well. You could also take your measurements before hand and have Lowe’s or Home Depot cut it for you.
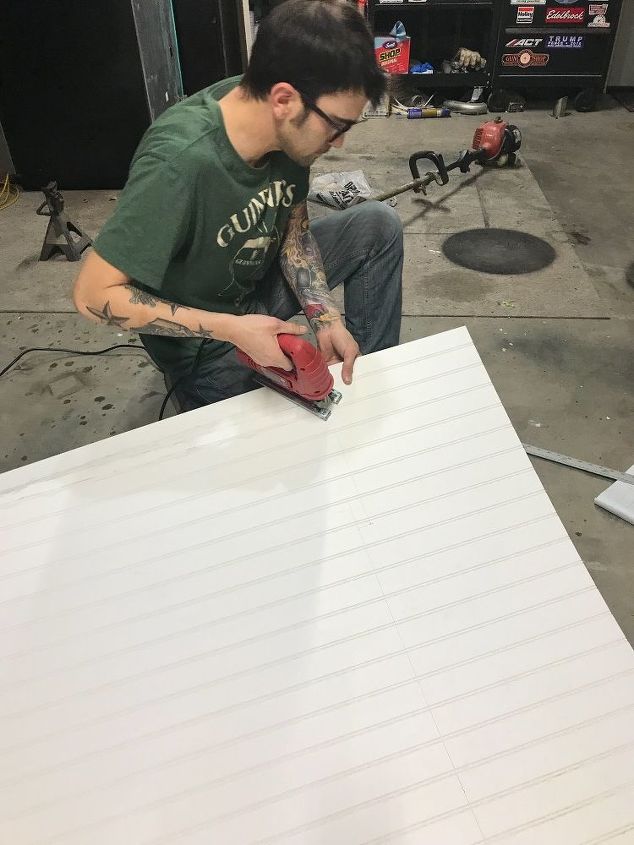
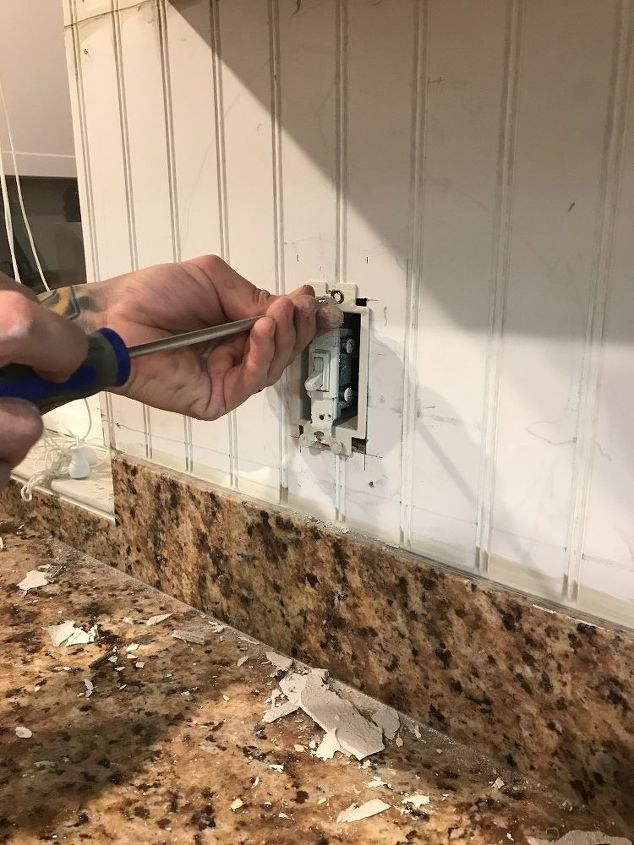
 He used a jigsaw to cut the outlets to size and also for the corners and edges.
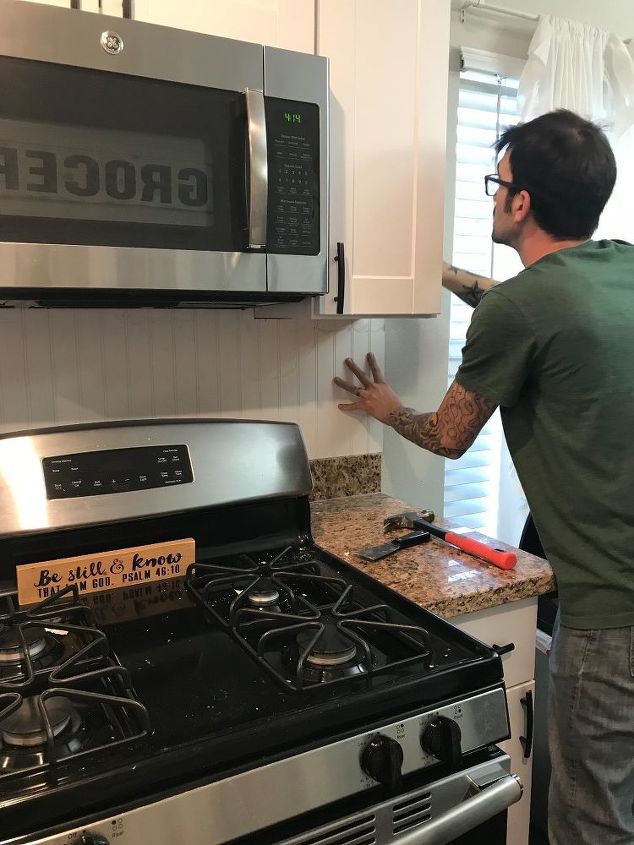
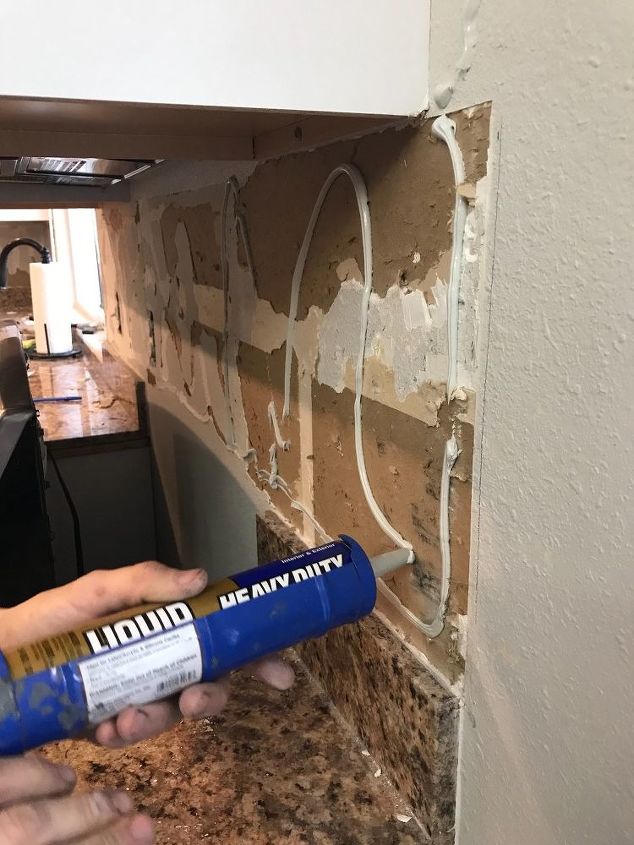 Once you have your beadboard cut place it in the area you will be using it and make sure it fits into place before you apply the construction adhesive.
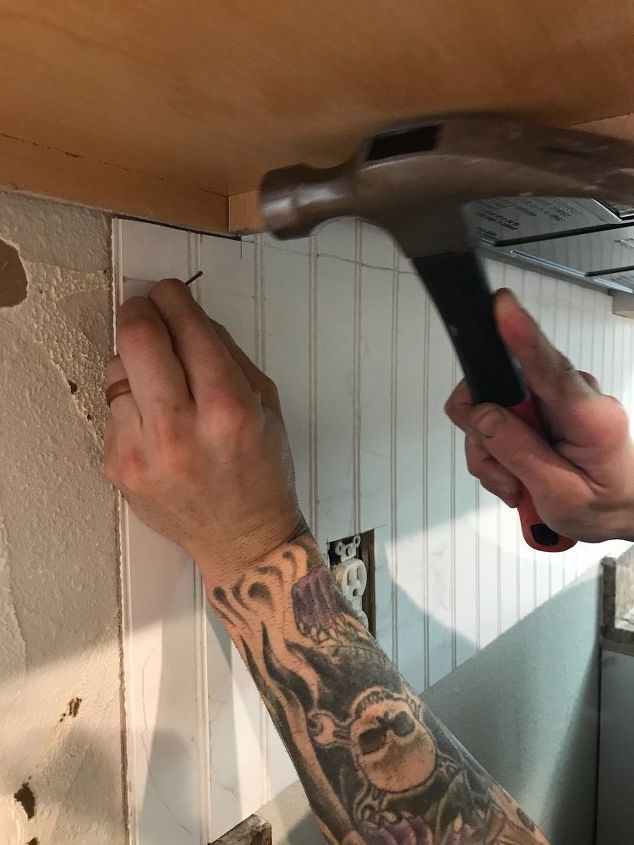
 Use finishing nails in the corners to secure into place. You can do this with a nail gun or regular hammer.
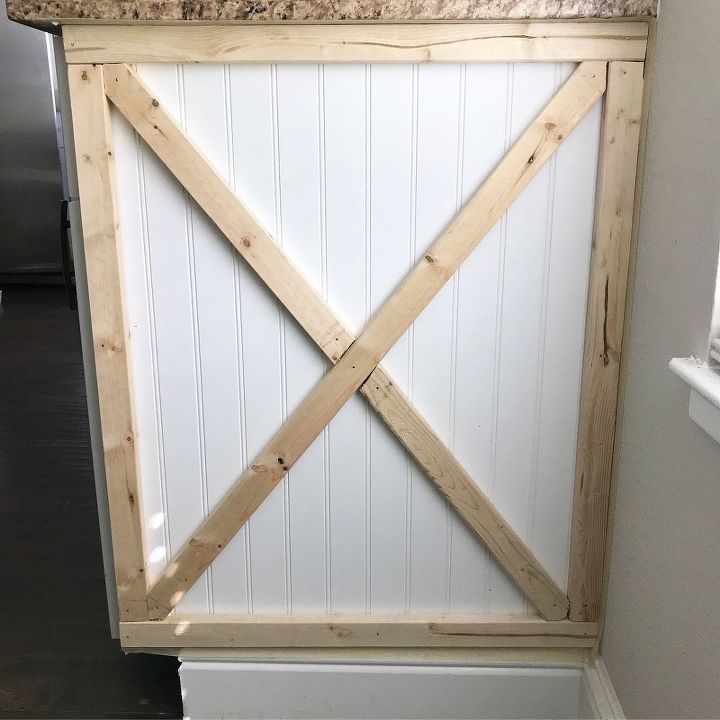 With the left over beadboard we added some rustic farmhouse charm to our lower cabinet. I had my husband apply the beadboard to the cabinet and frame with some extra wood we had on hand. I loved the aged rustic farmhouse look this has since I didn’t fill any of the seams or corner.
 I painted with a pure white to match the cabinetry.
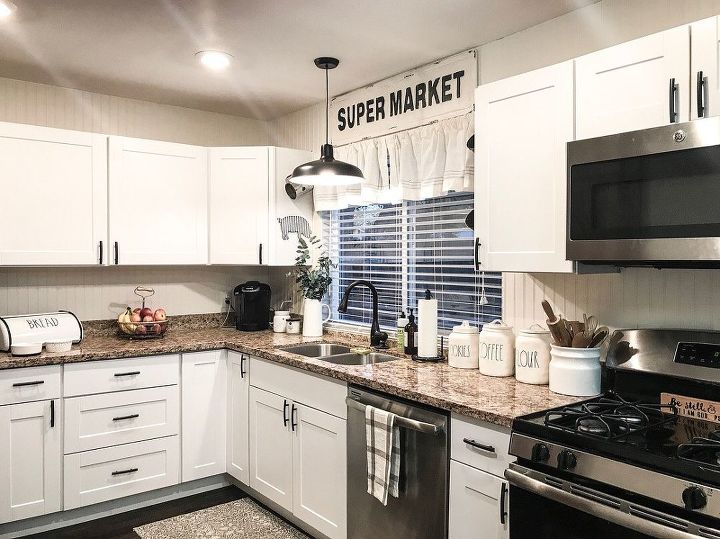
 The final look. We added beadboard, hung a pendant light and added some farmhouse charm to our standard cabinetry for $100.00
Want more details about this and other DIY projects? Check out my blog post! GO