
 Step 2: Purge
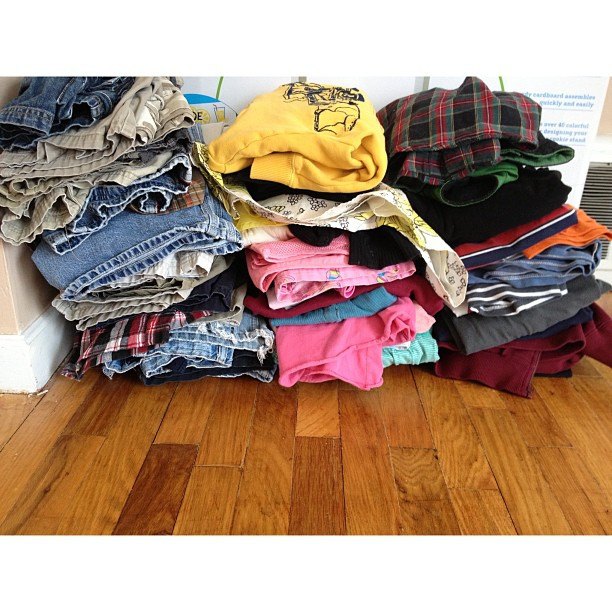
After you have everything pulled out and sorted into piles of like items, it’s time to start determining what is going to be able to go back in to the storage space. The first sub-step I recommend in this process is to identify your favorite items and begin setting them aside. In the example with the white button up shirts, I asked the woman to pick out her four favorites that she wanted to keep. That was a fairly simple decision for her that we repeated with each stack of clothing in her room. Once she picked out her favorites, we could start to decide what to do with the extras in each pile.
You may think of purging as just putting things in the trash, but that is just part of the process. The term purging in the organizing world applies to any way you are going to remove items from your home. There are likely going to be things you put into the trash, but there will also be items you find that you can donate, sell, give to a friend, or repair. All of these types of items can be put into separate containers like garbage bags, cardboard boxes, or plastic totes to be removed and dealt with after the storage space is put back together.
When I go through the purging process, I like to hang signs in different parts of the room that say, “Donate,” “Trash,” “Give Away,” and “Fix.” Then I will literally start throwing items into piles under the signs. This is best done with soft items like clothing and stuffed animals, and then anything that could break gets walked over and gently placed under the correct sign.
Once you’re through the purging process, you should be left with nice, sorted piles of what you are planning on keeping. At this point, you are ready to move on to the next step.
 Step 3: Plan
Once you’re through the purging process, you should be left with nice, sorted piles of what you are planning on keeping. At this point, you are ready to move on to the next step, which is to plan the organization of the space. This is going to be much easier now that you have things sorted into piles of only the items you want to keep because you can now see how much needs to fit back into the space. You can get a count for how many organizing pieces, like hangers, you need. You can also measure the items to make sure you get the right size storage boxes for all the items.
I like to grab a piece of blank paper and draw out the space when I’m at this point. Once I have the space drawn out, I start to pencil in where each category of item is going to be put back in place. Another option is to use sticky notes to write each category of item to be stored, then place the sticky notes in the spaces you think they will occupy. Taking a few extra minutes to plan where things go will allow you to measure and buy the correct size storage containers. Just think, no more buying $100 worth of pantry organizing supplies just to realize that you bought ones that are too tall for your shelves. No more buying a carload of closet organizing baskets only to realize they are all going to hang off the shelves by 6”. By investing a few minutes into planning and measuring, you’ll make sure that each and every piece of organizing storage you purchase is going to be just right for the space you’re organizing.
Now is the time you get to go to the store and buy the fun organizing supplies! Take your detailed, planned list, and have fun!
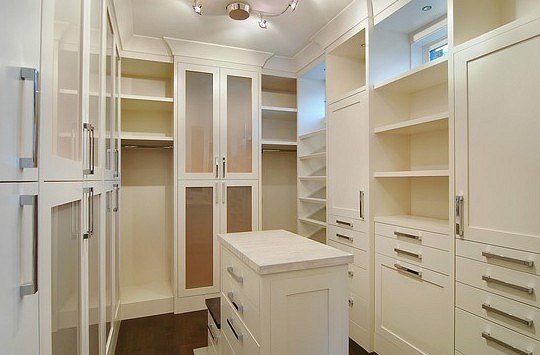
 Step 4: Place
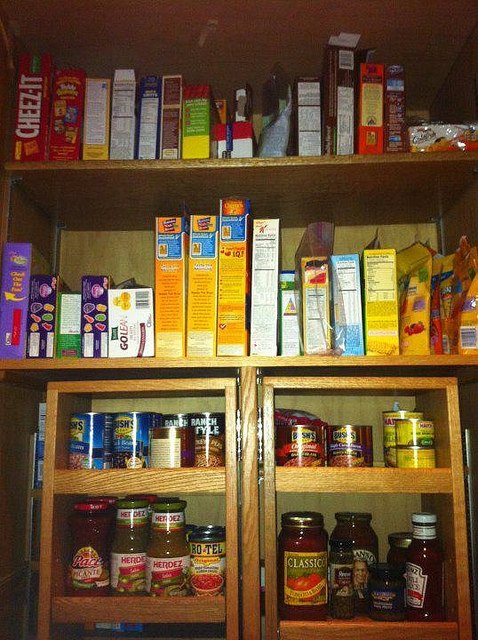
Now that you have everything sorted, and you have the space planned, it’s time to put everything back. This step is usually super fast because you have already followed the previous steps. When you are putting things away, use tricks that retail stores do to make the storage space really pop. In closets, hang all your clothes facing the same direction, fold all the clothes the same way, and line up all the shoes to be easily seen. In your pantry, line up cans and boxes with their labels facing forward. Setting up your spaces like a retail store will help you be able to easily find what you need when you need it, and it will help you avoid purchasing extras because you will always know exactly what you have.
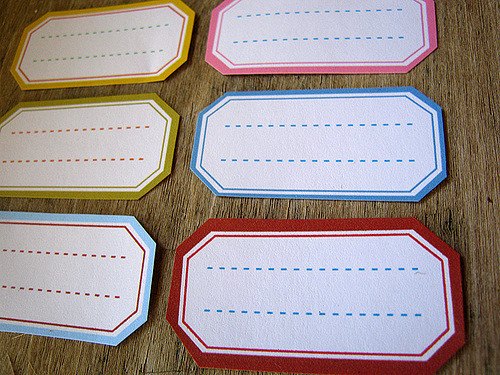
Now that everything is in its place, there’s just one last step, and that’s to label where things go. This will help you to get into a routine of putting things back in the correct spot, but it will also help anyone else living in your home to know where things are supposed to go. This will help keep your home organized and prevent it from returning to the condition you just worked so hard at fixing. You can label with a label maker, stickers, mailing labels, or plain old sticky notes, but whatever you choose, label as much as you can to make sure all your hard work isn’t reversed in 24 hours.
If you have other family members, they won’t be used to this new organized way of living, so you will likely need to teach them where things go and what the new expectations are. It will take a little time to retrain everyone in your home to put things back away when they are done using them, but it will be worth it in the long run when your home stays neat and tidy.
 Until next time, I’m the Domestic CEO, helping you love your home.
Originally posted here: http://www.quickanddirtytips.com/house-home/organization/how-to-organize-anything-in-5-easy-steps
Want more details about this and other DIY projects? Check out my blog post! GO