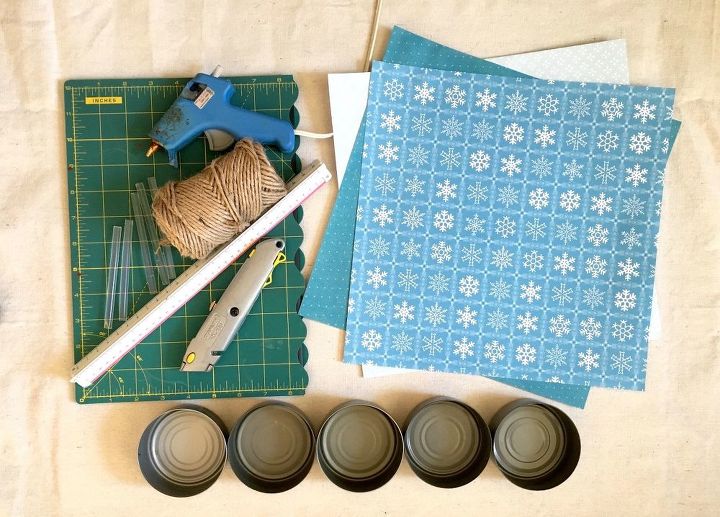
 STEP 2: Hot glue paper strips to cans Next, I used hot glue to adhere the scrapbooking paper strips to my cans. I started with a small line of glue to get the end adhered to the can, then every inch or so I added more glue until the entire strip was glued to the can.
 STEP 3: Make hanger for cans Once all of my cans were covered, I took my twine and… tuna can tea light hangers
…made a bow from the end of the twine…
…then I cut the bow loose. I’d recommend making small bows — maybe an inch and a half to 2″ or so. These are basically just to add an extra little touch to the cans.
 Next, I cut different lengths of twine. I didn’t measure anything — just simply started with one length, laid it out and then cut the other lengths, so that all of the cans would ultimately hang at different heights.

 STEP 5: Tie finished cans to hanger and add tea lights Don’t forget your tea lights! You can use real tea light candles but I wouldn’t recommend it as you never know who is going to come along and bump the wax out.

 however, if you’re hanging you’re cans somewhere prominent, you can always add some garland or burlap ribbon to dress up the hanger.
 I love how simple and easy this project was…and how cute it turned out! The beauty of this project is that you can make them look however you wish because of the different scrapbooking paper and ribbon that is out there!
Want more details about this and other DIY projects? Check out my blog post! GO