
 Step 1: Cut Your Fabric To Size
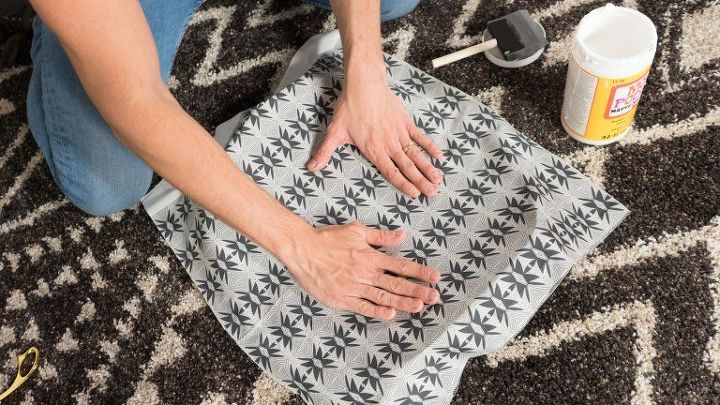
Take your fabric, lie it flat, and then place the first part of your chair on top of the fabric. This will show you how much of the fabric you’ll need for the first surface! Simply cut the fabric, leaving about 2″ of extra fabric on each edge. You’ll only need to cut the general shape of the surface so no need for perfection at this stage. Go ahead and cut out each piece of fabric you’ll be needing depending on how many individual surfaces you’ll be covering!
 Step 2: Mod Podge and Mod Podge Some More!
Use your foam brush to apply a layer of Mod Podge to the first surface of your chair. While it’s still wet you’ll place your first sheet of fabric on the surface. Line up the fabric so that the pattern is facing the desired direction. Smooth out the fabric so that there are not any bubbles or wrinkles – this is essential for a flat look! When you have the fabric firmly positioned, it’s time for your next layer of Mod Podge! Use the foam brush to apply this second layer of Mod Podge directly to the surface of the fabric. This will seal the fabric to the chair.
 Step 3: Trim The Remaining Fabric
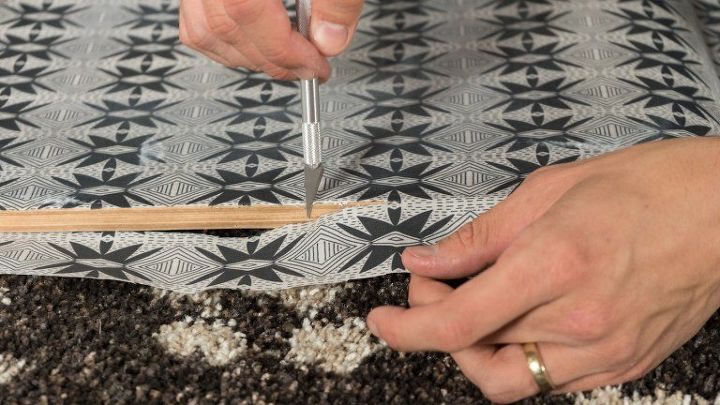
Give your fabric 30 minutes to dry after applying the Mod Podge. Once 30 minutes have elapsed you can use the X-Acto knife to carefully trim the excess fabric from the edge of the surface. Try to create as clean and sharp a line as possible!

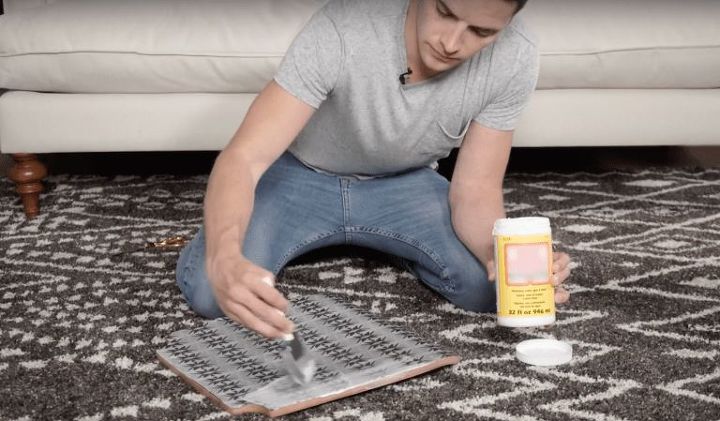
Thought you were finished with the Mod Podge? Guess again! It’s time to apply one final layer of Mod Podge to your fabric. This will truly and finally seal all the fabric to the surface of the chair. Make sure to get the new, clean edges as best you can! You’ll want full coverage for this final application.
 Step 5: Reassemble!
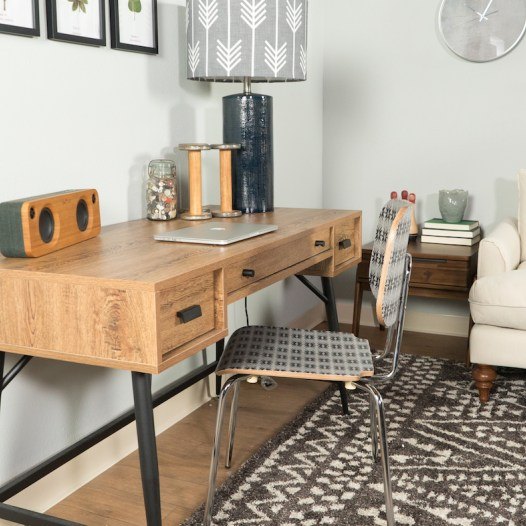
As soon as your Mod Podge is dry on each surface of the chair it’s time to reassemble the pieces! Didn’t need to disassemble in the first place? Then you’re all set!
Want more details about this and other DIY projects? Check out my blog post! GO