 I had to do two coats of the paint on the straws. Once the paint was dried, I cut off the ends of the straw that weren’t painted. I didn’t paint all the way down to the end just so I could have something to hang onto while I was painting.
Then it was time to start building some shapes. This process was a little bit of trial and error.
I started by sliding the wire through the a single straw.

Then, I bent the wire up. I felt that I didn’t have enough wire on the left side so I twisted on another piece of wire.
 It would be a lot easier if I had wire that was on a spool, but I make what I have work.
I slide two more straws on the wire and then formed them into a triangle

 There really is no rhyme or reason to how I did this. I just started connecting them.
The wire started getting a little flimsy, so I secured the areas where the three straws meet up with a bit of hot glue.

I made two different shapes — a large one and a smaller one.
 I set them up on my bookcase. I thought that they looked pretty good here, but I wanted to play around with them a little bit more.
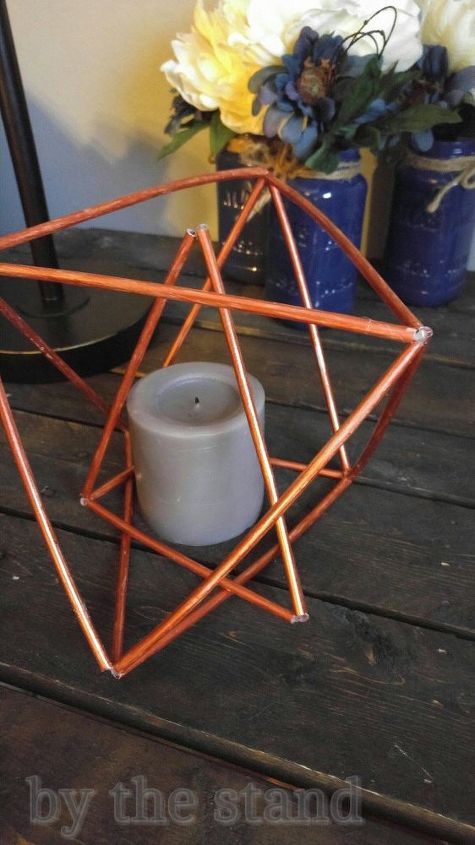 I put the smaller one inside of the larger one and added a candle.
What do you think? Which way do you like better? Let me know!
Either way, I love my new “copper pipe” geometric shapes!
Share this project if you love it! Or pin it for later!!
See the full tutorial over on my blog – Here