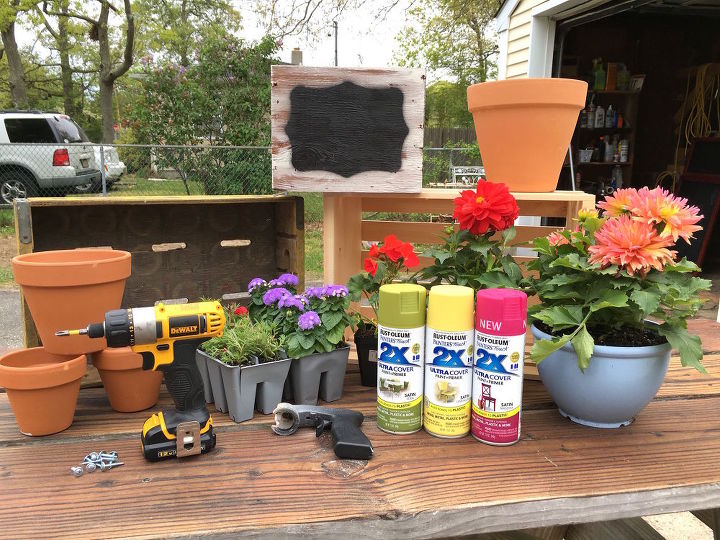
 An optional step next would be to use painter’s tape to give some of your pots a different design. I wanted to mix up my colors a bit so that the pots weren’t all one, solid color so I taped off two of my smallest pots for some contrast.
Once I painted the rims, I let them dry for a few minutes and then took smaller pieces of tape to make a little skirt for the bottom of the pots in order to block the spray paint from reaching the rim. Be careful if you decide to do this step because the tape may take some of your still-tacky paint off. The best bet would be to let the rims dry completely but I’m impatient and didn’t want to wait for the rims to dry completely.
 Next, you’ll want to paint your crates if you purchased plain ones. Of course, you can always opt for a more natural look and keep them plain, but I wanted to jazz mine up.
 Finally, you can start transplanting your purchased plants into your paints pots.

 This project would be great for your backyard fence, however, if you’re like me and don’t have a wooden fence, you could always fasten the crates to an old pallet. The good thing with using a pallet is that your little planter display can be relocated!

 Overall, this project was a simple way to brighten up my yard and I hope it is for you other brown thumbs out there too!
Want more details about this and other DIY projects? Check out my blog post! GO