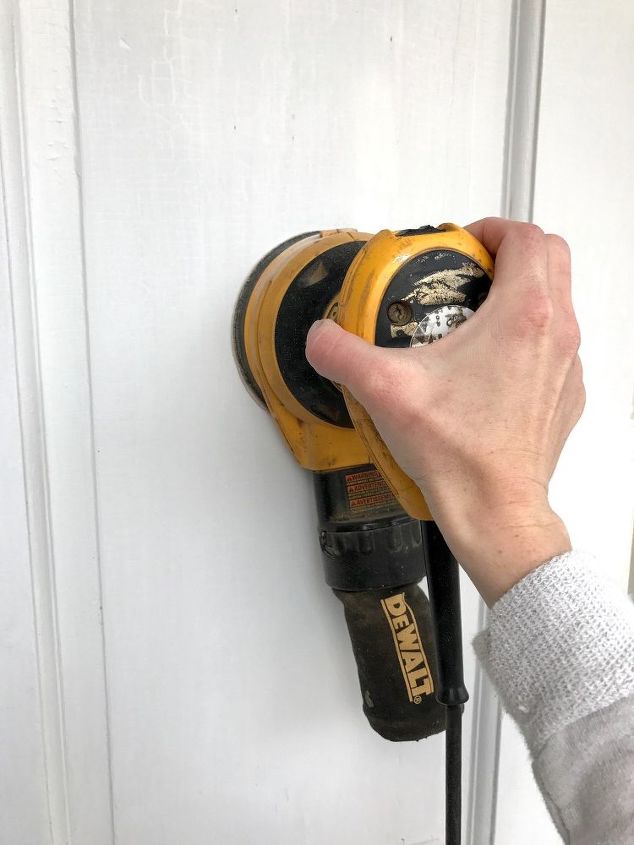
 If you don’t have a palm sander (orbital sander), you can simply sand by hand. Even if you do decide to sand with a palm sander, you may want to sand the nook and crannies by hand.
 If you’re changing out your door knob and any other hardware, you’ll want to remove those as well. Because our door knob matches our side door knob and key pad for our alarm, we decided not to change them out.
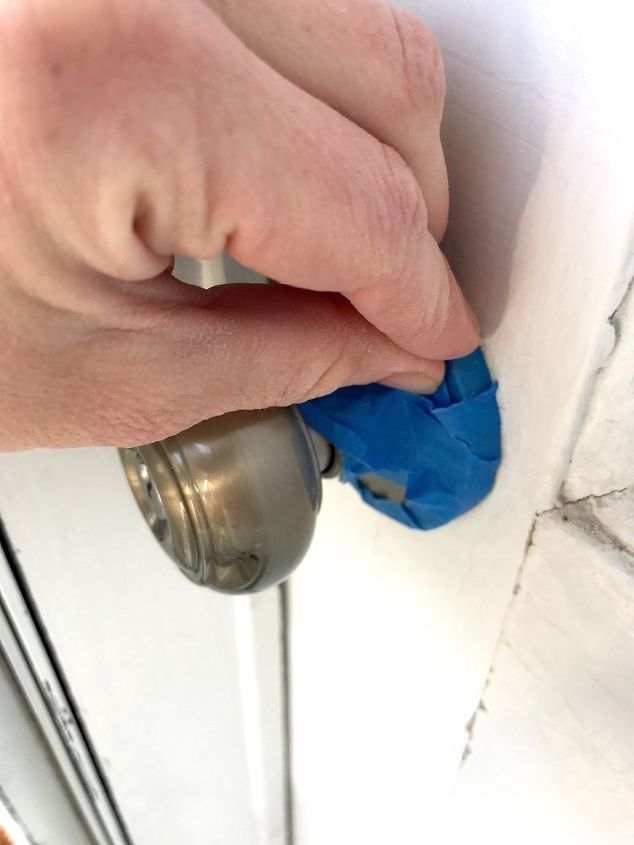
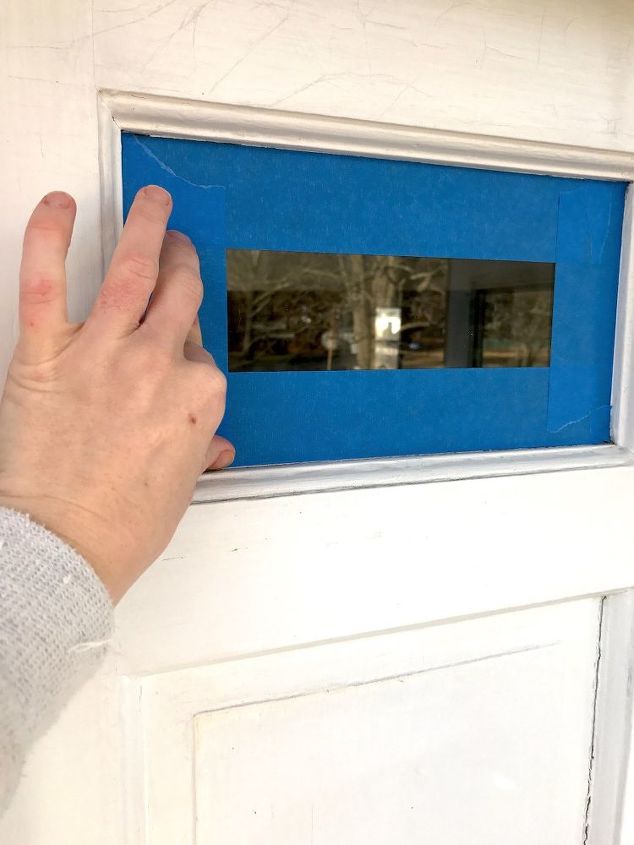
Make sure to tape off your windows or you’ll be scraping paint off with a razor!
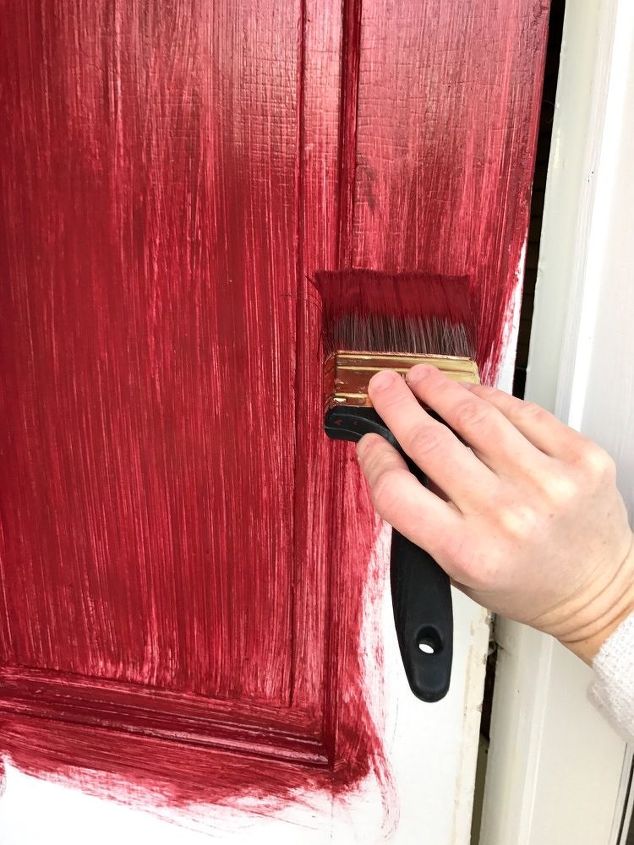
 STEP 2: Paint door
Next, I applied two coats of Behr Exterior Cherry Cola paint, letting the first coat dry completely before applying a second coat. This Cherry Cola color is what we painted our sliding barn door that separates our living room and kitchen so we felt we’d use it again for a pop of color on the outside of our house.
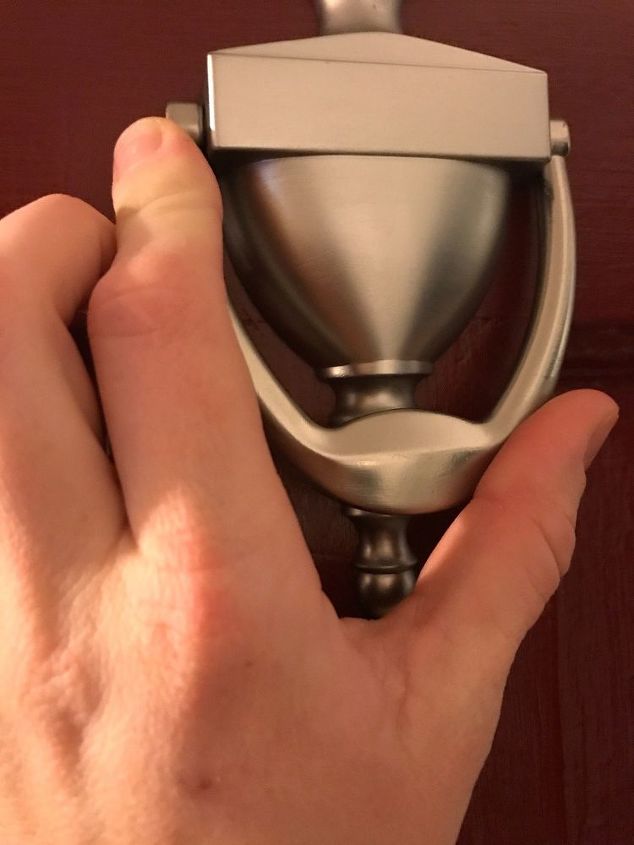
After the paint was completely dry, I installed a new door knocker by following the instructions on the package. I also installed a peep hole where the old knocker was.
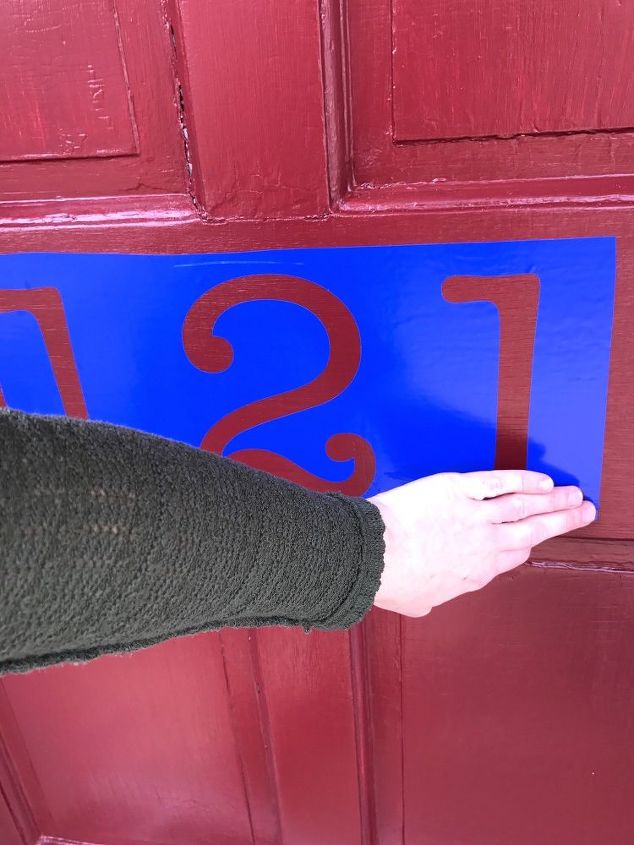
 STEP 4: Add stencil
Once I finished attaching the new hardware, I took a stencil I created with my Silhouette Cameo machine and adhered it to the lock rail (center of the door that runs from left to right through the panels).
 I’m really happy with how our front door came out–I feel like it makes the entrance of our home look more welcoming and homey. Now, if we can hurry and get to spring so Rob and I can do an overhaul on the front stoop!
Here is a shot of the screen door closed. I really like how big I made the numbers–they’re perfectly aligned where you can still see them when the screen door is closed.
*Because I already had paint and a good brush on hand, it only cost me about $30 to do this front door makeover!
We want to help you DIY, so some of the materials in this post are linked to sellers. Just so you know, Hometalk may collect a small share of sales from the links on this page.
Want more details about this and other DIY projects? Check out my blog post! GO