 Step 2: Sand loose paint and rust spots. Using 180 grit sandpaper, sand areas with loose paint or rust spots. Sand lightly over the entire cabinet with a 220 grit paper. This will help your paint to adhere to the metal. Wipe down the cabinet with a damp rag to remove all the dust.
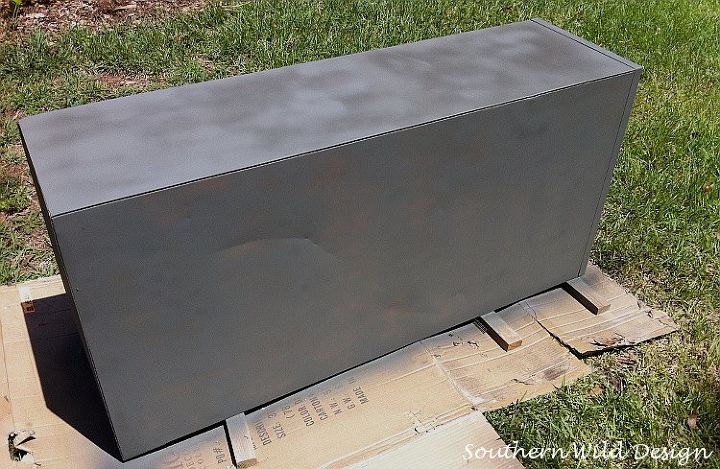
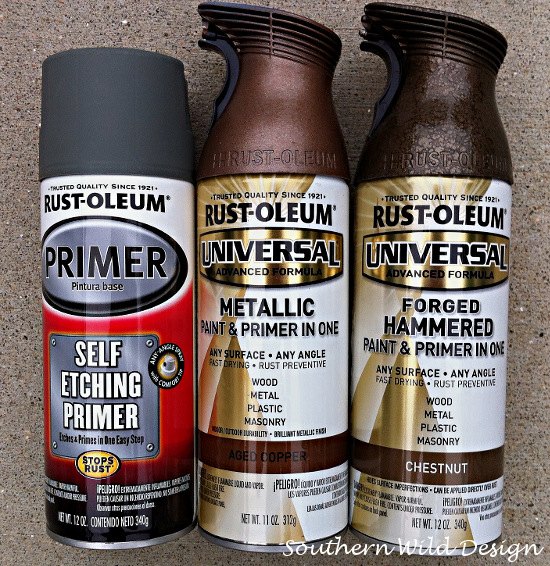 Step 3: Prime and paint. I used spray paint and primer found at any home improvement or hardware store. Even though the paint I used has a primer in it, I chose to use a self etching primer because I wanted to make sure my paint stuck to the metal and withstood the weather.
I also wanted a planter that looked like copper. In order to achieve this, I painted the cabinet with two coats of Forged Hammered ‘Chestnut’ and one topcoat of Metallic ‘Aged Copper.’ I thought the copper alone was too bright.
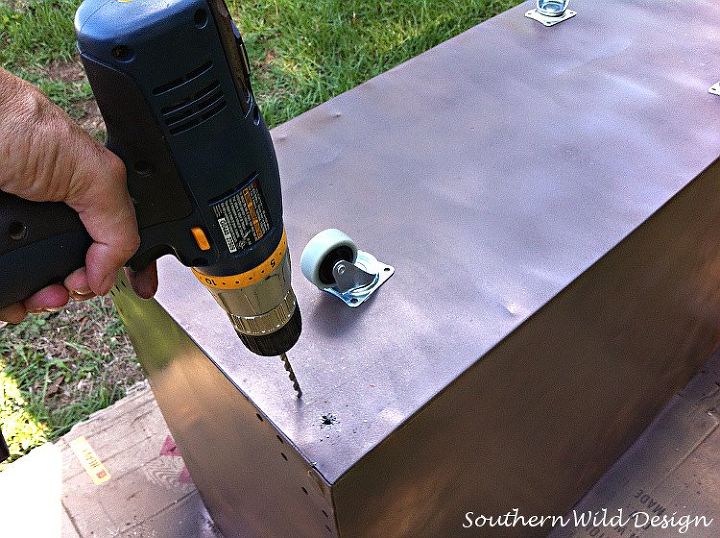
 Step 4: Install some casters. Casters are optional, however if you want to be able to move the planter easily, I recommend them. I purchased casters, stainless steel bolts, washers, and locking nuts. Each caster is rated for 90 pounds and the stainless steel hardware won’t rust. You will have to guess what size of caster is best for the size of cabinet you use.
Be sure to drill some drainage holes in the bottom of the planter before turning it upright.
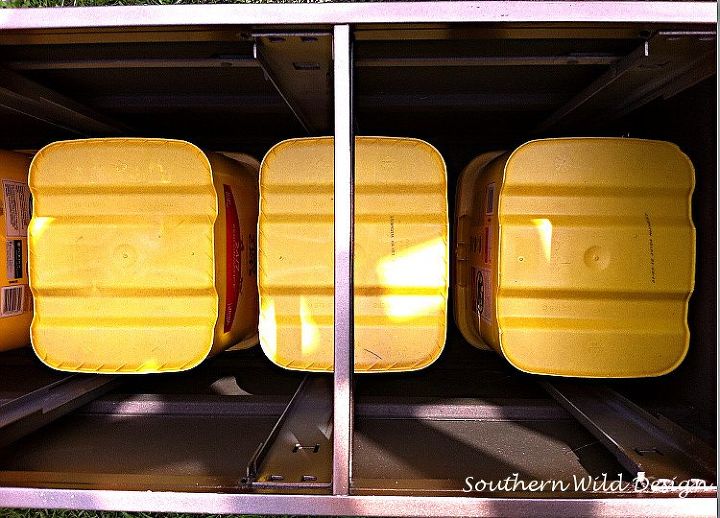 The planter is now ready to fill with good container soil and plants.

Want more details about this and other DIY projects? Check out my blog post! GO