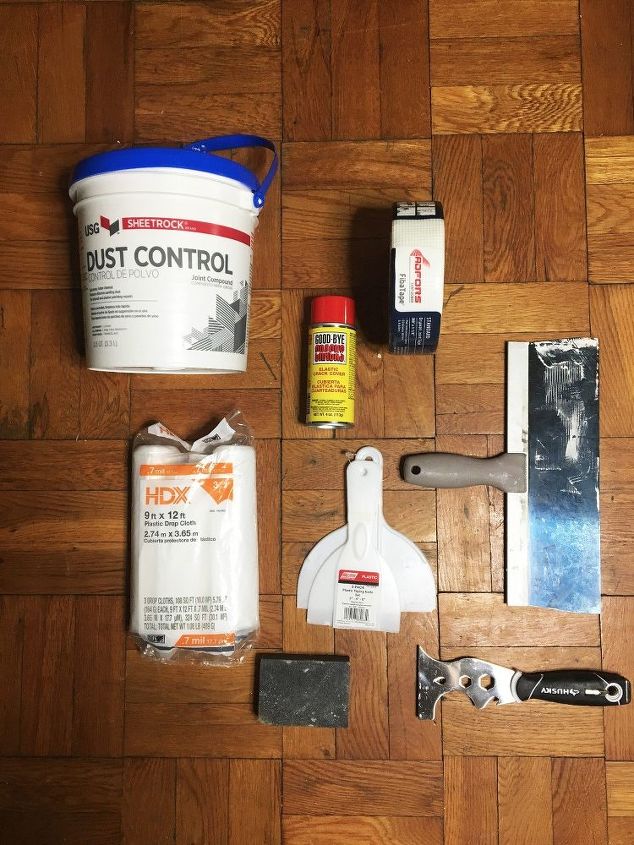
 STEP 1: Lay drop cloth over all the floors and furniture of the room you will be working in as this project will cause lots of dust.
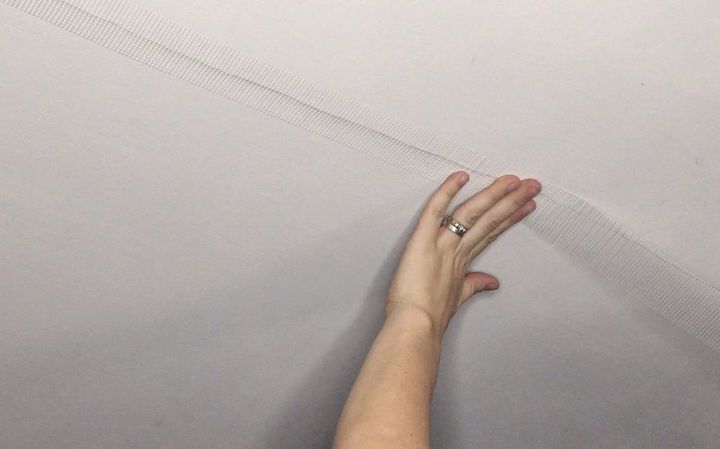
 STEP 2: Lay mesh joint tape over the crack you are going to work on starting at one end and laying it over the entire length of the crack.
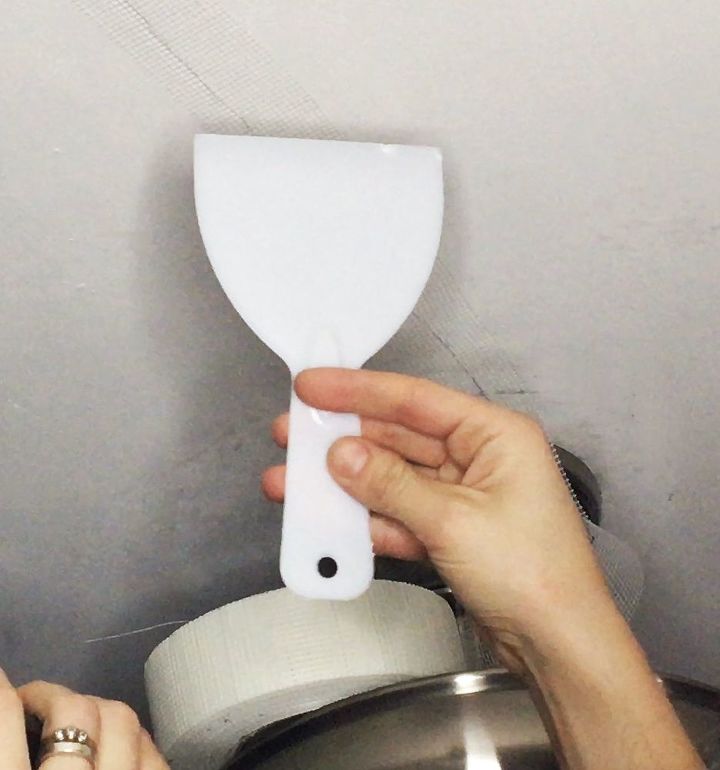
 STEP 3. Cut off the end of the tape with a taping knife. You can just press against the tape and pull the tape roll from the line of tape.
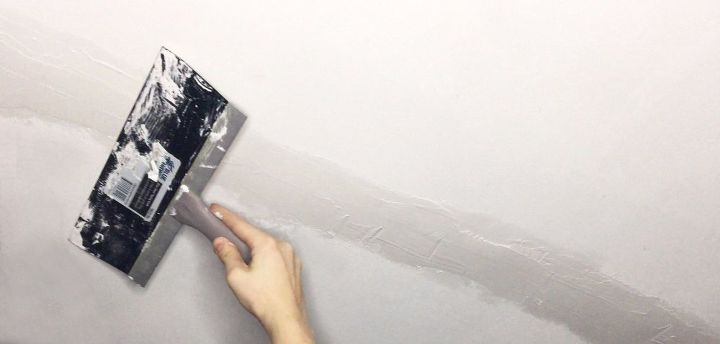
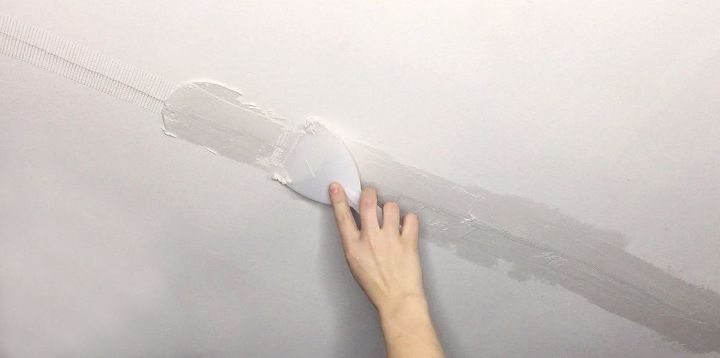
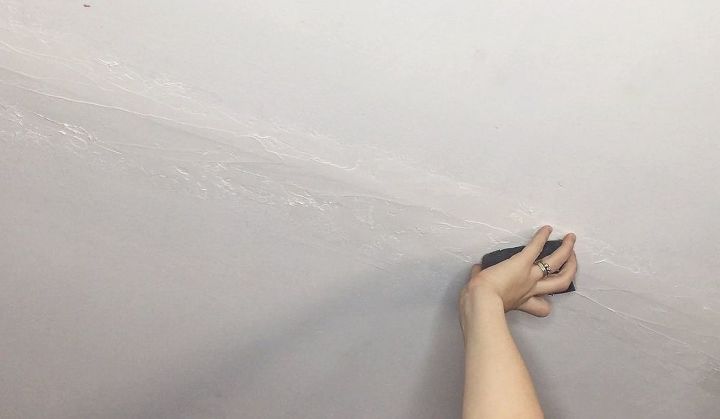 STEP 5: Even out the compound by running over it with a metal tape knife. Allow to dry completely. I let mine rest overnight.
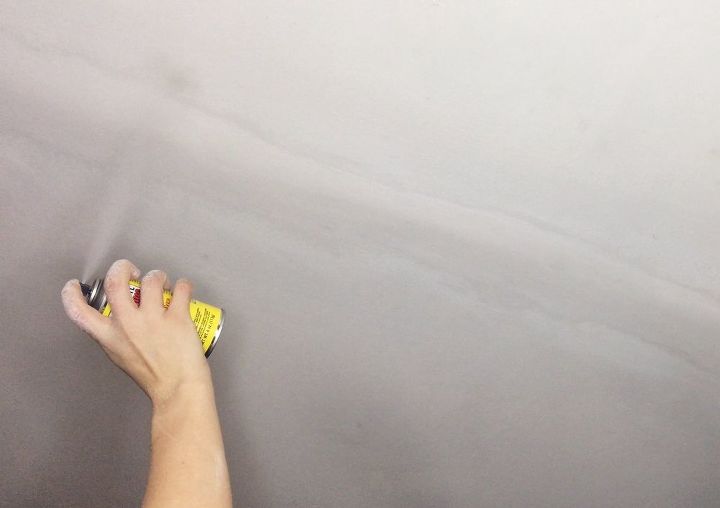
 STEP 7: Once everything is nice and sanded and smooth you can spray it with your goodbye crack spray. This will help to keep the crack from reappearing by shrinking and expanding with the change of temperatures and moisture. Allow this to dry for 30 minutes and apply another layer.
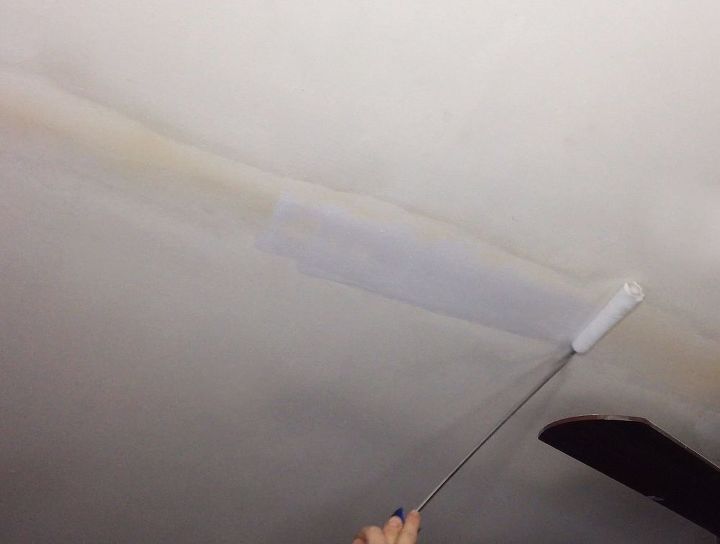
 STEP 8: Paint your ceiling or wall to cover up the seam you covered.
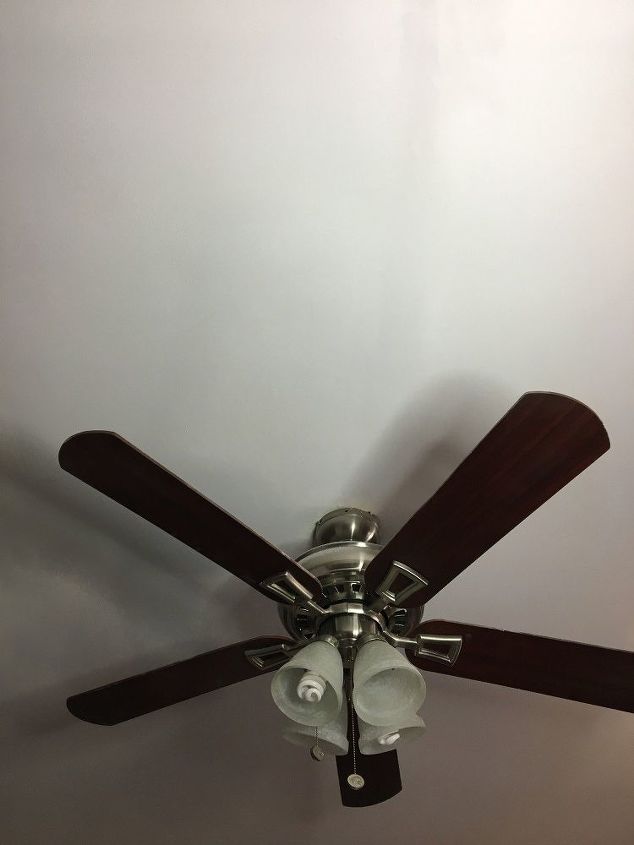
Once the paint has dried take a step back and marvel at the crack that is no more!
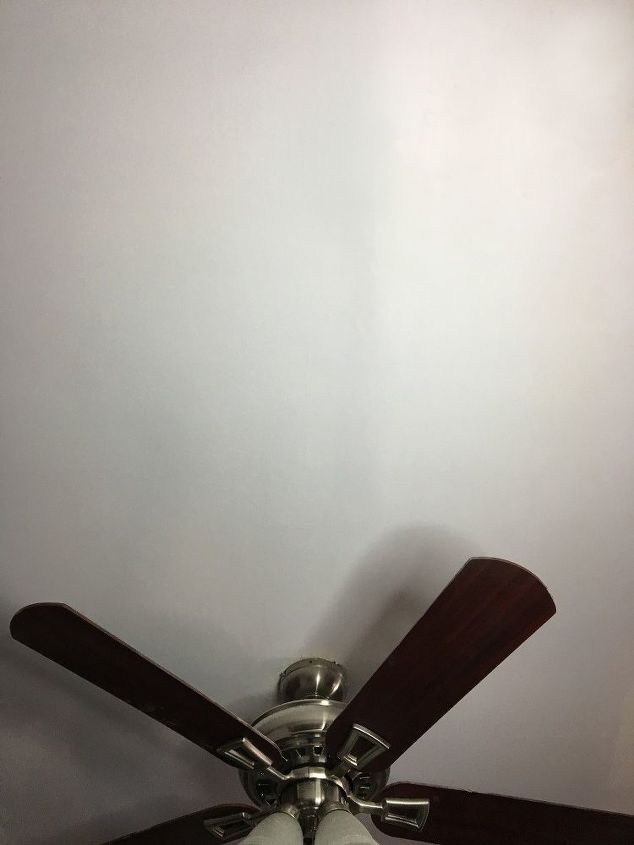
 Here is a before and after of the crack I covered. Sometimes you will need to re-drill drywall into a beam beforehand or clean away broken pieces from the crack beforehand.
Here is another angle of the fix!
Want more details about this and other DIY projects? Check out my blog post! GO