 STEP 3: Pull the ribbon taut to the next corner.
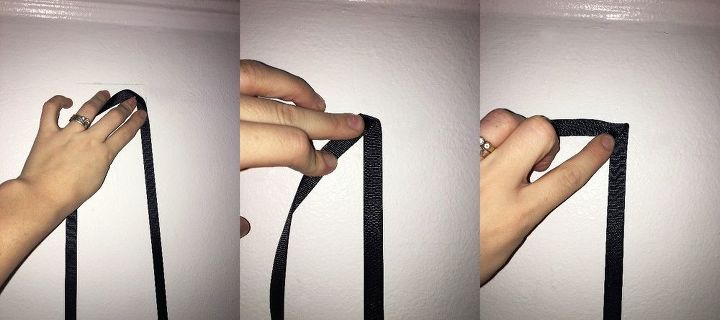
You must create a 90° angle with the ribbon. To create this you first fold the ribbon over at the corner and create a crease.
Next fold the ribbon and create a triangular crease so that the ribbon begins to go in a 90° angle and tack through all the layers created to hold the angle in place.
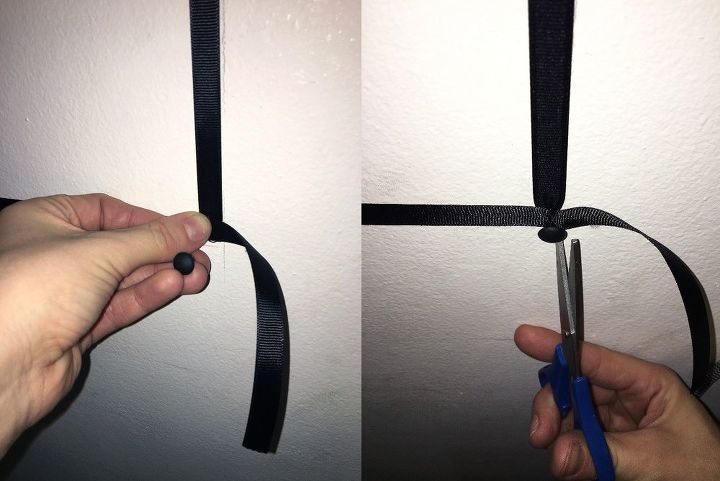 STEP 4: Repeat steps 2-3 for each corner and side until you reach the corner where you started. Remove the tack from the starting point and tack through both the starting piece and the ending one.
Cut any excess ribbon away from the outline.
STEP 5: Take a step back
Take a step back to make sure the lines are straight and everything is tightly in place. Once you have decided it is all correct go back and use a mallet to secure each tack in place.
 STEP 6: Line up your border key to determine where your next outline box will lie. Once again, trace the corners out and a light line of each of the sides as a guide with your L-square.
STEP 7: Repeat steps 2-5
Make sure everything is lined up correctly before moving forward.
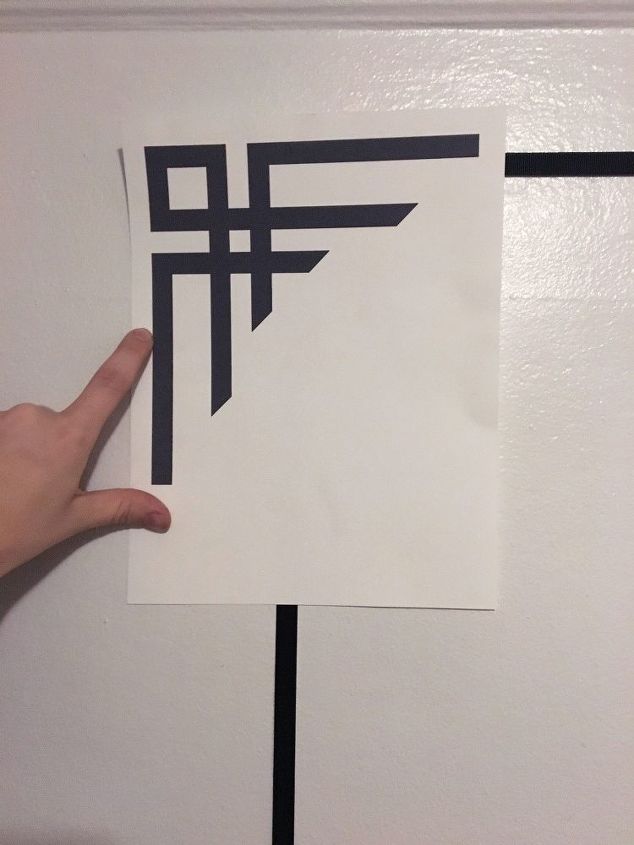
This part is a bit trickier, but still pretty easy. If you want to add a fun little design in the corners like the one shown above, you will need to first use a tack to make a hole at each of the corners of the design.
Line up the design with the ribbon lines you have already created and use a pencil to go through the holes you created with your tack and make a mark at each corner on the wall.
Move your key and use your L-square or ruler to draw lines from point to point as a guide. I also added lines along the sides from corner to corner to help as a guide.
 STEP 9: Take the ribbon in place
Starting at an inner corner of one of your corner designs tack the end of the ribbon in place.
Create a 90° angle at each of the corners and tack the corners in place through each of the ribbon layers.
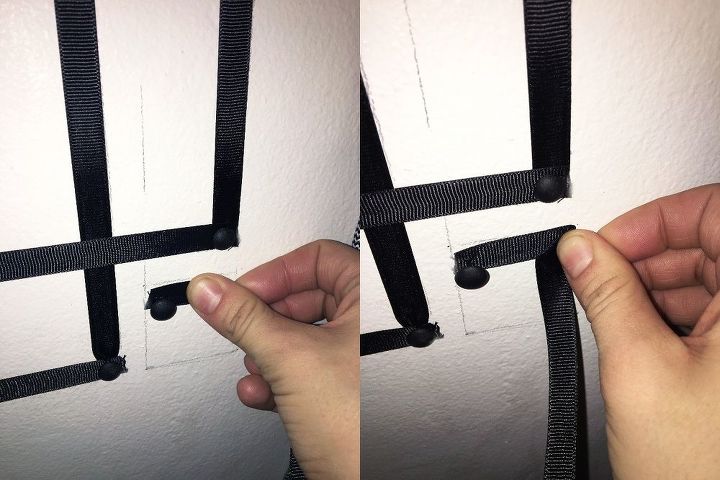
Remember to pull the ribbon taut as you go and tack it in place every 20″ or so.
 STEP 11: Repeat steps 9-10 for each corner and side until you reach the end.
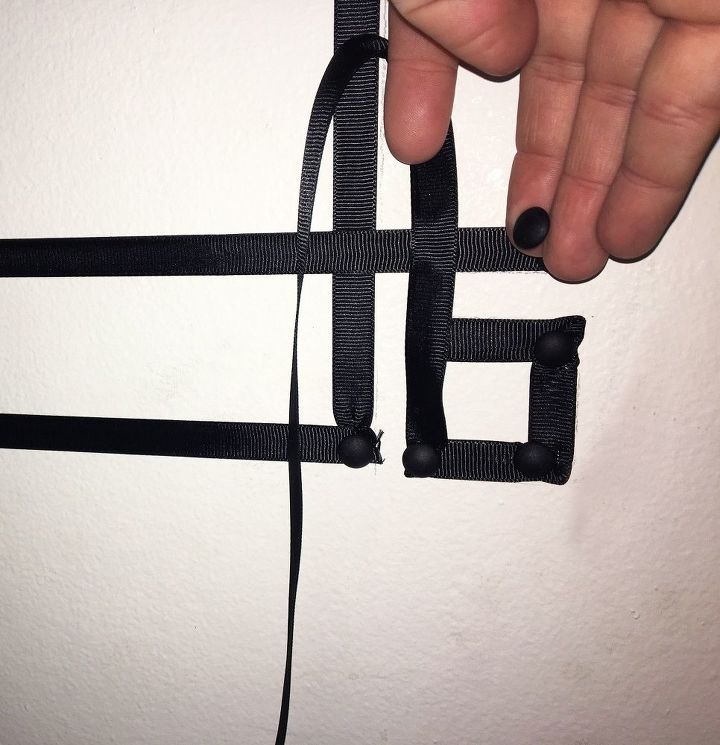
Remove the original tack first and then feed the raw edge behind the pieces of ribbon that are already in place. Replace the tack through all 3 layers of ribbon and secure it with the mallet.
STEP 12: Make sure all of your corners are nice and crisp and all the lines are evenly placed and secure all of the tacks in place.
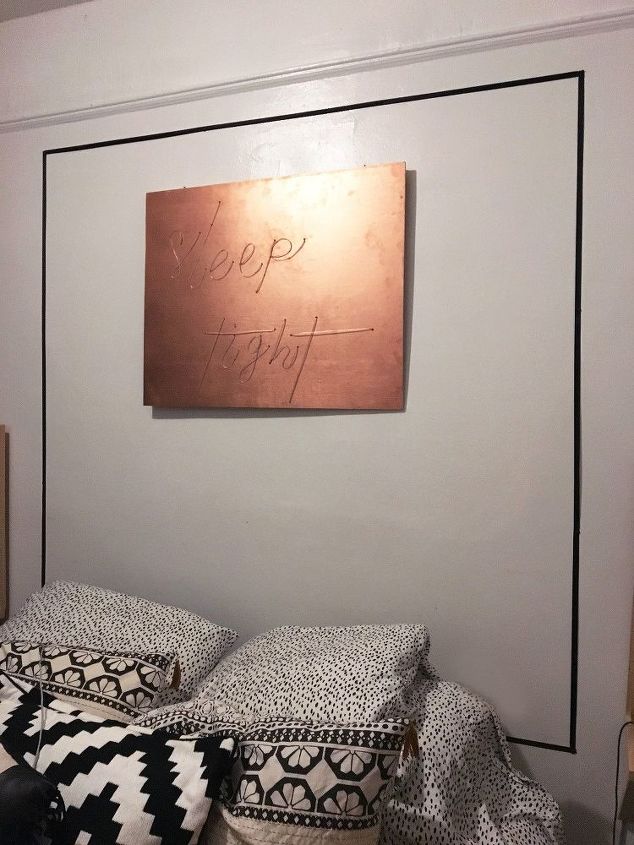
Look at how fun this is! You can create several on either side as well to really give it a “molding” look.
Look at how fun this is! You can create several on either side as well to really give it a “molding” look.
This really helped to spice up this wall and give it a finished look.
Want more details about this and other DIY projects? Check out my blog post! GO