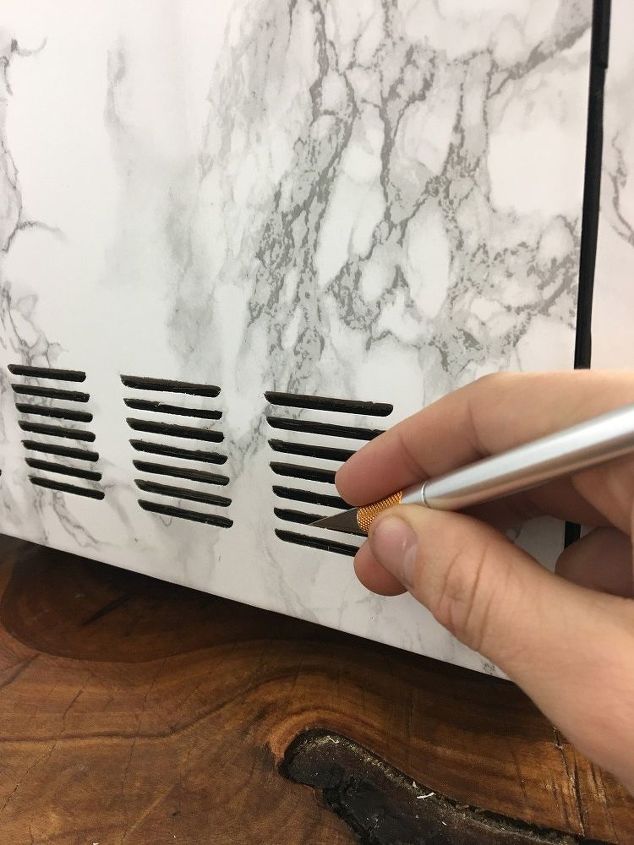
 STEP 4: Cut out the vent area Most microwaves have vents on the side and they can’t be covered, so you will have to cut away the contact paper that is covering each of these holes. This is a time consumer, but also kind of satisfying… then again, I love tedious tasks sometimes, soooo to each their own hehe.
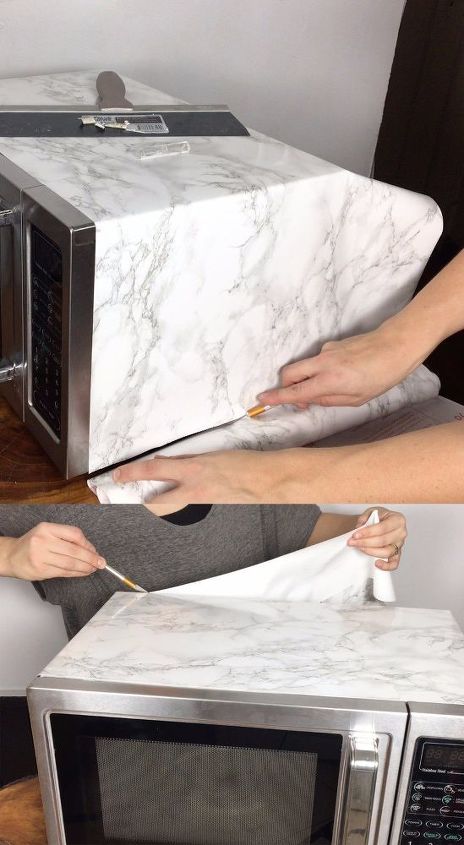
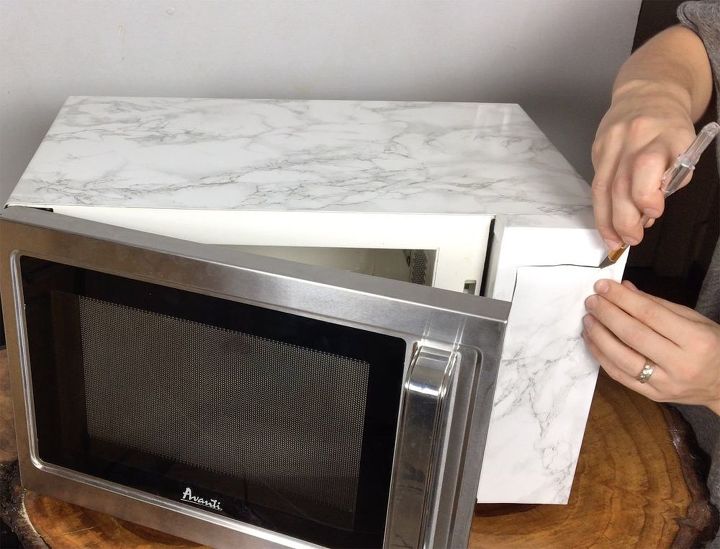
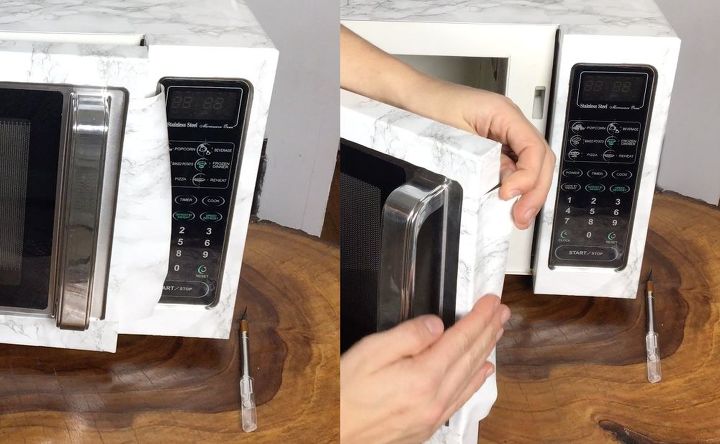
 STEP 5: Cover the front part Now that the large portion of the microwave is covered it is time to move onto the door. My husband liked it with the front being silver, but I wound up covering the whole thing to see what it would look like. First use a small piece to cover the side portion with the buttons. (Your microwave may be different, so this part may have to be completed differently, but it should still use the same techniques) For the corners, cut a small slit from the tip of the corner out. Fold one flap in and then the other over top. Cut any excess away from the outer edges as you did for the body of the microwave.
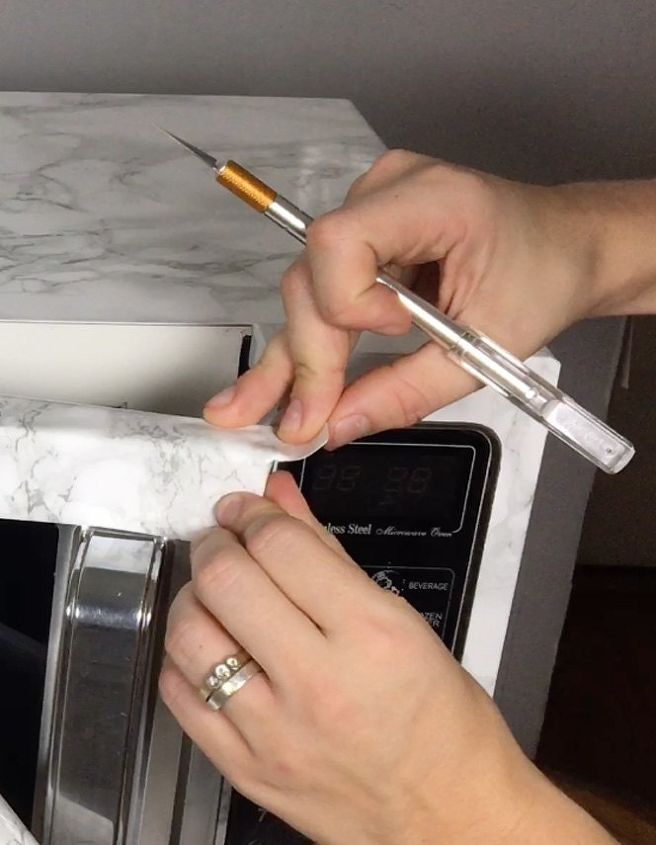
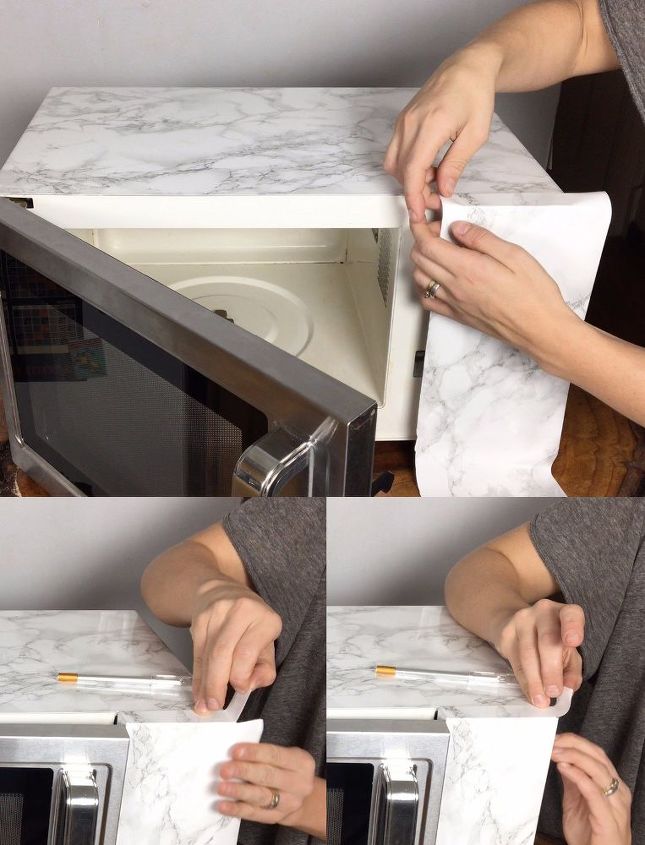 STEP 6: Cut away the button part Obviously you will need to uncover the buttons so carefully cut away the contact paper that is covering this area with your X-acto knife.
For the corners, use the same technique you did for the front flap in after the other.
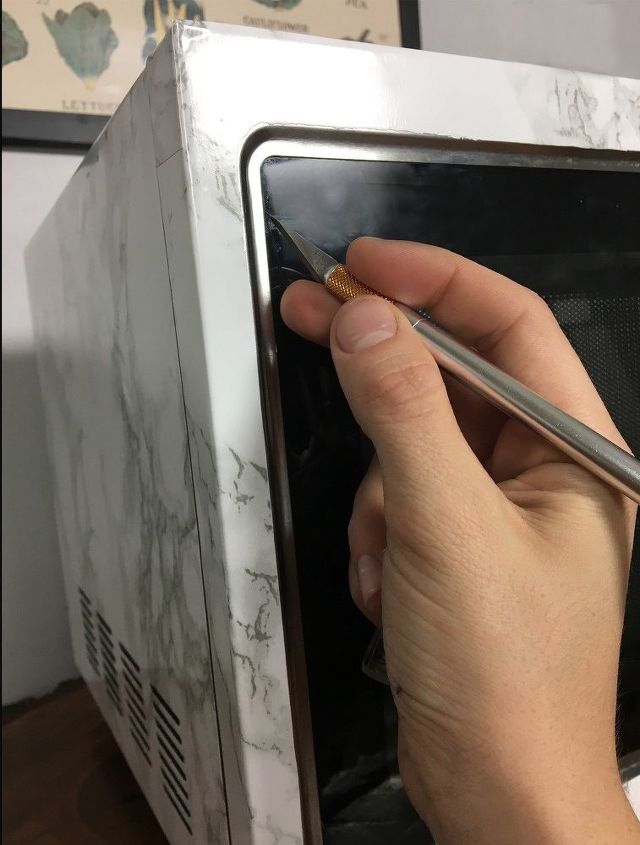
At this point cut the outer edge away as well and fold all edges over so that all the trim is covered.
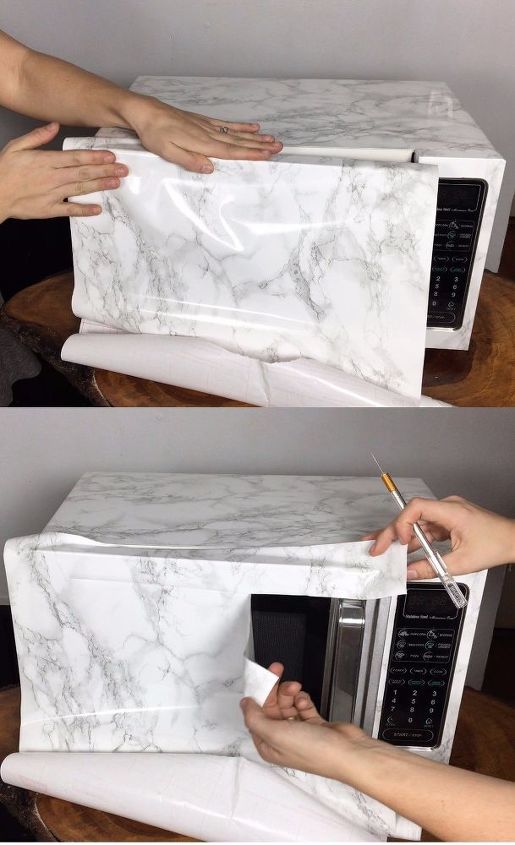 STEP 8: Make sure everything in covered As you can see in the picture above there is still a small strip that is uncovered. Take a small strip and place it so that it lines up evenly with the upper and bottom rims edges and blends nicely. Fold it around the edge smoothing out bubbles as you go. Trim away any excess.
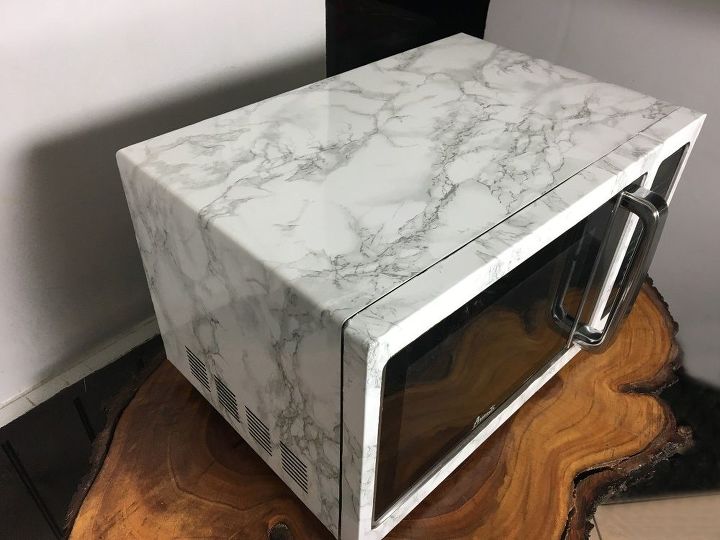
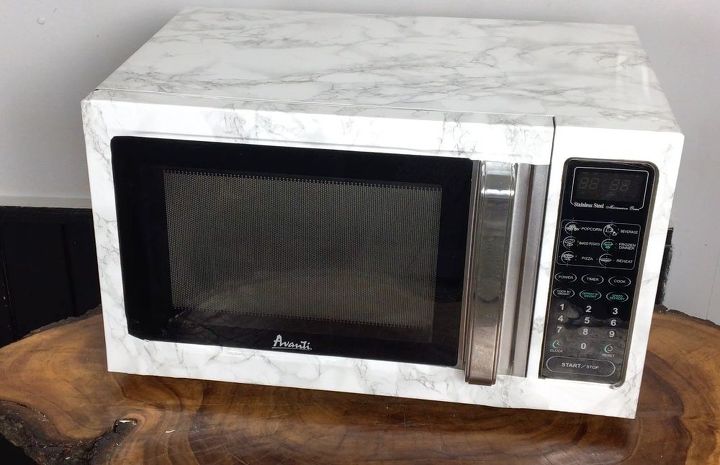 I left a bit of the stainless steel showing because it was curved and the contact paper didn’t stick well, plus it looked like an accent edge, so I thought it looked nice uncovered. I also didn’t cover the handle as I felt that it would look chunky and awkward.
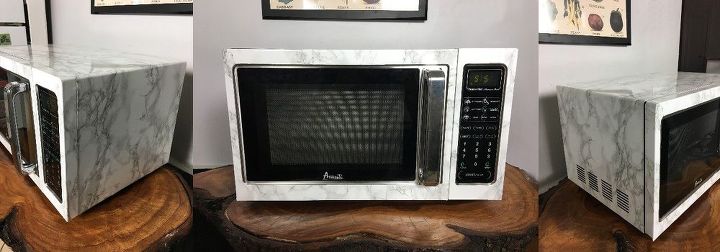
 I honestly didn’t know if this would look good at all but I kinda think it is fun! It is a great way to add a fun piece to your kitchen, plus it isn’t permanent, so if you hate it you can take it right off!
 If only they made real marble microwaves! This makes me want one haha… not that I use my microwave much, but it would still be fun.
 I know some people may get worried about heat but honestly people cover their ovens with contact paper and those get much warmer than microwaves. Not to mention I tested mine first and the sides don’t get hot.
 Plus uncovering the vents allows it to operate as normal.
I used it afterward just to see, and everything was fine!
Want more details about this and other DIY projects? Check out my blog post! GO