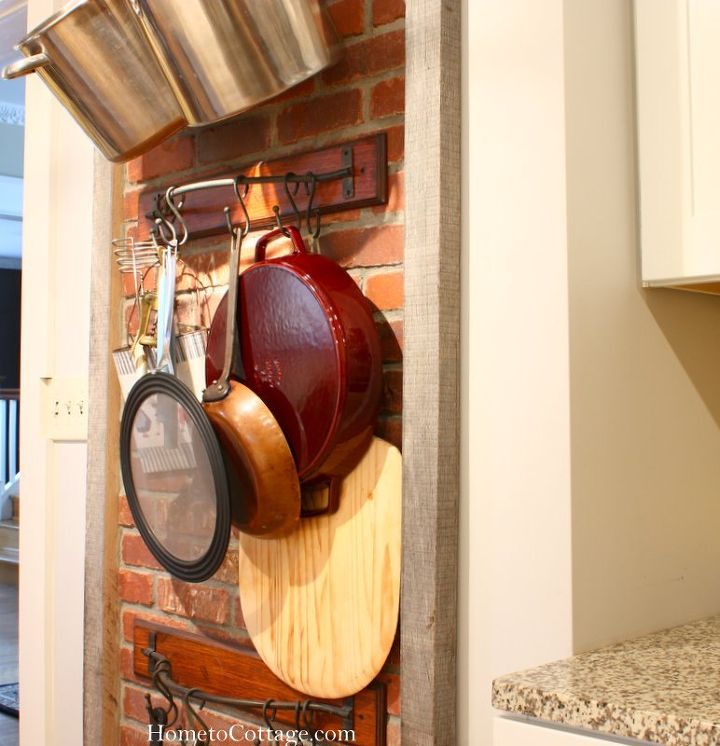
 Anyway, the finished width of the brick needed to accommodate these without looking crowded and without looking too spaced out. Once that was determined, we actually started by mounting the wood vertical borders.
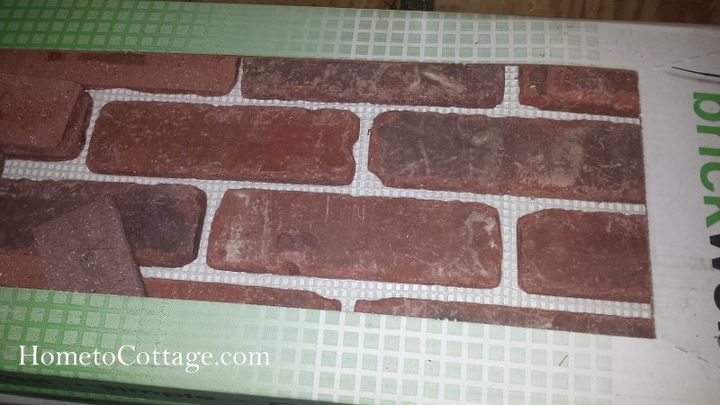
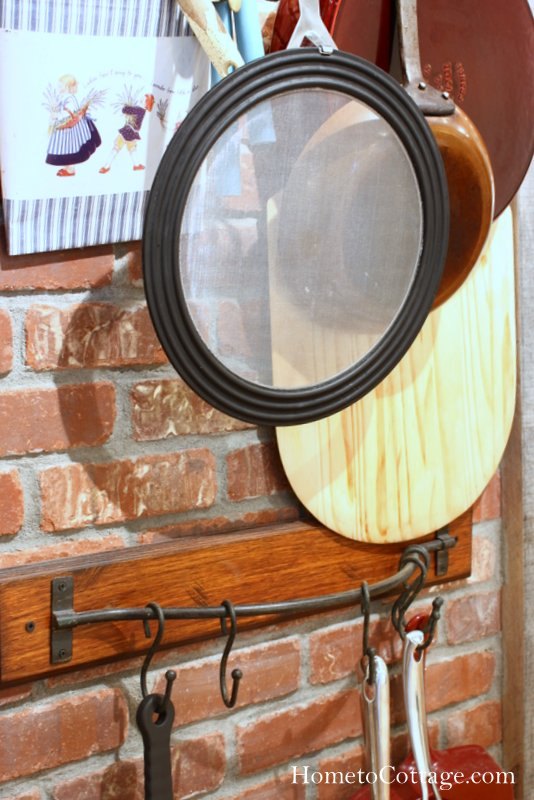
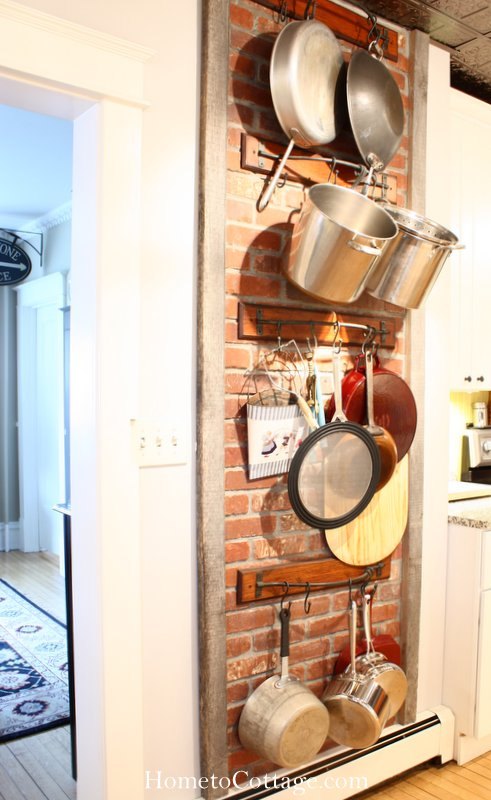
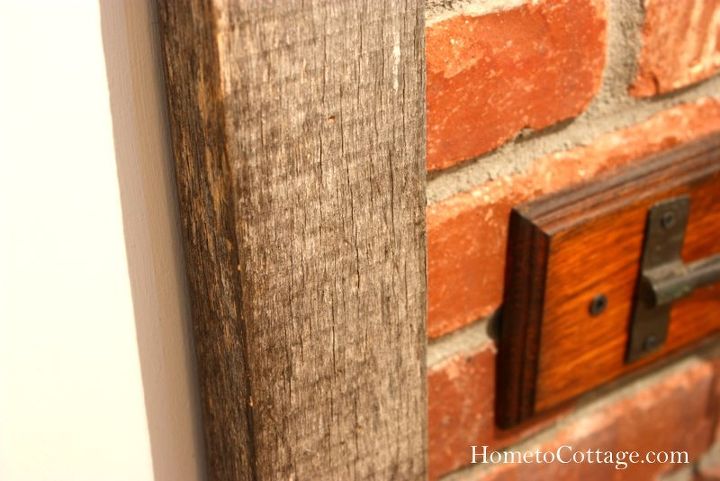 First we had an old weathered beam that my carpenter cut into 2 pieces to frame the brick on each side. This would give it an old look and finish the edges of the brick nicely. So applying a thick squiggle line of construction glue caulk to the backs of the 2 boards, and nailing it on, to hold until the caulk dried, we had our tall strip of wall space for the brick defined.Then it was simply just a matter of squeezing that construction glue out onto the brick mesh back and setting it on the wall, firmly wiggling it back and forth a few times to get it to get a good grip of the wall. For the most part it stayed where it was supposed to, but a couple pieces did want to slightly slip down the wall a little. Once the glue set up and got stiffer that took care of that.For the mortar in between the brick, I had my carpenter, who also has done a lot of tile work, do it. I know I could have, but it was much easier and less messy to just have him do it.
 Remember that ‘Z-brick’ from the 70’s (I know, I’m dating myself) but a lot of people used that stuff in their homes, trying to get that exposed brick look… the biggest failure with that is that they used a black tar looking mortar… I don’t know why they decided that was the way to go, but it was horrid looking. So to make my exposed brick realistic looking I used a natural colored sanded grout. It looks just like real brick mortar.
 I give it a quick rinse in the sink. If you want any input from me, I’d love to help you out, so feel free to comment or email me with your thoughts, questions, or just to share your ideas! For more information on this project, hop on over to SimpleDecoratingTips.com (link at top of this post).
Want more details about this and other DIY projects? Check out my blog post! GO