 We transferred the measurements to the foam board and made the cuts. (I’m giving the Reader’s Digest version here due to space), then we put the boards together. Details here: http://www.underatexassky.com/cornice-boards-from-foam-board
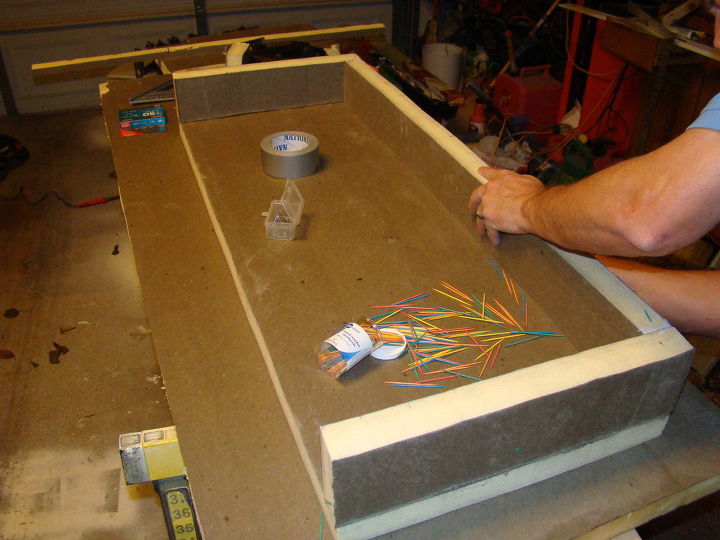
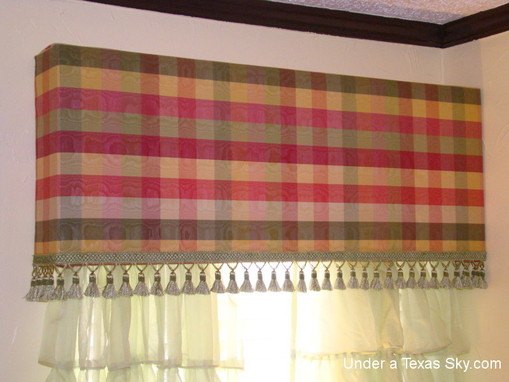
 Here are the boards completed. We firmed the connections up using toothpicks if you can imagine that.
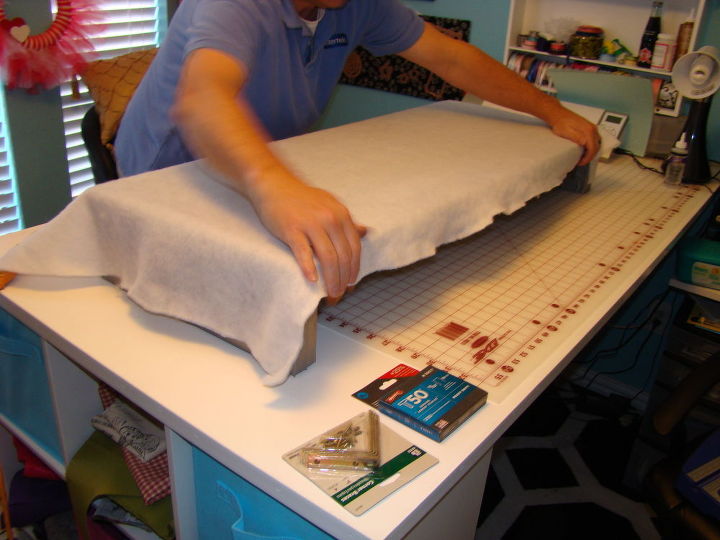
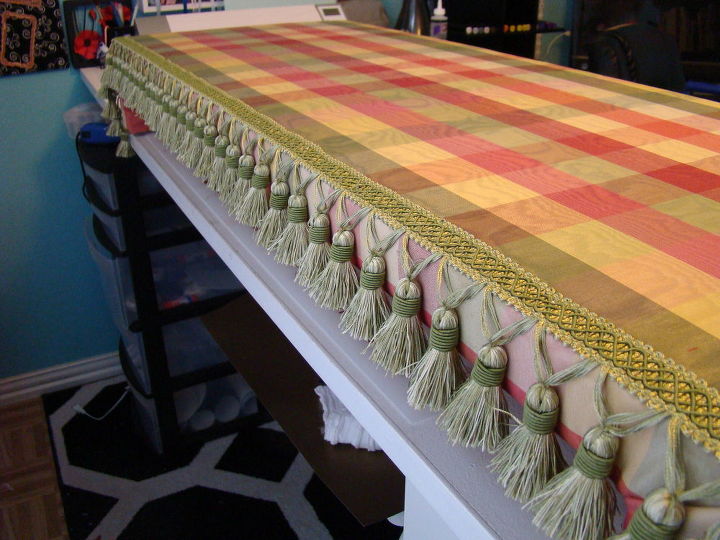 Cover the board with batting using a staple gun. I didn’t want a heavily padded board so we went with a thin batting. Then next came the fabric. Now understand I was helping!!! But someone had to take the pictures.
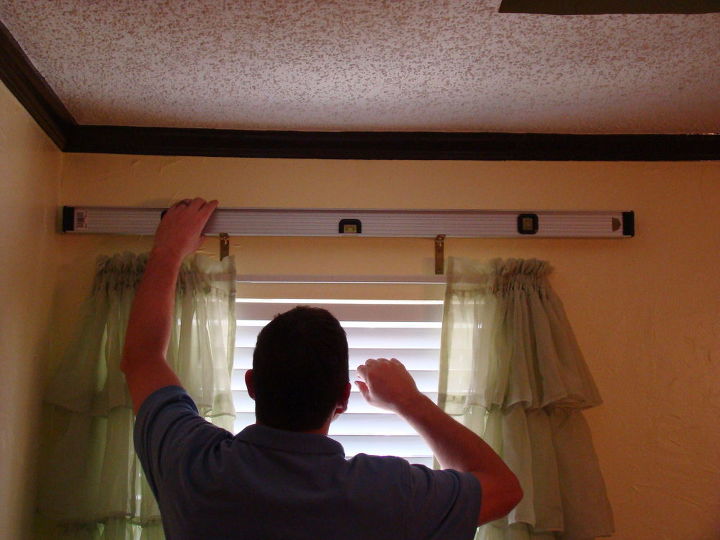
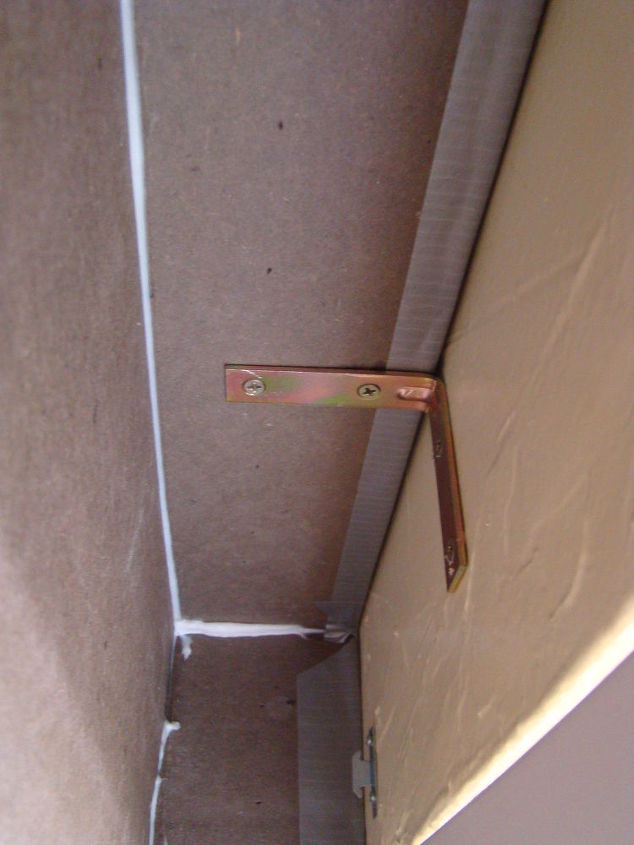 These boards are so light- they were a cinch to handle. He placed them on the brackets, then secured the brackets to the inside top foam board to make it really secure.
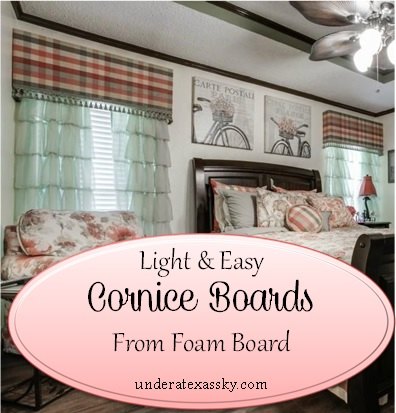
Want more details about this and other DIY projects? Check out my blog post! GO