
 And finally, we installed our DIY mantel (see the link at the beginning of this post for the details on that) and re-hung the television! Now, the fireplace is a gorgeous focal point and the television above it no longer sticks out like a sore thumb. See the full blog post for more details on the project, including sources and links to related posts.
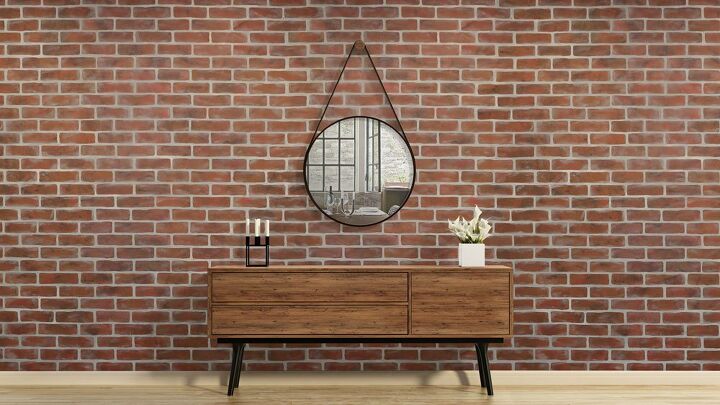
 Now we will apply our three paint colors to the wall using 6″ dense foam rollers. For this accent wall we used Benjamin Moore flat latex paint. Apply the colors Moroccan Red, Satchel, and black. Blend your colors together with your roller or slightly damp rag.
 Align your stencil with the previously painted registration marks and check your level to make sure your stencil is straight.
Then, repeat the stenciling process! The great part about stenciling is that you have the freedom to adjust the colors to your liking.

 Once you reach the base board you will use a professional stencil brush and pounce downwards. This way when you remove the tape, you’ll have a super crisp line. Align the free top edge stencil and fill in the empty space above your brick. Use a 1″ professional stencil brush to apply all three colors and then blend it!

Fill in the stencil with the same professional stencil brush as the top edge!
 We are going to stencil the wall plate to match the pattern of the brick wall. We painted the plate gray to match our grout line. Then we covered the outlets with tape. Place the stencil over the wall plate and fill in the bricks! Look how easy!
What do you think?
Want more details about this and other DIY projects? Check out my blog post! GO