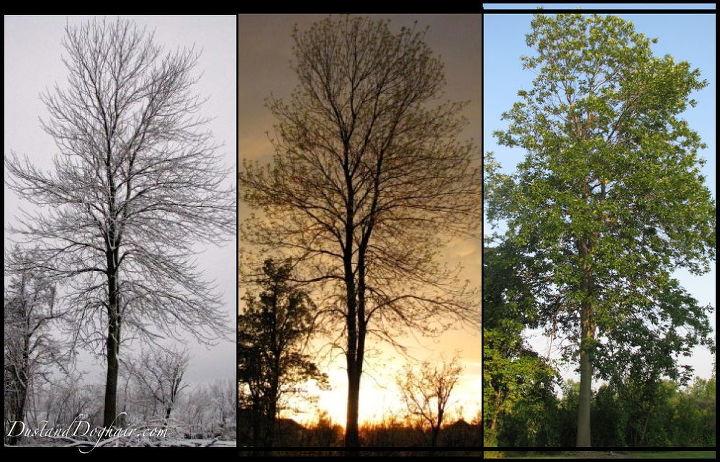
 Once the trees are infested they’re difficult to save, so prevention is key. This is the right time of year to treat Ash trees…just before they break their winter dormancy.
Why?
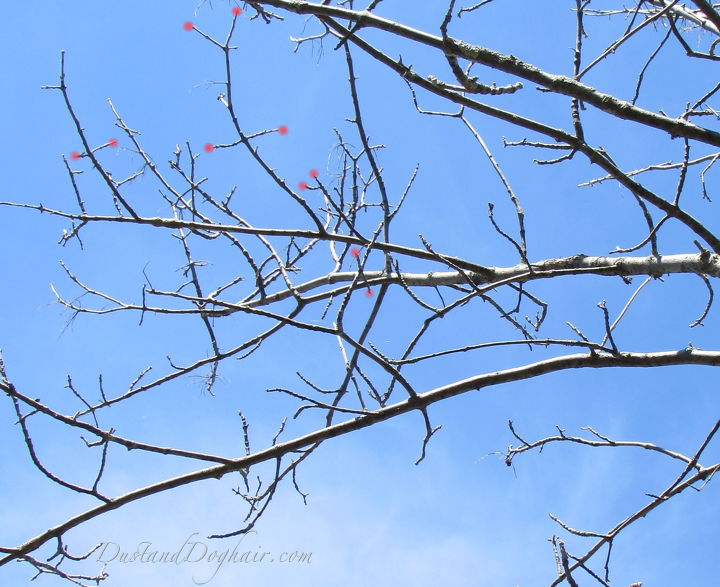
Simplified, when the tree “wakes up” in spring, it seeks a full load of water from the soil… if it that water is augmented with the pesticide, it will get the best possible dose of protection to ward of the green invaders.
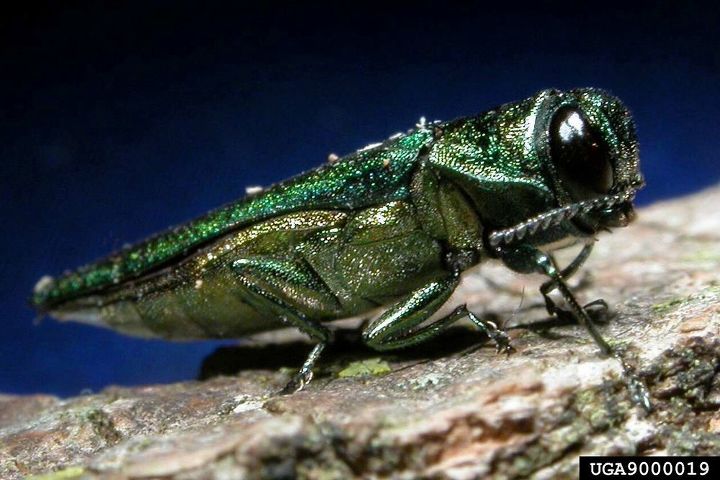
Do you have ash trees? One of the identifiers are opposing branches (also found with maples, dogwoods and horse chestnuts.
 A quick list of symptoms is:
– D-shaped holes in the outer bark
– Excessive attention from woodpeckers
– Dead branches in the upper canopy
– Loss of leaves in the topmost branches
– A sudden sprout of new leafing toward the lower area of the tree.
Professional treatment options are available, but at $10 per inch of circumference, that would cost more that $3500 per year just to treat my favorites. Sadly, unaffordable!
We needed a DIY solution…and while it, too, offers no guarantees…at least I feel like we’re doing SOMETHING to try to save them…or at least stall the progress of these monstrous munchers.
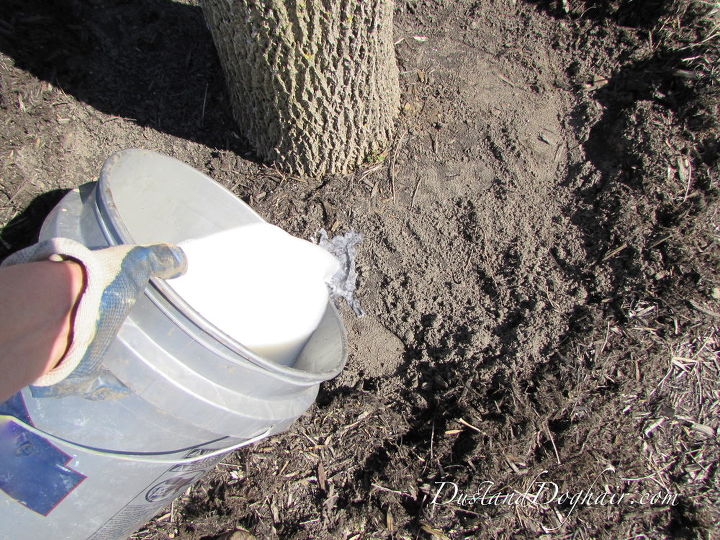 Soil drenching treatment around the base of the tree is about the only DIY option thought to help. It’s best done in the spring when the trees break dormancy and can soak up the protection.
Yes, it involves pesticides, and YES, I’d prefer NOT to use them…
However, I’d also prefer not to lose these beautiful trees.
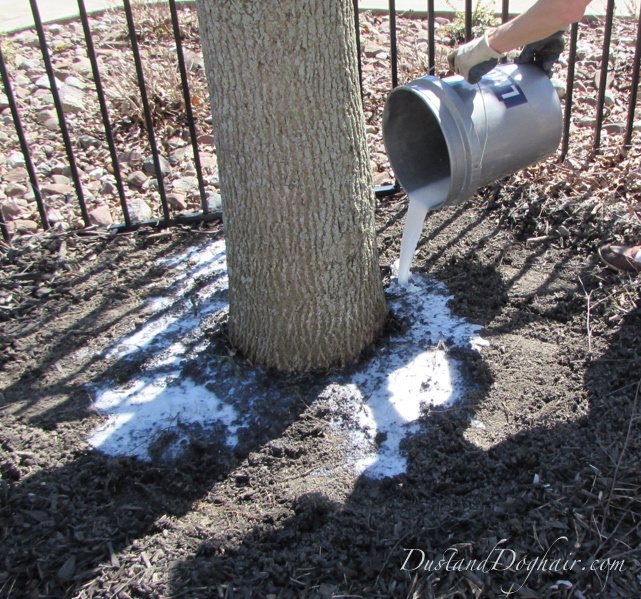
We added one ounce of product for every inch of tree circumference and mixed it well with water (one gallon for trees under 50″; two gallons for larger trees).
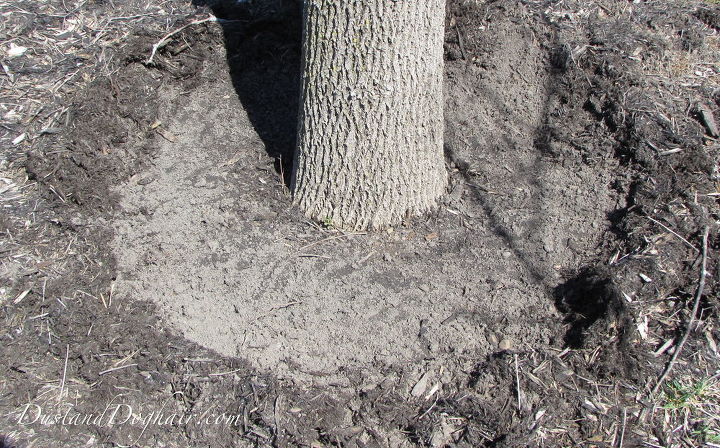
We cleared away between 18-24 inches of mulch and surface soil to create an inverted volcano shape around the base of the trunk…
 and poured the mixture around the base.
Once it was absorbed into the cleared area, I replaced the surface soil and mulch.
I treated 320 inches of tree circumference this past weekend.
Now we’ll cross our fingers and hope for the best until next spring, when we we’ll repeat this process…for years to come or until the borer wins.
Want more details about this and other DIY projects? Check out my blog post! GO